
"TOC" Spring Boot 整合視圖層技術 Spring Boot 整合jsp Spring Boot 整合Freemarker Spring Boot 整合 Thymeleaf (重點講解,官方推薦) Spring Boot 整合jsp 步驟: 1. 新建maven project的Spr ...
目錄
Spring Boot 整合視圖層技術
Spring Boot 整合jsp
Spring Boot 整合Freemarker
Spring Boot 整合 Thymeleaf  (重點講解,官方推薦)
Spring Boot 整合jsp
步驟:
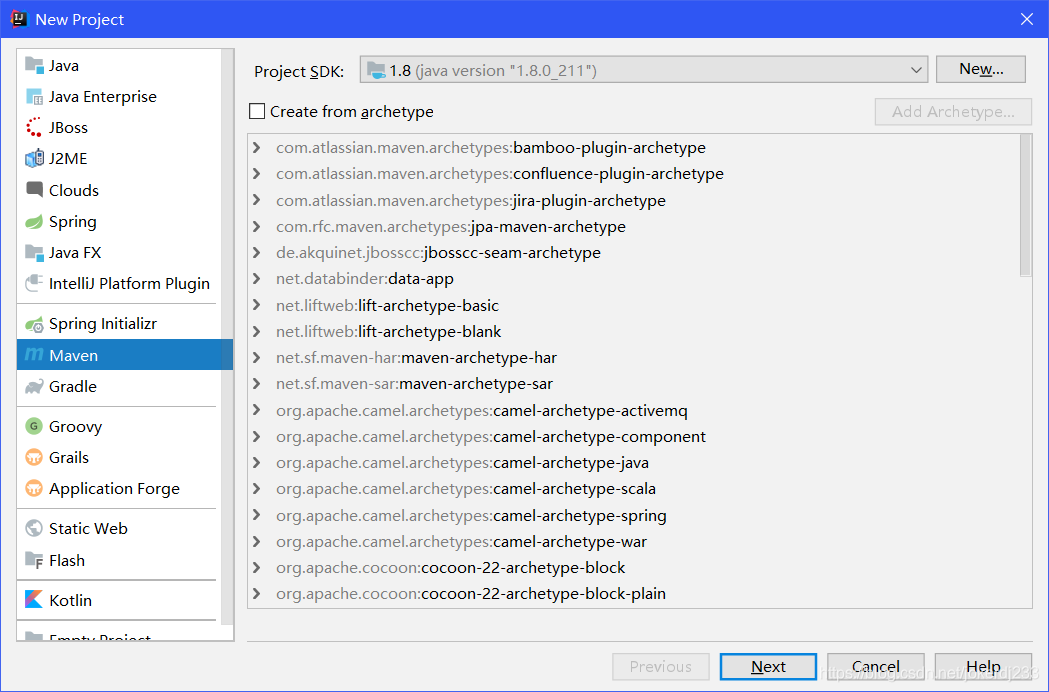
- 新建maven project的Spring Boot 的jar項目
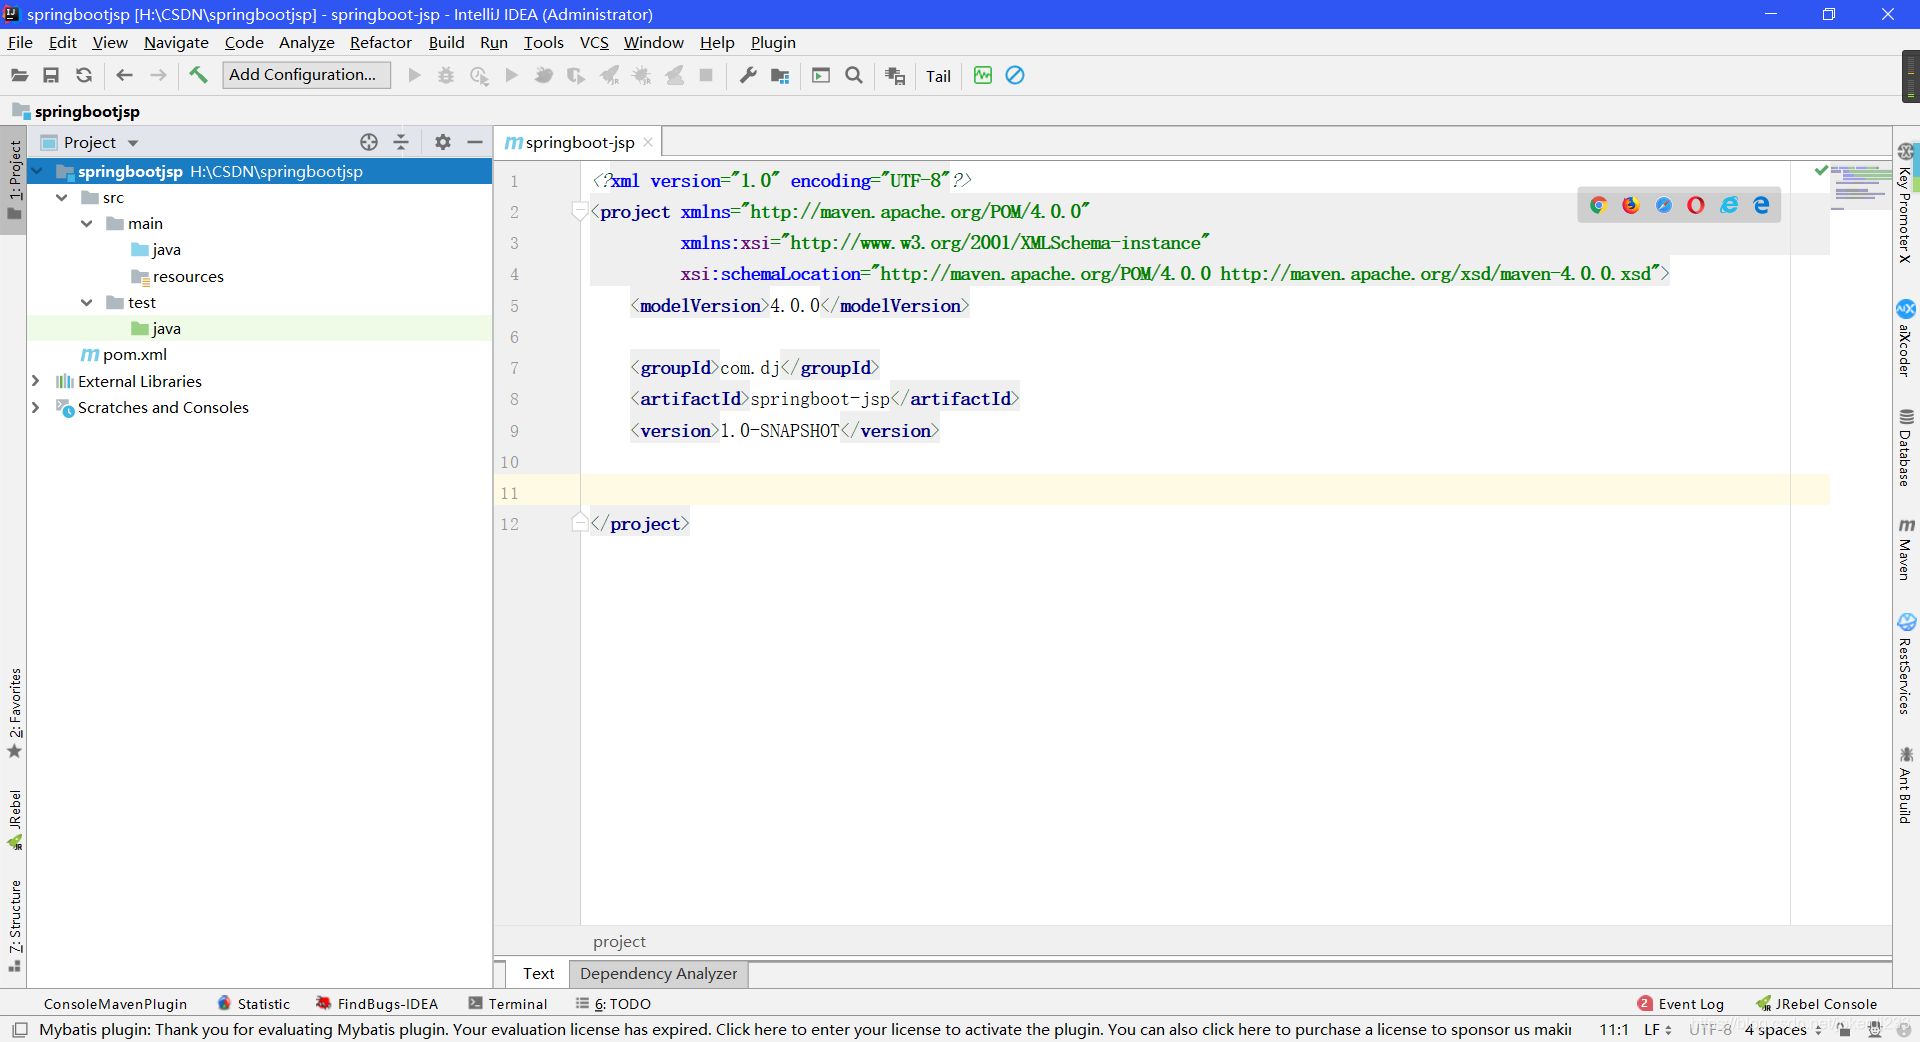
- 打開pom.xml文件 加入jsp依賴
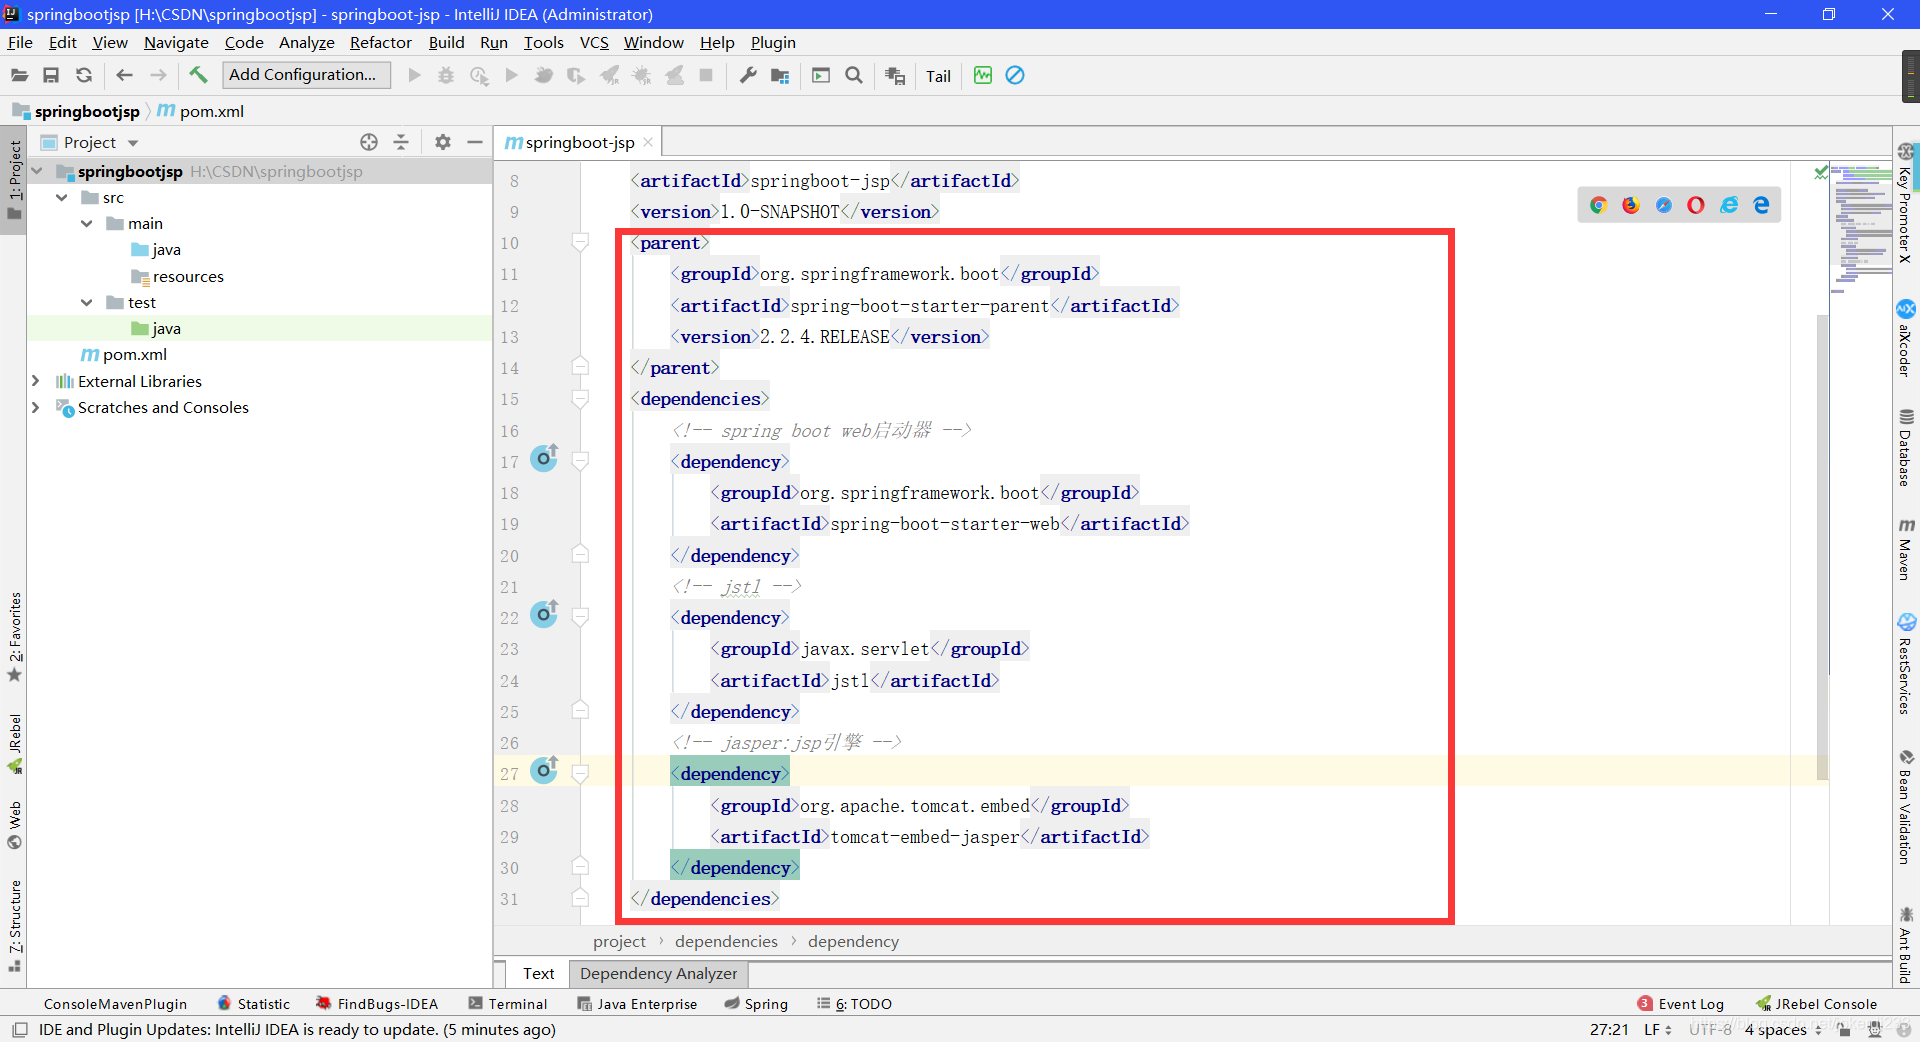
代碼如下:
 <parent>
        <groupId>org.springframework.boot</groupId>
        <artifactId>spring-boot-starter-parent</artifactId>
        <version>2.2.4.RELEASE</version>
    </parent>
    <dependencies>
        <!-- spring boot web啟動器 -->
        <dependency>
            <groupId>org.springframework.boot</groupId>
            <artifactId>spring-boot-starter-web</artifactId>
        </dependency>
        <!-- jstl -->
        <dependency>
            <groupId>javax.servlet</groupId>
            <artifactId>jstl</artifactId>
        </dependency>
        <!-- jasper:jsp引擎 -->
        <dependency>
            <groupId>org.apache.tomcat.embed</groupId>
            <artifactId>tomcat-embed-jasper</artifactId>
        </dependency>
    </dependencies>
- 編寫控制器Controller(不訪問資料庫)
代碼如下:
@Controller
public class UserController {
	/**
	 * 獲取用戶信息,到jsp頁面進行展示
	*/
	@RequestMapping("/userList")
	public String getUsersAll(Model model) {
		//訪問業務層-->數據訪問層mapper-->mybatis資料庫獲取所有用戶信息
		//模擬,定義固定的用戶信息
		List<User> list=new ArrayList<User>();
		list.add(new User("007", "小張", 22));
		list.add(new User("009","小康",32));
		list.add(new User("012","小健",18));
		model.addAttribute("list", list);
		//配置springmvc的視圖解析器,首碼:/WEB-INF/   尾碼: .jsp
		return "index";
	}
}
- 創建Spring Boot的全局配置文件 application.properties
src/main/resources-->創建-->application.properties
Spring boot預設識別兩個全局配置文件:application.properties和application.yml
代碼:
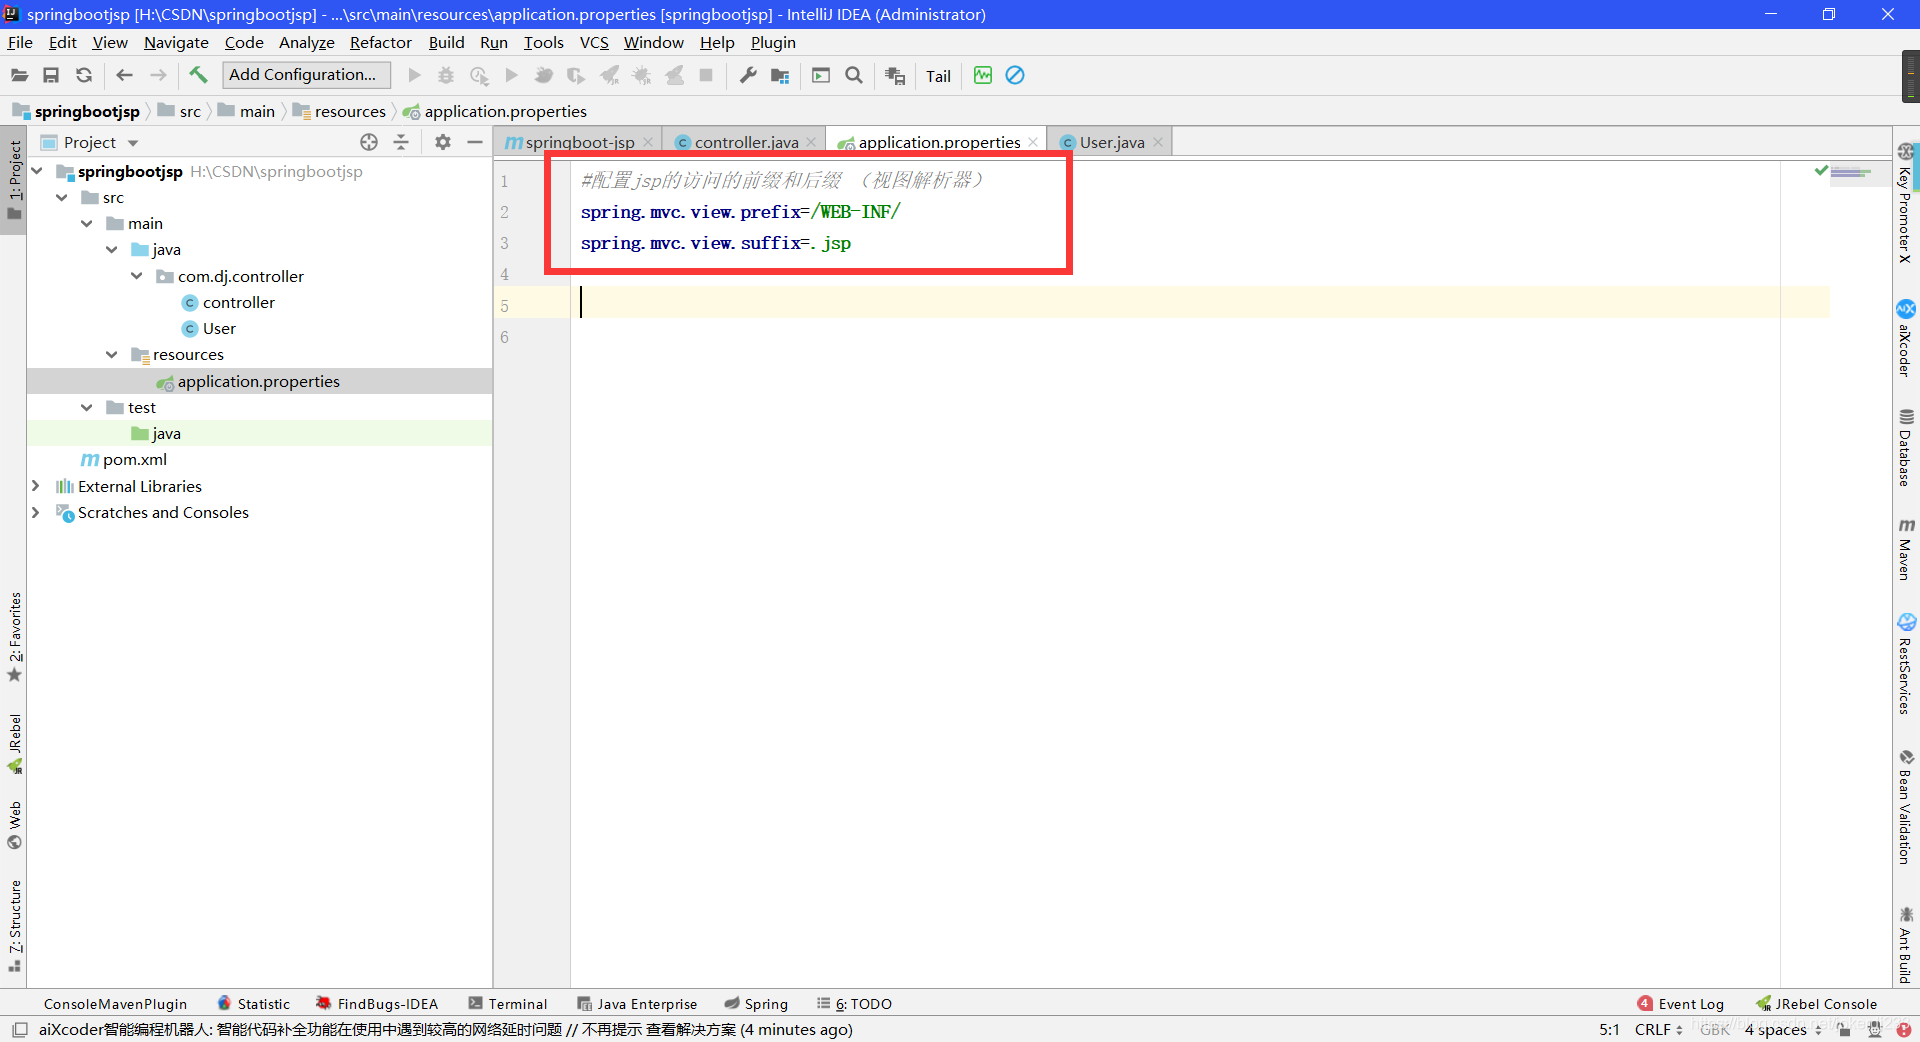
#配置jsp的訪問的首碼和尾碼 (視圖解析器)
spring.mvc.view.prefix=/WEB-INF/
spring.mvc.view.suffix=.jsp
- 視圖層 jsp
src/main-->webapp-->WEB-INF-->index.jsp
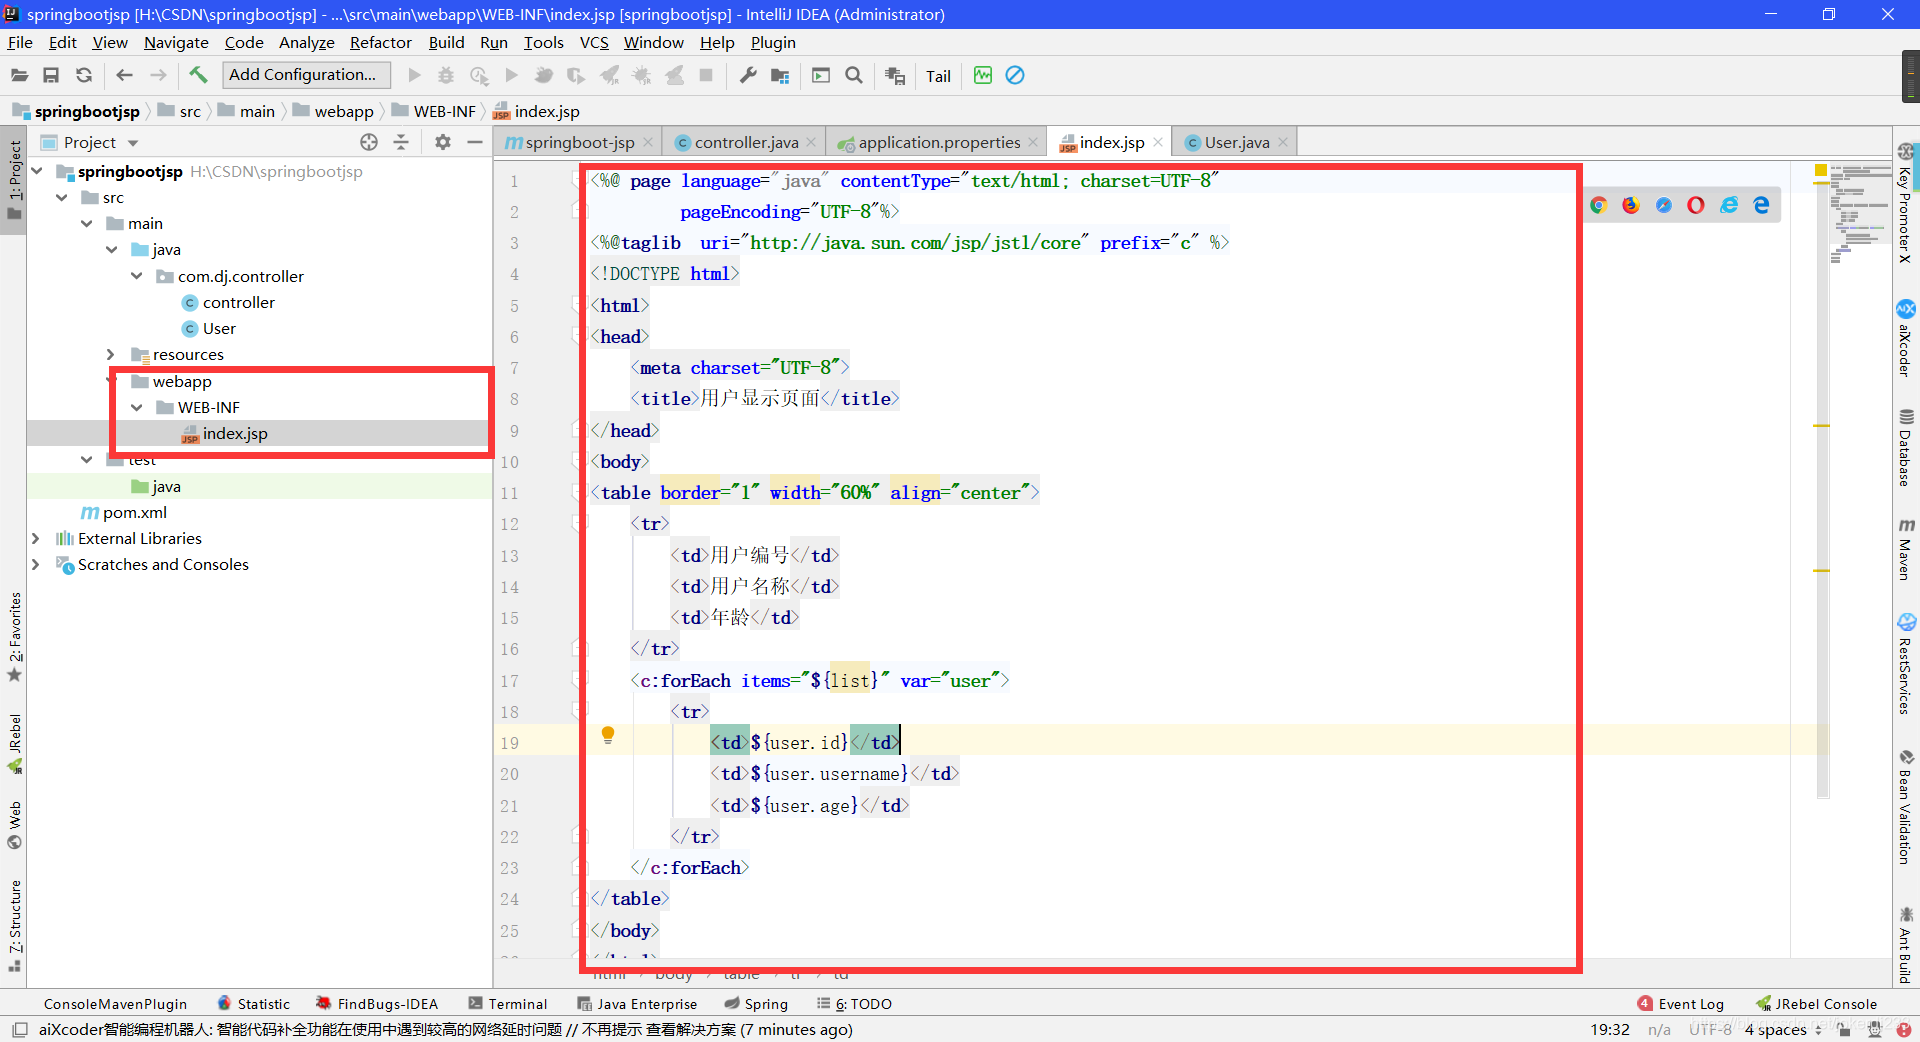
代碼:
<%@ page language="java" contentType="text/html; charset=UTF-8"
         pageEncoding="UTF-8"%>
<%@taglib  uri="http://java.sun.com/jsp/jstl/core" prefix="c" %>
<!DOCTYPE html>
<html>
<head>
    <meta charset="UTF-8">
    <title>用戶顯示頁面</title>
</head>
<body>
<table border="1" width="60%" align="center">
    <tr>
        <td>用戶編號</td>
        <td>用戶名稱</td>
        <td>年齡</td>
    </tr>
    <c:forEach items="${list}" var="user">
        <tr>
            <td>${user.id}</td>
            <td>${user.username}</td>
            <td>${user.age}</td>
        </tr>
    </c:forEach>
</table>
</body>
</html>
- 啟動類
@SpringBootApplication
public class App {
    public static void main(String[] args) {
        SpringApplication.run(App.class, args);
    }
}
- 運行 瀏覽器輸入 localhost:8080/userList

Spring Boot 整合freemarker
- 創建maven project 的jar 的spring boot 項目 (步驟一樣省略)
- 打開pom.xml,加入freemarker相關依賴
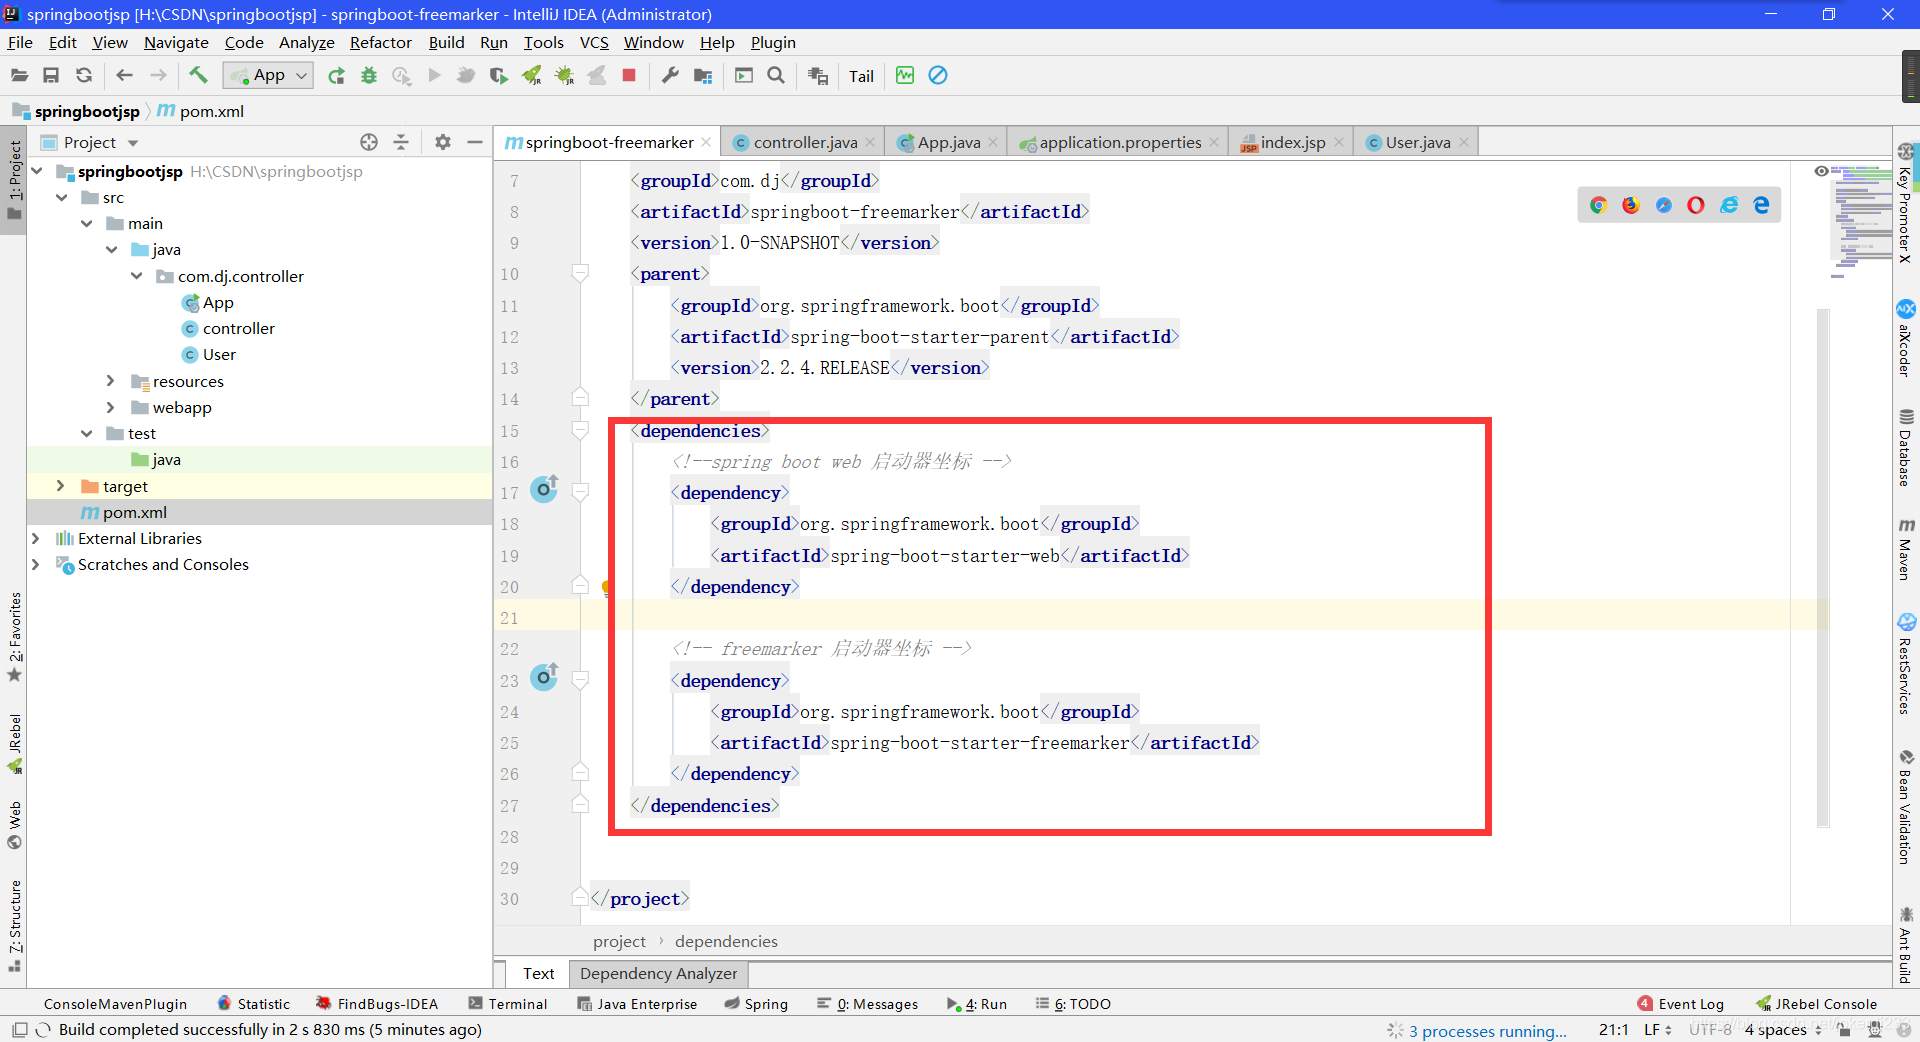
代碼:
<dependencies>
     <!--spring boot web 啟動器坐標 -->
     <dependency>
     	<groupId>org.springframework.boot</groupId>
    	<artifactId>spring-boot-starter-web</artifactId>
     </dependency>

     <!-- freemarker 啟動器坐標 -->
     <dependency>
     	<groupId>org.springframework.boot</groupId>
    	<artifactId>spring-boot-starter-freemarker</artifactId>
     </dependency>
  </dependencies>
- 編寫控制器Controller

- 視圖層 freemarker
freemarker 頁面必須放入src/main/resources下的templates目錄下,並且頁面的擴展名為:ftl

代碼:
<!DOCTYPE html>
<html>
<head>
<meta charset="UTF-8">
<title>用戶顯示頁面</title>
</head>
<body>
   <table border="1" width="60%" align="center">
       <tr>
       	  <td>用戶編號</td>
       	  <td>用戶名稱</td>
       	  <td>年齡</td>
       </tr>
	   <!--freemarker獲取request傳過來的數據  <#數據類型  key類型 as 遍歷元素名稱>-->
	   <#list list as user>
	       <tr>
	       	  <td>${user.id}</td>
	       	  <td>${user.username}</td>
	       	  <td>${user.age}</td>
	       </tr>
	   </#list>
   </table>
</body>
<html>
- 創建Spring Boot的全局配置文件 application.properties
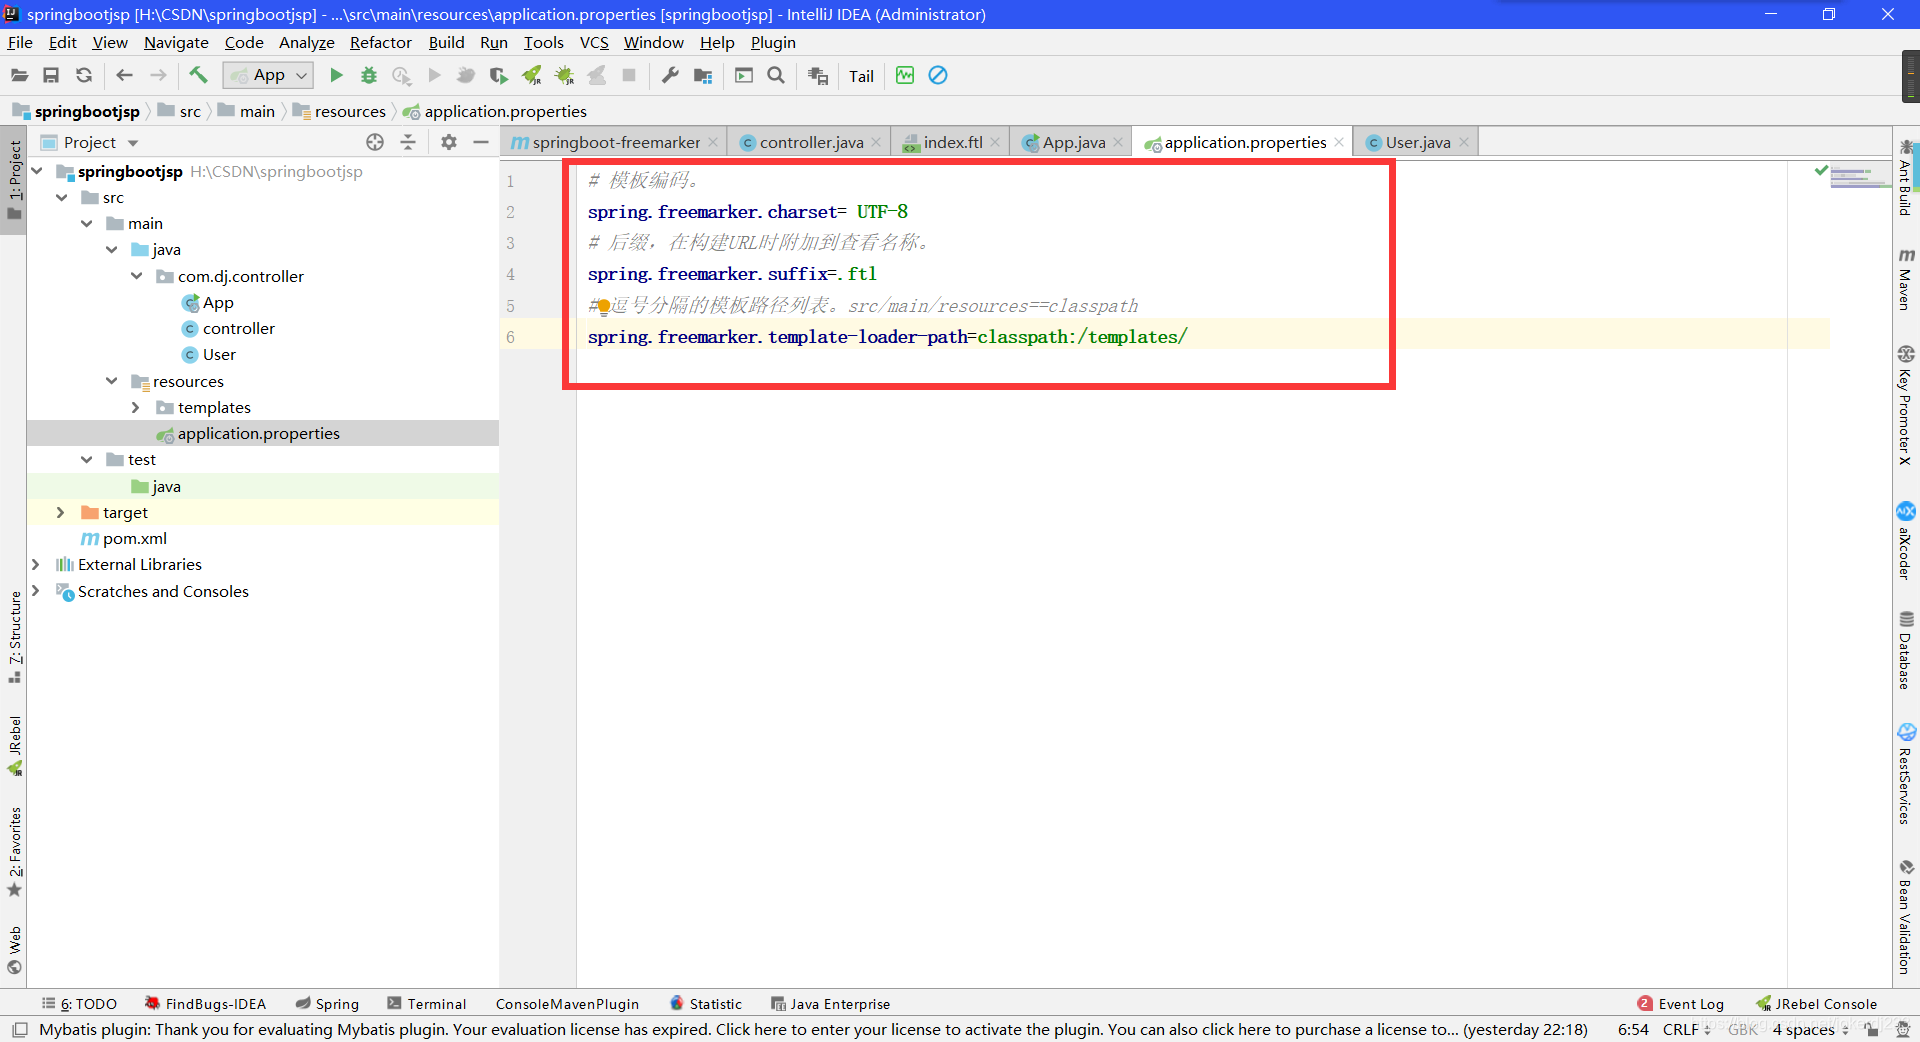
代碼:
# 模板編碼。
spring.freemarker.charset= UTF-8
# 尾碼,在構建URL時附加到查看名稱。
spring.freemarker.suffix=.ftl
# 逗號分隔的模板路徑列表。src/main/resources==classpath
spring.freemarker.template-loader-path=classpath:/templates/
server.port=8081
- 啟動類
@SpringBootApplication
public class App {
	public static void main(String[] args) {
		SpringApplication.run(App.class, args);
	}
}
運行


