VUE 組件化、快速開發 vue的生命周期: beforeCreate 組件剛剛被創建 created 組件創建之後 beforeMount 組件掛載之前 mounted 組件掛載之後 beforeDestroy 組件銷毀之前 destroyed 組件銷毀之後 vue安裝 首先要先安裝node.js ...
VUE 組件化、快速開發
vue的生命周期:
beforeCreate 組件剛剛被創建
created 組件創建之後
beforeMount 組件掛載之前
mounted 組件掛載之後
beforeDestroy 組件銷毀之前
destroyed 組件銷毀之後
vue安裝
首先要先安裝node.js,然後再安裝npm,然後換cnpm淘寶鏡像

由於使用cmd進入指定目錄非常不智能,因此推薦安裝git
去git官網下載,傻瓜式安裝即可
補充:git官網下載超級超級慢,推薦大家這個 https://npm.taobao.org/mirrors/git-for-windows/
安裝成功後進入項目目錄,右鍵-git bash here

全局安裝
cnpm install --global vue-cli

創建一個基於webpack模板的新項目
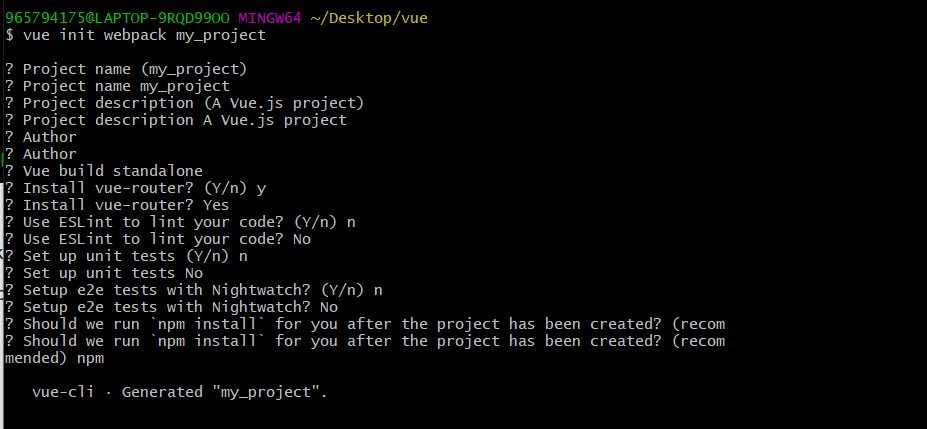
vue init webpack my_project


這樣代表安裝完成,查看項目

安裝依賴包
cd my_project
cnpm install
cnpm run dev

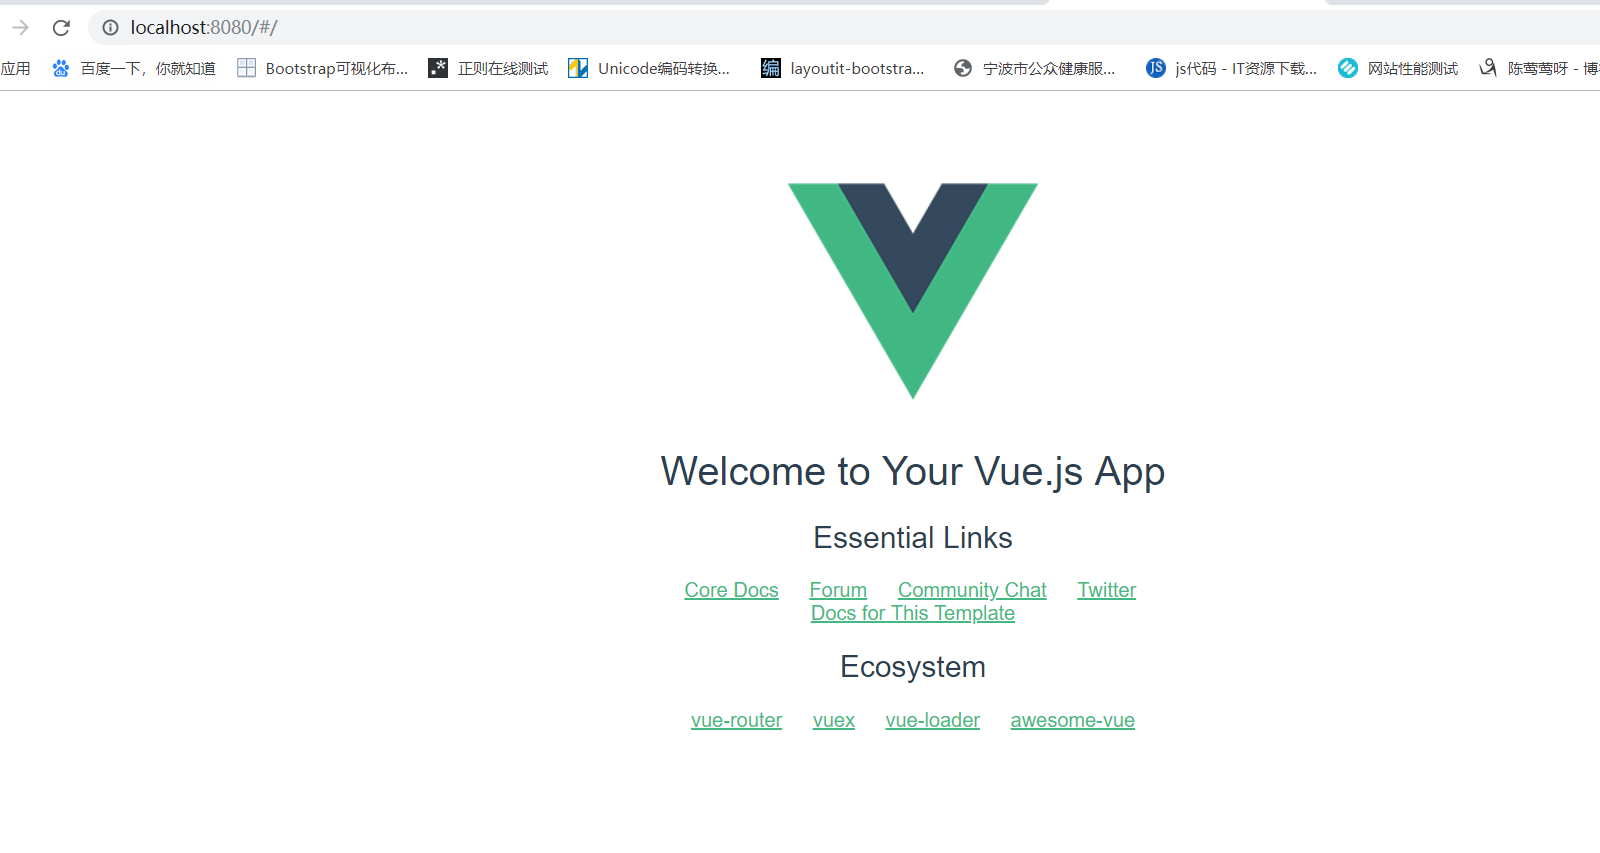
在瀏覽器訪問 localhost:8080

然後在編輯器打開項目,愛用啥編輯器就用啥,sublime也行,不過我最近比較喜歡vscode
在my_project的src目錄下,新建文件夾pages,在pages下新建文件夾demo1,在demo1下新建文件index.vue

在index.vue里敲點代碼

然後打開router->index.js
這個文件是用來設置路由的

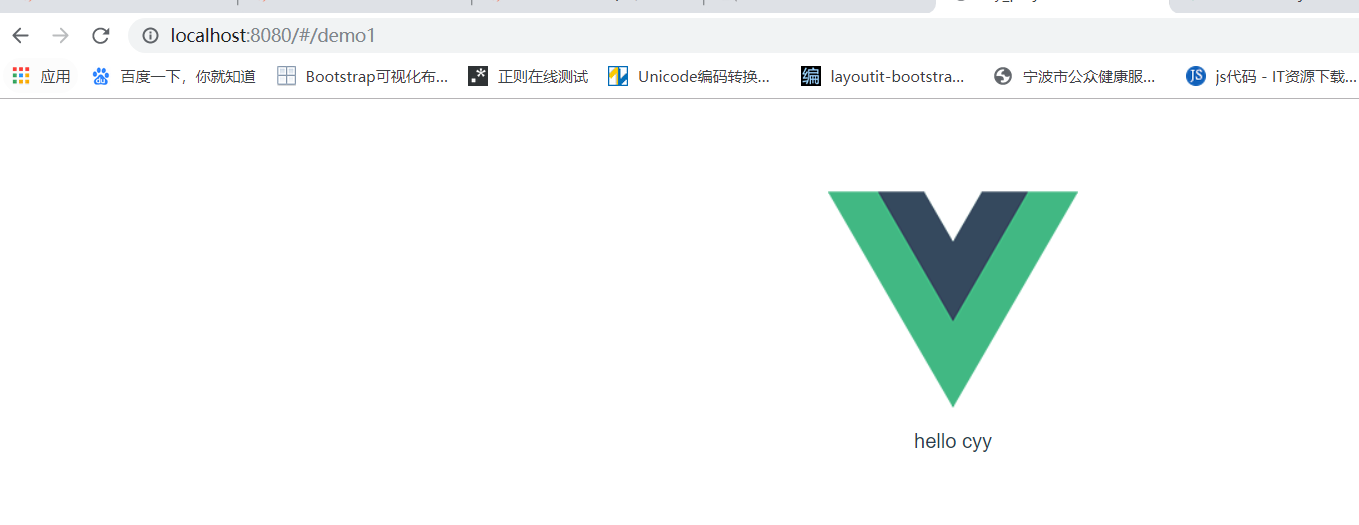
瀏覽器訪問:

接下來修改index.vue的代碼,查看下各個周期函數
<template>
    <div>hello cyy</div>
</template>

<script>
    export default{
        data(){
            return {

            }
        },
        beforeCreate(){
            console.log("beforeCreate");
        },
        created(){
            console.log("created");
        },
        beforeMount(){
            console.log("beforeMount");
        },
        mounted(){
            console.log("mounted");
        },
        beforeDestroy(){
            console.log("beforeDestroy");
        },
        destroyed(){
            console.log("destroyed");
        }
    }
</script>


