
一、項目概況 基於react+react-dom+react-router-dom+redux+react-redux+webpack2.0+react-photoswipe+swiper等技術混合開發的手機端仿微信界面聊天室——reactChatRoom,實現了聊天記錄下拉刷新、發送消息、表情(動 ...
一、項目概況
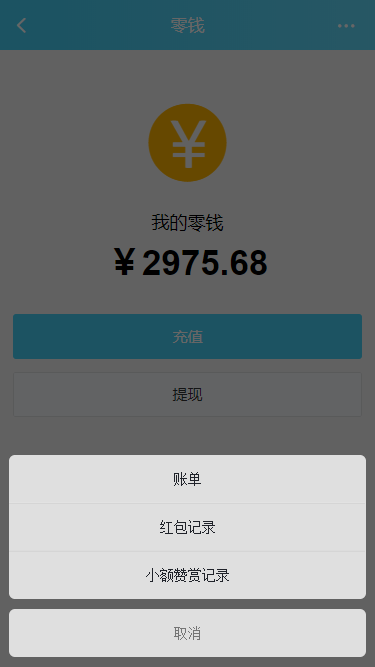
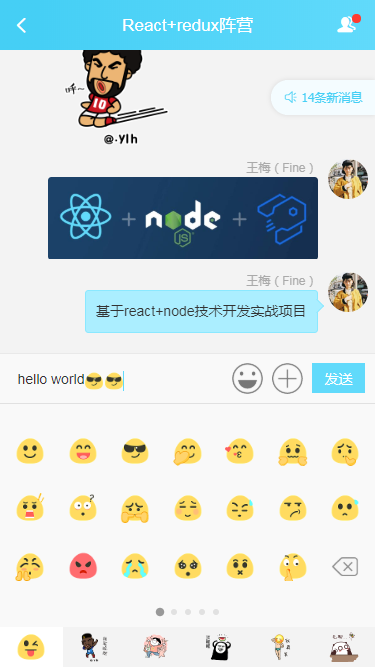
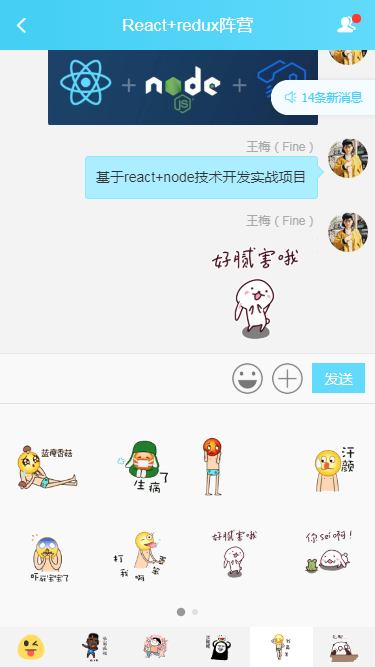
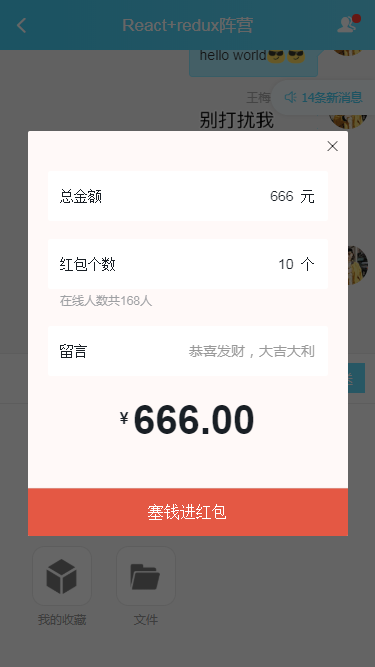
基於react+react-dom+react-router-dom+redux+react-redux+webpack2.0+react-photoswipe+swiper等技術混合開發的手機端仿微信界面聊天室——reactChatRoom,實現了聊天記錄下拉刷新、發送消息、表情(動圖),圖片、視頻預覽,打賞、紅包等功能。
二、技術棧
- MVVM框架:react / react-dom
- 狀態管理:redux / react-redux
- 頁面路由:react-router-dom
- 彈窗插件:wcPop
- 打包工具:webpack 2.0
- 環境配置:node.js + cnpm
- 圖片預覽:react-photoswipe
- 輪播滑動:swiper


◆ package.json依賴安裝:
{
  "name": "react-chatroom",
  "version": "0.1.0",
  "private": true,
  "author": "andy",
  "dependencies": {
    "react": "^16.8.6",
    "react-dom": "^16.8.6",
    "react-redux": "^7.0.3",
    "react-router-dom": "^5.0.0",
    "react-scripts": "0.9.x",
    "redux": "^4.0.1"
  },
  "devDependencies": {
    "jquery": "^2.2.3",
    "react-loadable": "^5.5.0",
    "react-photoswipe": "^1.3.0",
    "react-pullload": "^1.2.0",
    "redux-thunk": "^2.3.0",
    "swiper": "^4.5.0",
    "webpack": "^1.13.1",
    "webpack-dev-server": "^1.12.0"
  },
  "scripts": {
    "start": "set HOST=localhost&&set PORT=3003 && react-scripts start",
    "build": "react-scripts build",
    "test": "react-scripts test --env=jsdom",
    "eject": "react-scripts eject"
  }
}
◆ 入口頁面index.js配置
/*
 *  @desc 入口頁面index.js
 */
import React from 'react';
import ReactDOM from 'react-dom';
// import {HashRouter as Router, Route} from 'react-router-dom'
import App from './App';

// 引入狀態管理
import {Provider} from 'react-redux'
import {store} from './store'

// 導入公共樣式
import './assets/fonts/iconfont.css'
import './assets/css/reset.css'
import './assets/css/layout.css'
// 引入wcPop彈窗樣式
import './assets/js/wcPop/skin/wcPop.css'

// 引入js
import './assets/js/fontSize'

ReactDOM.render(
  <Provider store={store}>
    <App />
  </Provider>,
  document.getElementById('app')
);
◆ 頁面App.js主模板
import React, { Component } from 'react';
import {HashRouter as Router, Route, Switch, Redirect} from 'react-router-dom'
import {connect} from 'react-redux'

import $ from 'jquery'
// 引入wcPop彈窗插件
import { wcPop } from './assets/js/wcPop/wcPop'

// 引入地址路由
import routers from './router'

// 導入頂部、底部tabbar
import HeaderBar from './components/header'
import TabBar from './components/tabbar'

class App extends Component {
  constructor(props){
    super(props)
    console.log('App主頁面參數:\n' + JSON.stringify(props, null, 2))
  }
  render() {
    let token = this.props.token
    return (
      <Router>
        <div className="weChatIM__panel clearfix">
          <div className="we__chatIM-wrapper flexbox flex__direction-column">
            {/* 頂部 */}
            <Switch>
              <HeaderBar />
            </Switch>

            {/* 主頁面 */}
            <div className="wcim__container flex1">
              {/* 路由容器 */}
              <Switch>
                {
                  routers.map((item, index) => {
                    return <Route key={index} path={item.path} exact render={props => (
                      !item.meta || !item.meta.requireAuth ? (<item.component {...props} />) : (
                        token ? <item.component {...props} /> : <Redirect to={{pathname: '/login', state: {from: props.location}}} />
                      )
                    )} />
                  })
                }
                {/* 初始化頁面跳轉 */}
                <Redirect push to="/index" />
              </Switch>
            </div>

            {/* 底部tabbar */}
            <Switch>
              <TabBar />
            </Switch>
          </div>
        </div>
      </Router>
    );
  }
}

const mapStateToProps = (state) =>{
  return {
    ...state.auth
  }
}

export default connect(mapStateToProps)(App);
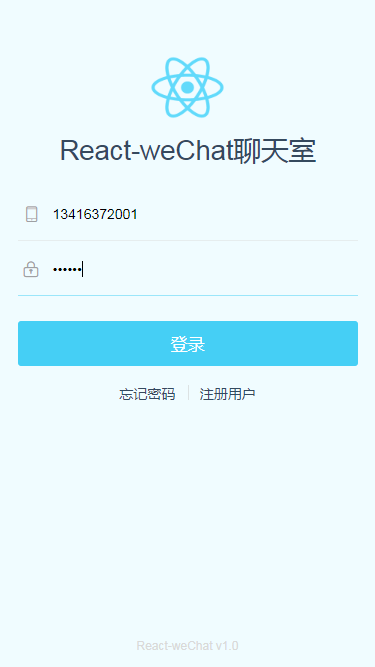
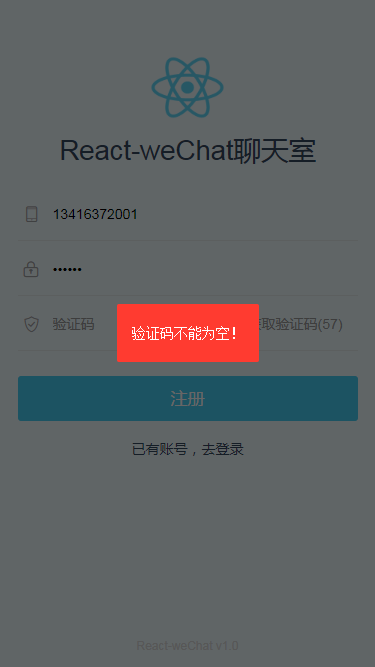
◆ react登錄、註冊模塊 / react登錄註冊驗證
import React, { Component } from 'react';
import { Link } from 'react-router-dom'
import { connect } from 'react-redux';

import * as actions from '../../store/action'

// 引入wcPop彈窗插件
import { wcPop } from '../../assets/js/wcPop/wcPop.js'

class Login extends Component {
    constructor(props) {
        super(props)
        this.state = {
            tel: '',
            pwd: '',
            vcode: '',

            vcodeText: '獲取驗證碼',
            disabled: false,
            time: 0
        }
    }

    componentDidMount(){
        if(this.props.token){
            this.props.history.push('/')
        }
    }

    render() {
        return (
            <div className="wcim__lgregWrapper flexbox flex__direction-column">
                ......
            </div>
        )
    }


    // 提交表單
    handleSubmit = (e) => {
        e.preventDefault();
        var that = this

        this.state.tel = this.refs.tel.value
        this.state.pwd = this.refs.pwd.value
        this.state.vcode = this.refs.vcode.value

        if (!this.state.tel) {
            wcPop({ content: '手機號不能為空!', style: 'background:#ff3b30;color:#fff;', time: 2 });
        } else if (!checkTel(this.state.tel)) {
            wcPop({ content: '手機號格式不正確!', style: 'background:#ff3b30;color:#fff;', time: 2 });
        } else if (!this.state.pwd) {
            wcPop({ content: '密碼不能為空!', style: 'background:#ff3b30;color:#fff;', time: 2 });
        } else if (!this.state.vcode) {
            wcPop({ content: '驗證碼不能為空!', style: 'background:#ff3b30;color:#fff;', time: 2 });
        } else {
            // 獲取登錄之前的頁面地址
            let redirectUrl = this.props.location.state ? this.props.location.state.from.pathname : '/'

            // 設置token
            this.props.authToken(getToken())
            this.props.authUser(this.state.tel)

            wcPop({
                content: '註冊成功!', style: 'background:#41b883;color:#fff;', time: 2,
                end: function () {
                    that.props.history.push(redirectUrl)
                }
            });
        }
    }

    // 60s倒計時
    handleVcode = (e) => {
        e.preventDefault();

        this.state.tel = this.refs.tel.value

        if (!this.state.tel) {
            wcPop({ content: '手機號不能為空!', style: 'background:#ff3b30;color:#fff;', time: 2 });
        } else if (!checkTel(this.state.tel)) {
            wcPop({ content: '手機號格式不正確!', style: 'background:#ff3b30;color:#fff;', time: 2 });
        } else {
            this.state.time = 60
            this.state.disabled = true
            this.countDown();
        }
    }

    countDown = (e) => {
        if(this.state.time > 0){
            this.state.time--
            this.setState({
                vcodeText: '獲取驗證碼(' + this.state.time + ')'
            })
            // setTimeout(this.countDown, 1000);
            setTimeout(() => {
                this.countDown()
            }, 1000);
        }else{
            this.setState({
                time: 0,
                vcodeText: '獲取驗證碼',
                disabled: false
            })
        }
    }
}

const mapStateToProps = (state) => {
    return {
        ...state.auth
    }
}

export default connect(mapStateToProps, {
    authToken: actions.setToken,
    authUser: actions.setUser
})(Login)


