一、 準備材料 伺服器 IP address 操作系統 位數 Redis 版本 CNT06CAH05 192.168.3.47 CentOS 6.5 x64 Redis-3.2.6 sentinel 001::28339 sentinel 002:28349 sentinel 003:28359 C ...
|
伺服器 |
IP address |
操作系統 |
位數 |
Redis 版本 |
|
|
CNT06CAH05 |
192.168.3.47 |
CentOS 6.5 |
x64 |
Redis-3.2.6 |
sentinel 001::28339 sentinel 002:28349 sentinel 003:28359 |
|
CNT06CAH06 |
192.168.3.48 |
CentOS 6.5 |
x64 |
Redis-3.2.6 |
master:16339 |
|
CNT06CAH07 |
192.168.3.49 |
CentOS 6.5 |
x64 |
Redis-3.2.6 |
slave 1:16349 |
|
CNT06CAH08 |
192.168.3.50 |
CentOS 6.5 |
x64 |
Redis-3.2.6 |
slave 2:16359 |
2.1 Redis運行依賴的軟體,主要有下麵七個,安裝命令如下。
root >> yum install glibc-kernheaders
root >> yum install glibc-common
root >> yum install glibc-devel
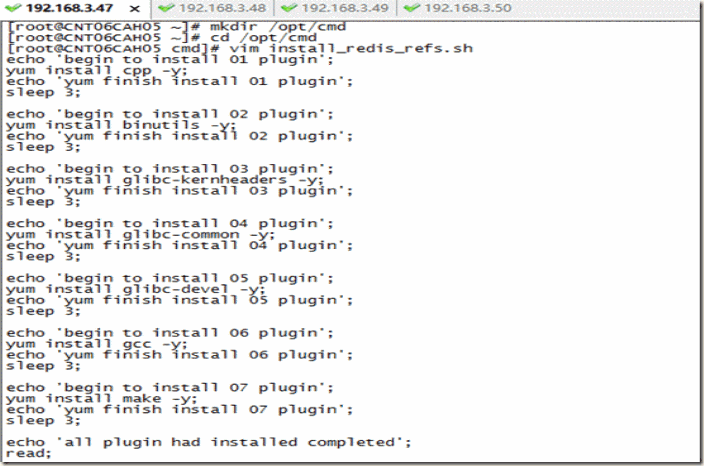
2.2 為了節約時間,我們可以創建批量執行命令文件,然後分別複製到四台伺服器上面執行,如下
root >> vim install_redis_refs.sh
按CTRL+i,進入vim的編輯模式,輸入批量安裝redis依賴軟體的命令如下
echo 'begin to install 01 plugin';
echo 'yum finish install 01 plugin';
echo 'begin to install 02 plugin';
echo 'yum finish install 02 plugin';
echo 'begin to install 03 plugin';
yum install glibc-kernheaders -y;
echo 'yum finish install 03 plugin';
echo 'begin to install 04 plugin';
echo 'yum finish install 04 plugin';
echo 'begin to install 05 plugin';
echo 'yum finish install 05 plugin';
echo 'begin to install 06 plugin';
echo 'yum finish install 06 plugin';
echo 'begin to install 07 plugin';
echo 'yum finish install 07 plugin';
echo 'all plugin had installed completed';
最後,記得按ESC,然後輸入:wq,完成文件的保存和退出,如下:
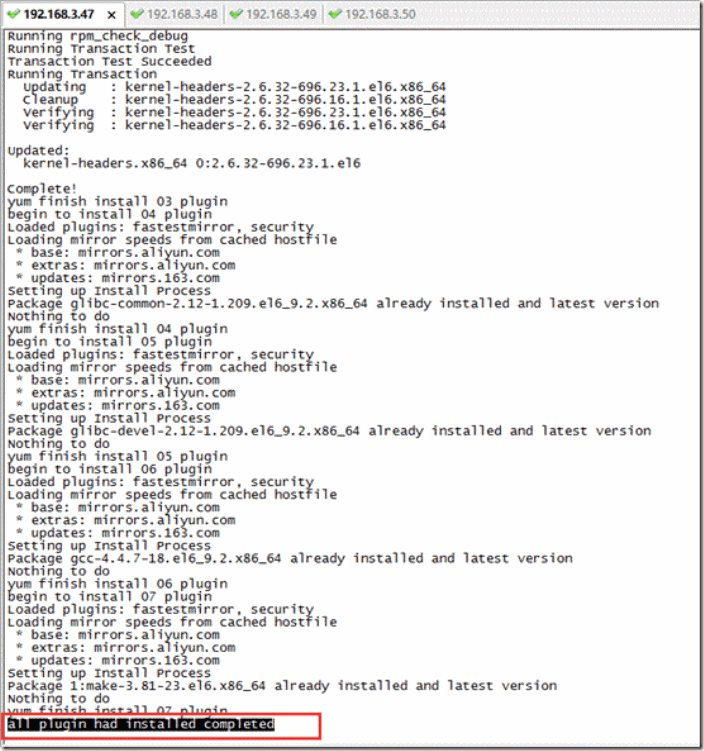
root >> chmod -R 777 /opt/cmd/install_redis_refs.sh
root >> /opt/cmd/install_redis_refs.sh
all plugin had installed completed
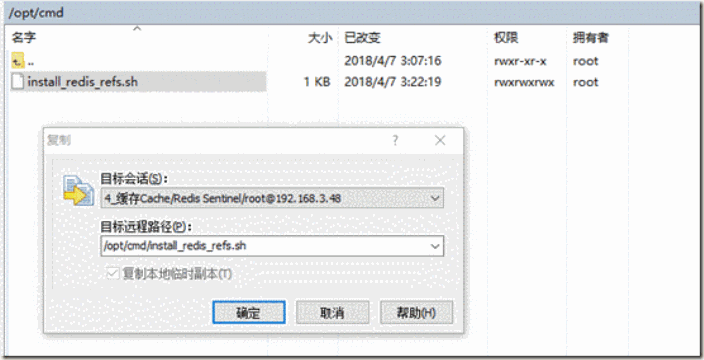
我們只需複製批量安裝腳本install_redis_refs.sh到此機器,指派文件許可權後,執行腳本即可。
通過WinSCP軟體,複製install_redis_refs.sh到CNT06CAH06的目錄cmd
複製完之後,就可以看到CNT06CAH06的目錄cmd下麵,多了一個腳本文件install_redis_refs.sh
root >> chmod -R 777 /opt/cmd/install_redis_refs.sh
root >> /opt/cmd/install_redis_refs.sh
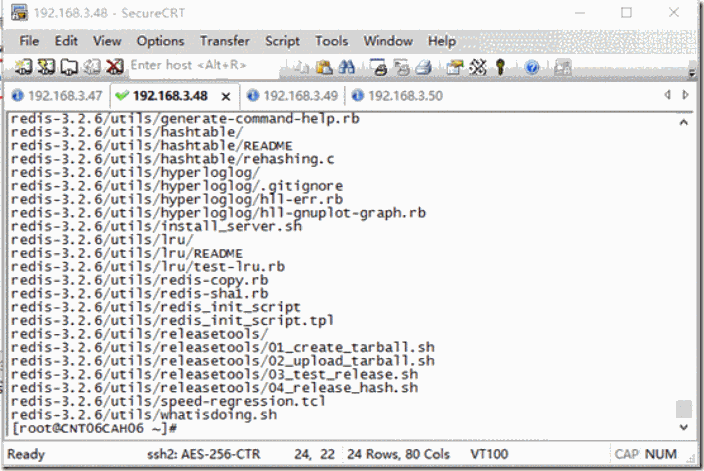
安裝redis的依賴軟體,具體步驟和上面“2.2.2【CNT06CAH06】”相同,故不再累述,只截圖最後的安裝結果如下
安裝redis的依賴軟體,具體步驟和上面“2.2.2【CNT06CAH06】”相同,故不再累述,只截圖最後的安裝結果如下
3.1 配置Reids節點(CNT06CAH06/CNT06CAH07/CNT06CAH08)
3.1.1 【CNT06CAH06】:配置Redis Master節點
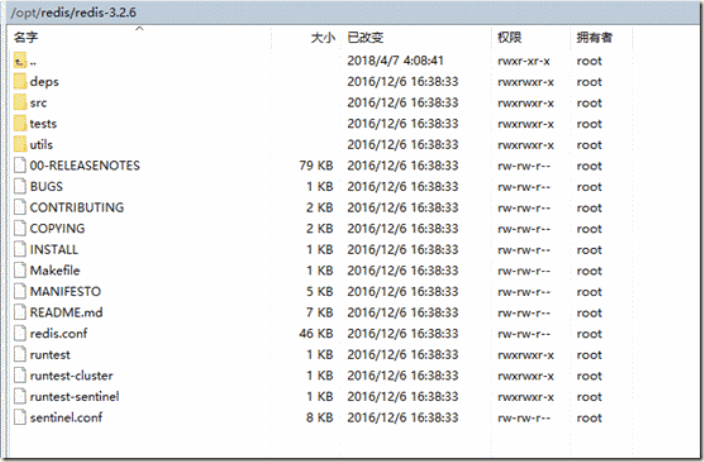
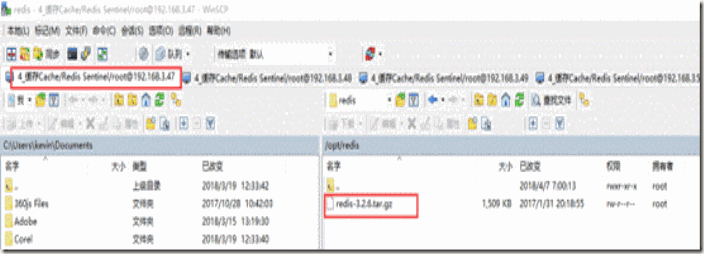
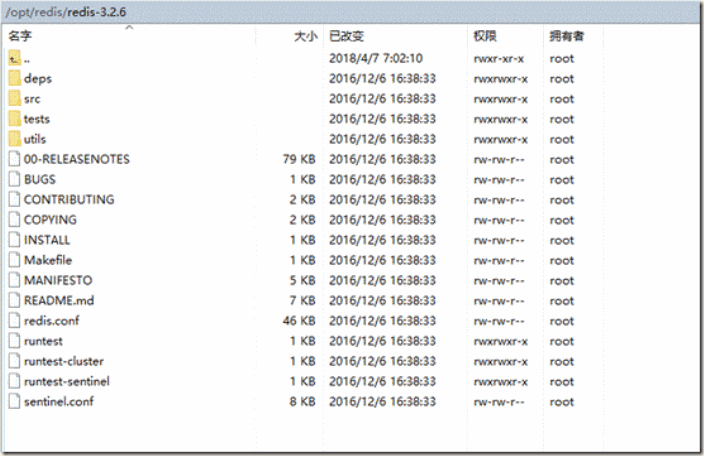
通過WinSCP複製redis的壓縮文件到伺服器目錄/opt/redis
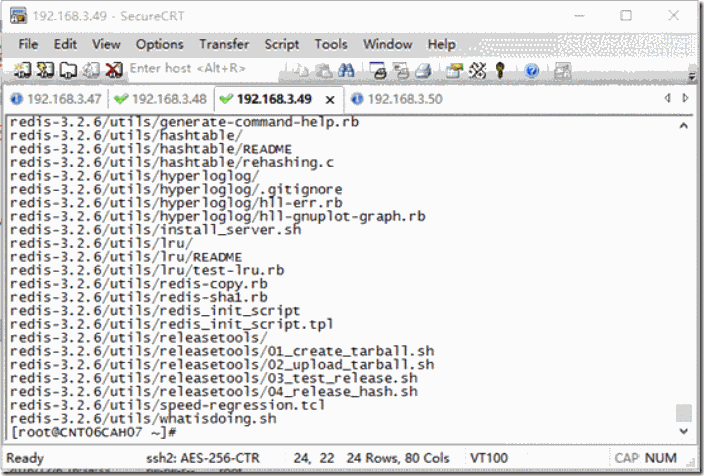
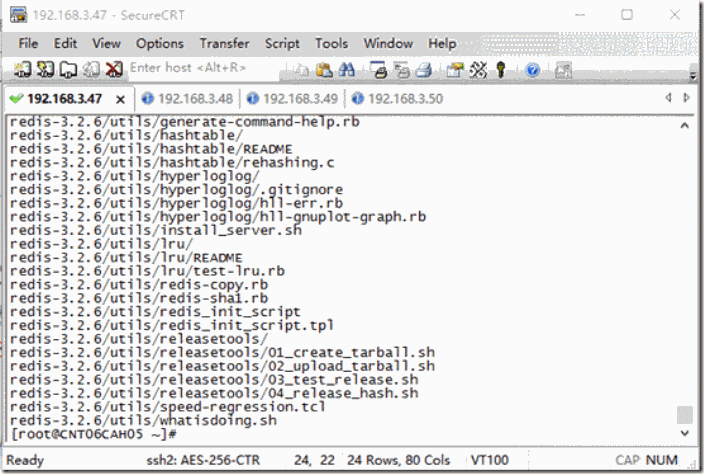
tar zxvf /opt/redis/redis-3.2.6.tar.gz -C /opt/redis/
配置redis.conf文件,設置master節點的相關參數
root >> mkdir /opt/redis/data -- 後面配置數據文件的存放目錄用到
root >> mkdir /opt/redis/log -- 後面配置日誌文件的存放目錄用到
root >> vim /opt/redis/redis-3.2.6/redis.conf
bind 0.0.0.0 -- new : 表示允許所有客戶端IP訪問
port 16339 -- new: redis master的訪問埠
logfile "/opt/redis/log/redis.log" -- new: 日誌文件的存放目錄
dir /opt/redis/data/ -- new: 數據文件的存放目錄
3.1.2 【CNT06CAH07】:配置Redis Slave 1節點
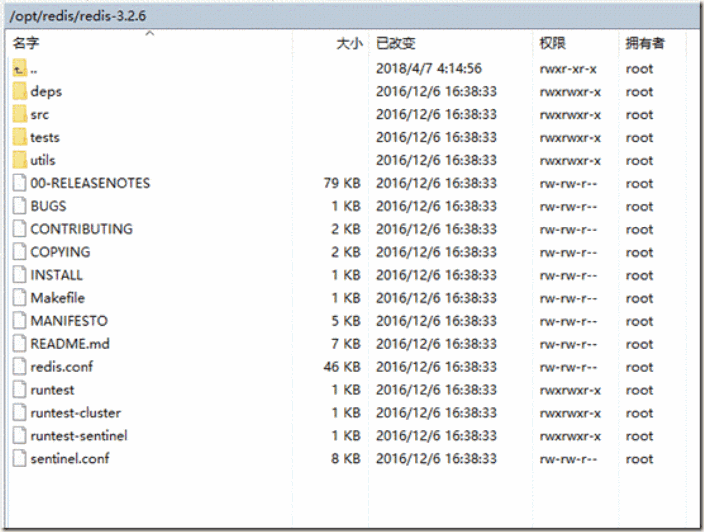
通過WinSCP複製redis的壓縮文件到伺服器目錄/opt/redis
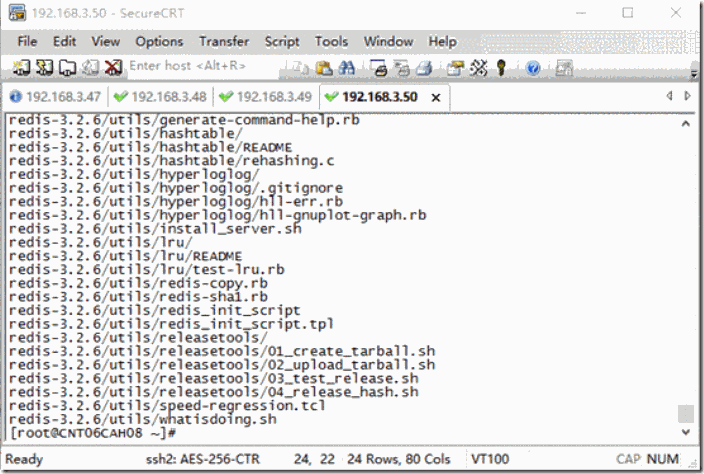
tar zxvf /opt/redis/redis-3.2.6.tar.gz -C /opt/redis/
配置redis.conf文件,設置slave 1節點的相關參數
root >> mkdir /opt/redis/data -- 後面配置數據文件的存放目錄用到
root >> mkdir /opt/redis/log -- 後面配置日誌文件的存放目錄用到
root >> vim /opt/redis/redis-3.2.6/redis.conf
slaveof 192.168.3.48 16339 -- new: 設置當前機器為master節點的Slave節點
bind 0.0.0.0 -- new : 表示允許所有客戶端IP訪問
port 16349 -- new: redis slave 1的訪問埠
logfile "/opt/redis/log/redis.log" -- new: 日誌文件的存放目錄
dir /opt/redis/data/ -- new: 數據文件的存放目錄
3.1.3 【CNT06CAH08】:配置Redis Slave 2節點
通過WinSCP複製redis的壓縮文件到伺服器目錄/opt/redis
tar zxvf /opt/redis/redis-3.2.6.tar.gz -C /opt/redis/
配置redis.conf文件,設置slave 2節點的相關參數
root >> mkdir /opt/redis/data -- 後面配置數據文件的存放目錄用到
root >> mkdir /opt/redis/log -- 後面配置日誌文件的存放目錄用到
root >> vim /opt/redis/redis-3.2.6/redis.conf
slaveof 192.168.3.48 16339 -- new: 設置當前機器為master節點的Slave節點
bind 0.0.0.0 -- new : 表示允許所有客戶端IP訪問
port 16359 -- new: redis slave 2的訪問埠
logfile "/opt/redis/log/redis.log" -- new: 日誌文件的存放目錄
dir /opt/redis/data/ -- new: 數據文件的存放目錄
3.2 啟動Reids節點(CNT06CAH06/CNT06CAH07/CNT06CAH08)
3.2.1 【CNT06CAH06】:啟動Redis Master節點
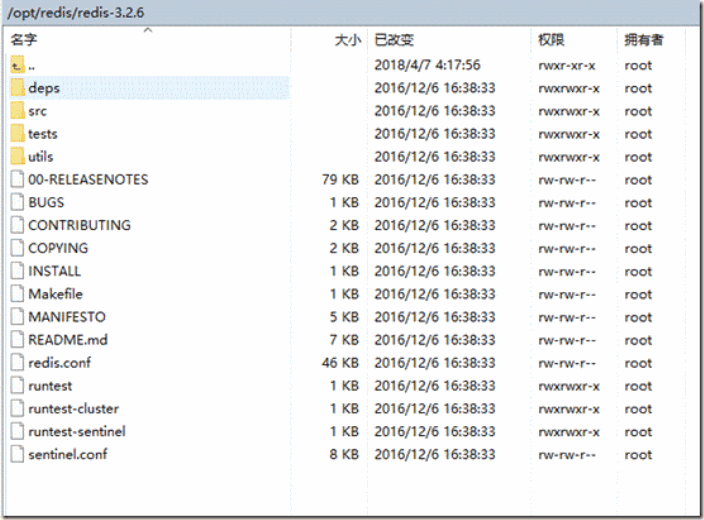
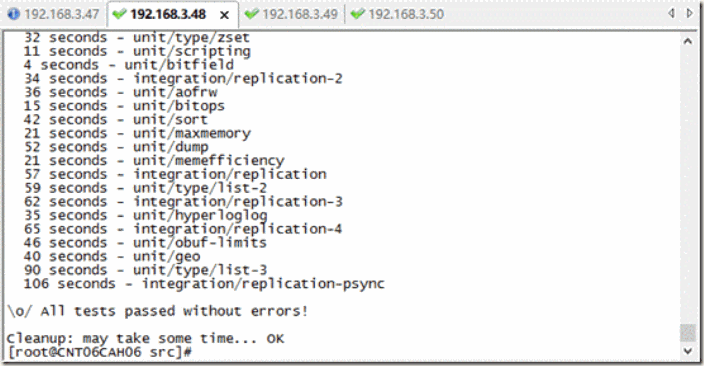
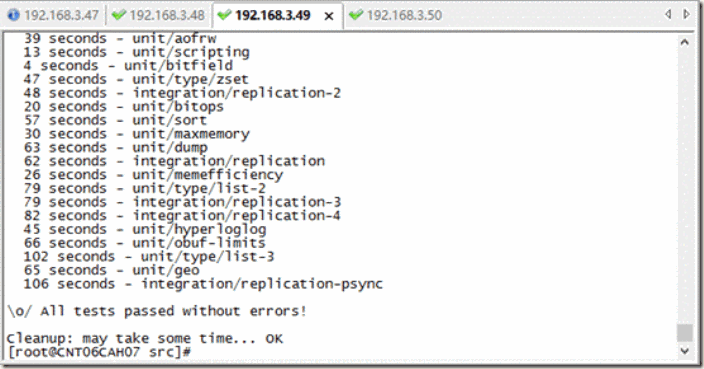
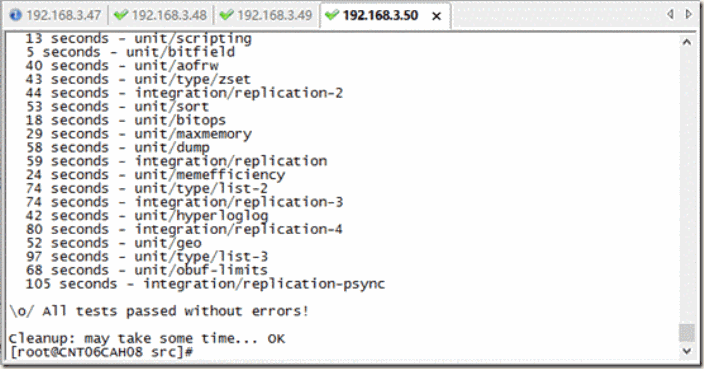
首先,執行make test命令,測試檢查redis安裝包文件是否OK
root >> cd /opt/redis/redis-3.2.6/src
root >> cd /opt/redis/redis-3.2.6/src
root >> ./redis-server ../redis.conf &
3.2.2 【CNT06CAH07】:啟動Redis Slave 1節點
首先,執行make test命令,測試檢查redis安裝包文件是否OK
root >> cd /opt/redis/redis-3.2.6/src
root >> cd /opt/redis/redis-3.2.6/src
root >> ./redis-server ../redis.conf &
3.2.3 【CNT06CAH08】:啟動Redis Slave2節點
首先,執行make test命令,測試檢查redis安裝包文件是否OK
root >> cd /opt/redis/redis-3.2.6/src
root >> cd /opt/redis/redis-3.2.6/src
root >> ./redis-server ../redis.conf &
3.3 測試Reids節點(CNT06CAH06/CNT06CAH07/CNT06CAH08)
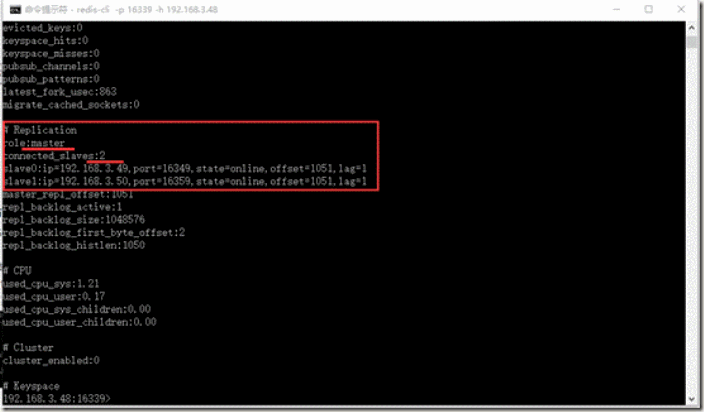
3.3.1 【CNT06CAH06】:測試Redis Master節點
win >> cd "F:\緩存技術\Redis\client\Redis-x64-3.2.100"
win >> redis-cli -p 16339 -h 192.168.3.48
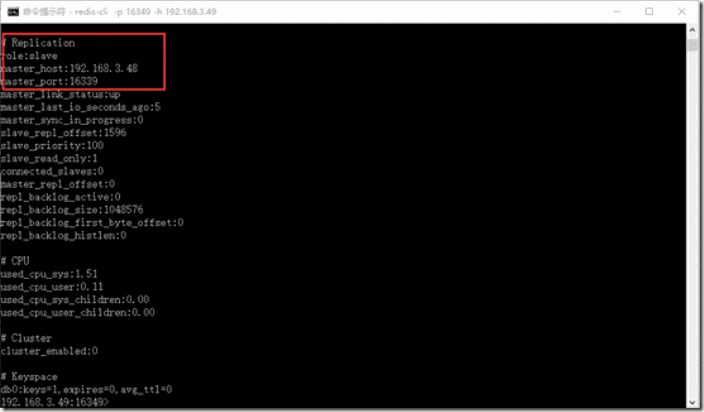
3.3.2 【CNT06CAH07】:測試Redis Slave 1節點
win >> cd "F:\緩存技術\Redis\client\Redis-x64-3.2.100"
win >> redis-cli -p 16349 -h 192.168.3.49
# win >> set k_1 "hello redis world" # 註意: slave 節點不能寫數據,只能讀數據
3.3.3 【CNT06CAH08】:測試Redis Slave 2節點
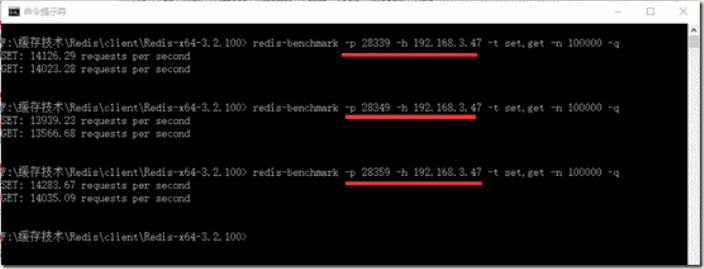
參考網址 :Redis 性能測試:http://www.redis.net.cn/tutorial/3521.html
root >> redis-benchmark -p 16339 -h 192.168.3.48 -t set,lpush,get -n 100000 -q
4.1 配置Sentinel節點(CNT06CAH06/CNT06CAH07/CNT06CAH08)
4.1.1 【CNT06CAH05】:配置Redis Sentinel節點
通過WinSCP複製redis的壓縮文件到伺服器目錄/opt/redis
tar zxvf /opt/redis/redis-3.2.6.tar.gz -C /opt/redis/
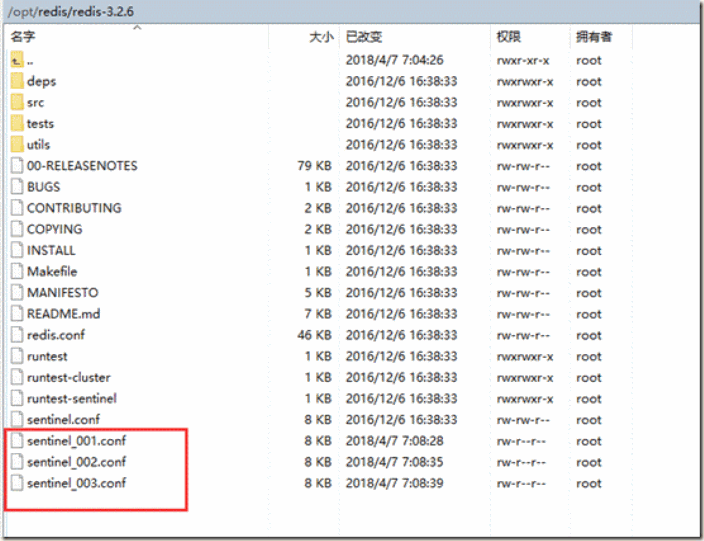
因為我們要模擬三台Sentinel哨兵節點,所以我這裡複製三份sentinel.conf文件。
(為了用三個sentinel實例表示三台sentinel伺服器節點,這裡因為機器有限放在一臺機器上,生產要分別部署到不同sentinel機器)
root >> cd /opt/redis/redis-3.2.6
root >> cp ./sentinel.conf ./sentinel_001.conf
root >> cp ./sentinel.conf ./sentinel_002.conf
root >> cp ./sentinel.conf ./sentinel_003.conf
4.1.2 配置sentinel_001.conf文件,設置sentinel 001節點的相關參數
root >> mkdir -p /opt/redis/tmp/sentinel_001 -- Sentinel服務運行時使用的臨時文件夾
root >> vim /opt/redis/redis-3.2.6/sentinel_001.conf
# bind 127.0.0.1 192.168.1.1 -- old
bind 0.0.0.0 -- new : 表示任意客戶端可以訪問
# sentinel monitor mymaster 127.0.0.1 6379 2
sentinel monitor master001 192.168.3.48 16339 2 -- new: 表示監聽redis master伺服器192.168.3.48:16339,如果n=2個sentinel訪問失效,則執行failover
port 28339 -- new: sentinel 001 的訪問埠
# dir /tmp -- old : Sentinel服務運行時使用的臨時文件夾
dir /opt/redis/tmp/sentinel_001 -- new: Sentinel服務運行時使用的臨時文件夾
# sentinel down-after-milliseconds mymaster 30000
sentinel down-after-milliseconds master001 30000
# sentinel parallel-syncs mymaster 1
sentinel parallel-syncs master001 1
# sentinel failover-timeout mymaster 180000
sentinel failover-timeout master001 180000
4.1.3 配置sentinel_002.conf文件,設置sentinel 002節點的相關參數
# root >> mkdir -p /opt/redis/tmp/sentinel_002 -- Sentinel服務運行時使用的臨時文件夾
root >> vim /opt/redis/redis-3.2.6/sentinel_002.conf
# bind 127.0.0.1 192.168.1.1 -- old
bind 0.0.0.0 -- new : 表示任意客戶端可以訪問
# sentinel monitor mymaster 127.0.0.1 6379 2
sentinel monitor master001 192.168.3.48 16339 2 -- new: 表示監聽redis master伺服器192.168.3.48:16339,如果n=2個sentinel訪問失效,則執行failover
port 28349 -- new: sentinel 002 的訪問埠
# dir /tmp -- old : Sentinel服務運行時使用的臨時文件夾
dir /opt/redis/tmp/sentinel_002 -- new: Sentinel服務運行時使用的臨時文件夾
4.1.4 配置sentinel_003.conf文件,設置sentinel 003節點的相關參數
# root >> mkdir -p /opt/redis/tmp/sentinel_003 -- Sentinel服務運行時使用的臨時文件夾
root >> vim /opt/redis/redis-3.2.6/sentinel_003.conf
# bind 127.0.0.1 192.168.1.1 -- old
bind 0.0.0.0 -- new : 表示任意客戶端可以訪問
# sentinel monitor mymaster 127.0.0.1 6379 2
sentinel monitor master001 192.168.3.48 16339 2 -- new: 表示監聽redis master伺服器192.168.3.48:16339,如果n=2個sentinel訪問失效,則執行failover
port 28359 -- new: sentinel 003 的訪問埠
# dir /tmp -- old : Sentinel服務運行時使用的臨時文件夾
dir /opt/redis/tmp/sentinel_003 -- new: Sentinel服務運行時使用的臨時文件夾
4.2 啟動Sentinel節點(Sentinel 001/Sentinel 002/Sentinel 003)
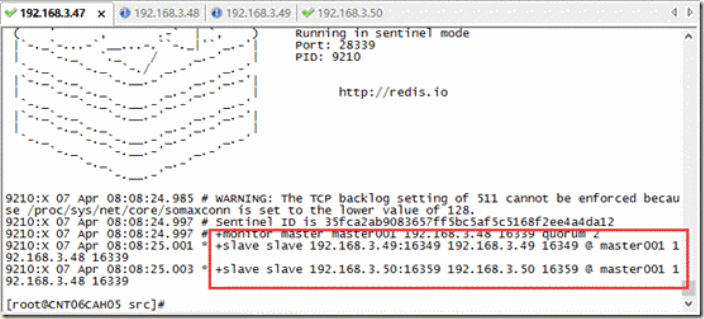
4.2.1 【CNT06CAH05】:啟動Sentinel 001/002/003節點
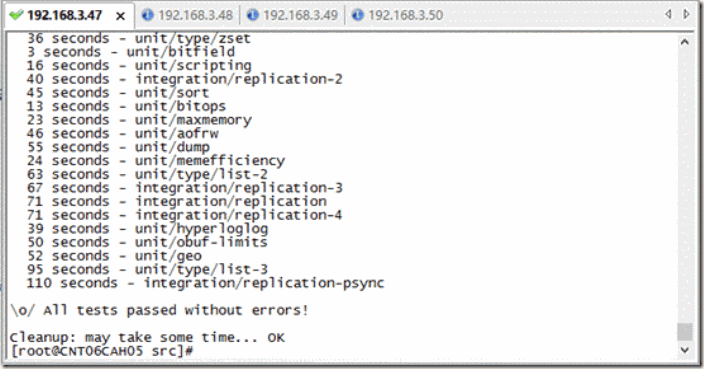
首先,執行make test命令,測試檢查redis安裝包文件是否OK
root >> cd /opt/redis/redis-3.2.6/src
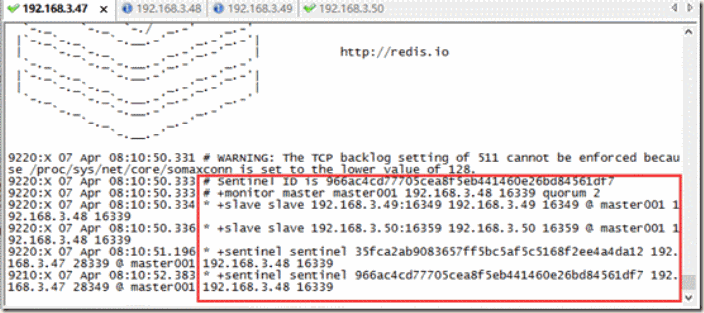
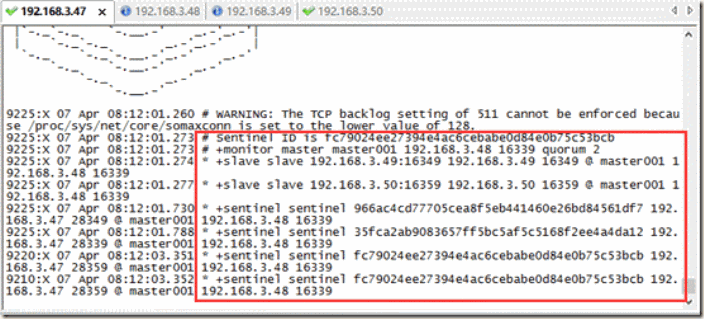
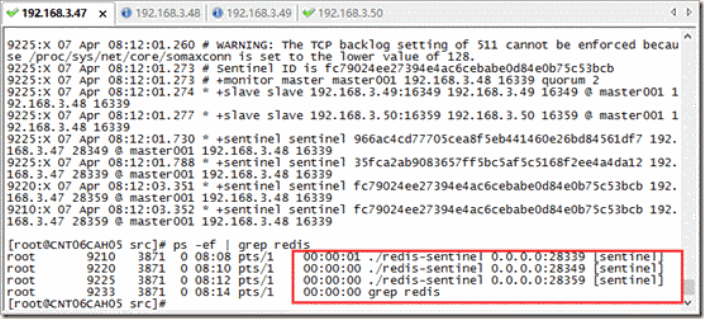
最後, 分別啟動sentinel 001/002/003節點的sentinel哨兵服務,步驟分別如下:
root >> cd /opt/redis/redis-3.2.6/src
root >>./redis-sentinel ../sentinel_001.conf &
root >> cd /opt/redis/redis-3.2.6/src
root >>./redis-sentinel ../sentinel_002.conf &
root >> cd /opt/redis/redis-3.2.6/src
root >>./redis-sentinel ../sentinel_003.conf &
最後,至此全部的Redis + Sentinel集群安裝和部署,就都完成了。前臺java程式可以通過sentinel的IP和埠實例進行讀寫訪問,如下
【本人原創】,歡迎交流和分享技術,轉載請附上如下內容:
如果你覺得這篇文章對你有幫助,請記得幫我點贊, 謝謝!作者:kevin【轉自】http://www.cnblogs.com/itshare/

