官網: https://spring.io/ 更多spring cloud zookeeper 參考 https://docs.spring.io/spring-cloud-zookeeper/docs/current/reference/html 左側菜單 向下找到 spring Cloud Zo ...
官網:
https://spring.io/
更多spring cloud zookeeper 參考
https://docs.spring.io/spring-cloud-zookeeper/docs/current/reference/html
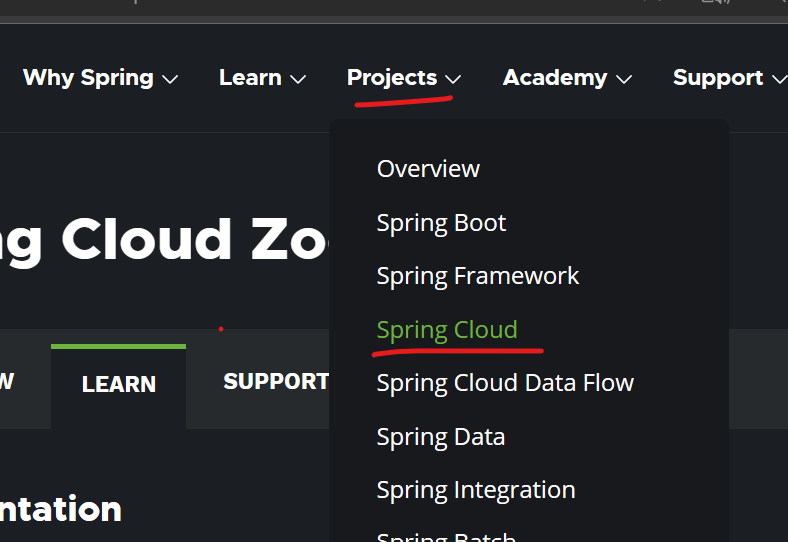
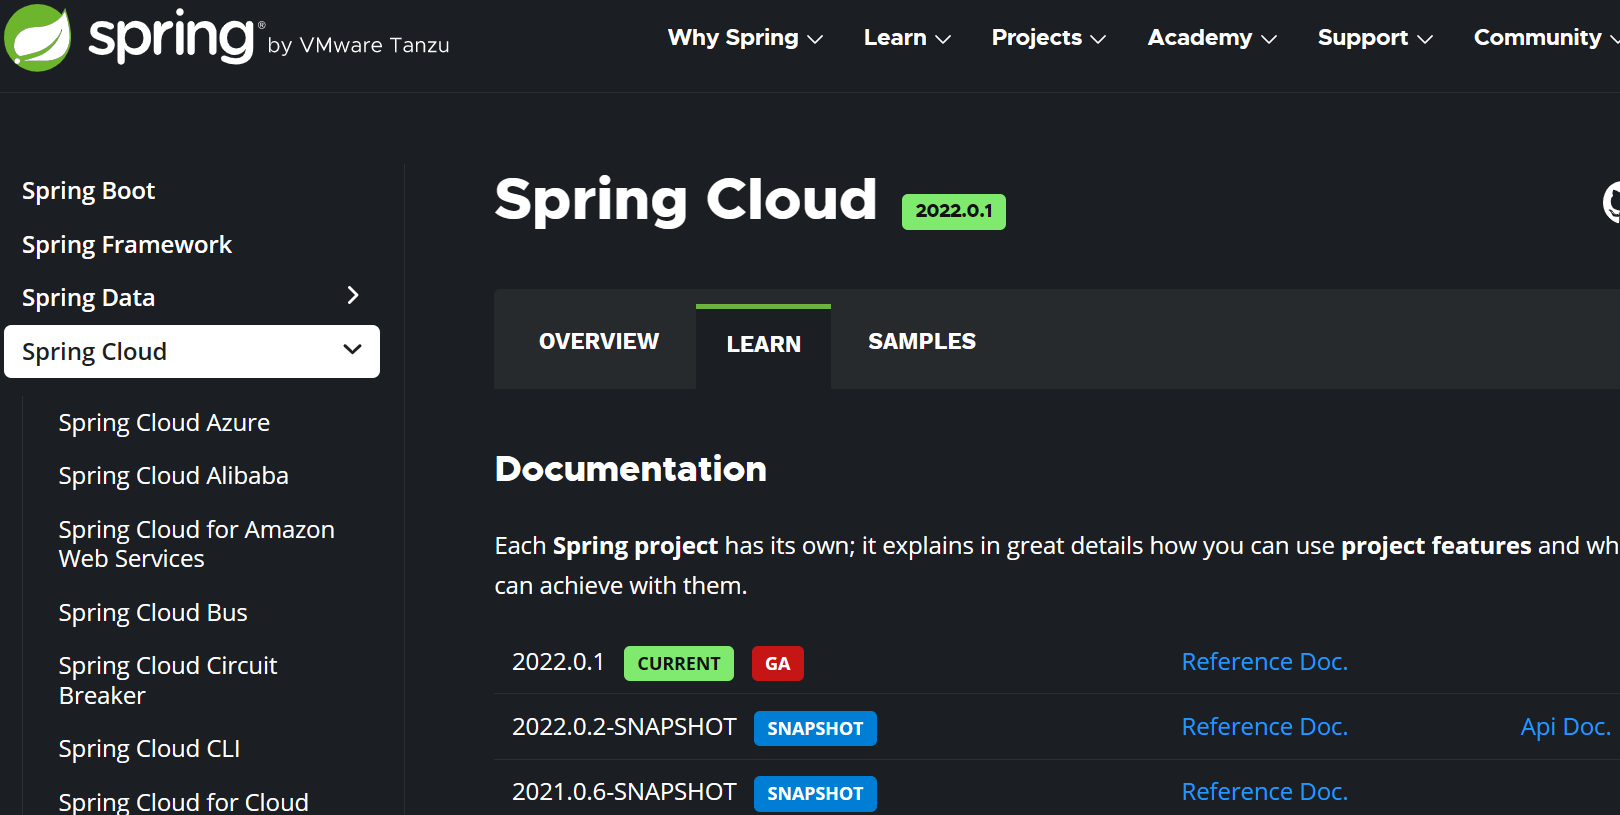
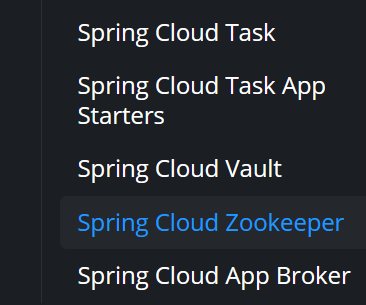
左側菜單 向下找到 spring Cloud Zookeeper
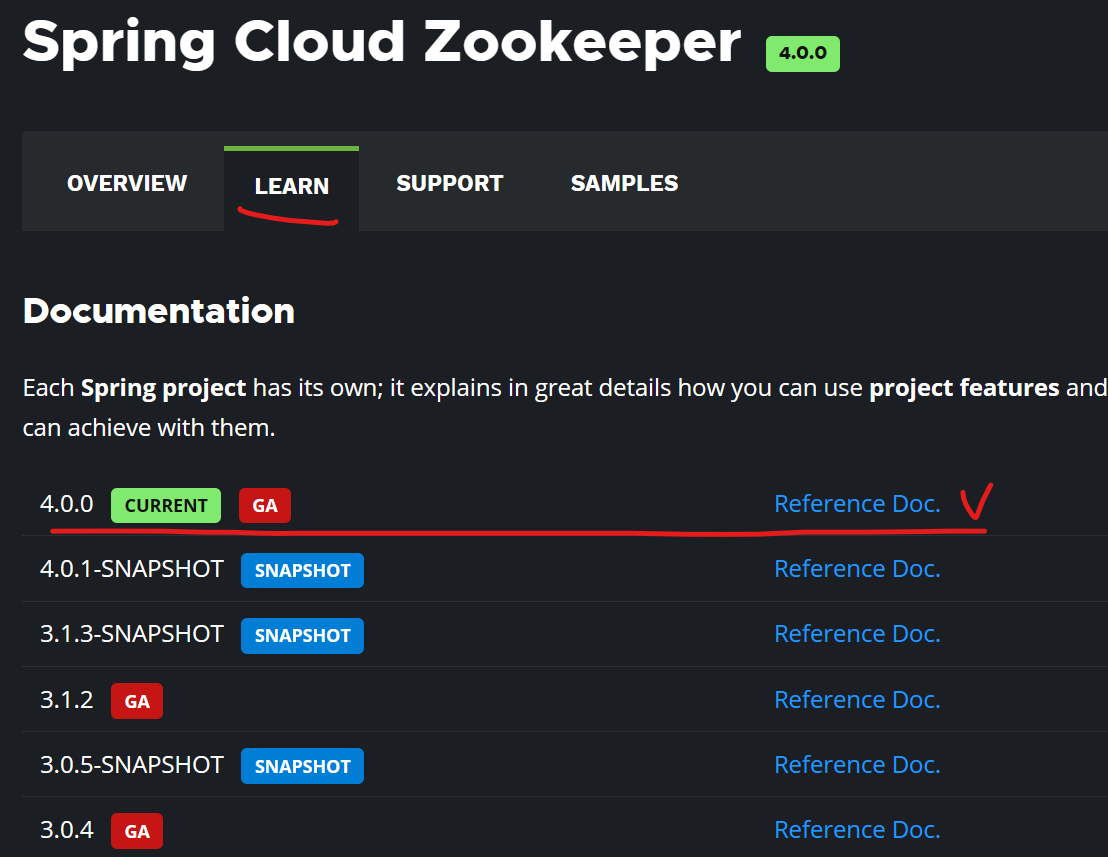
所有我們希望看到的都在 Reference Doc 中,點擊進入
連接zookeeper伺服器
First, run Zookeeper on your machine. Then you can access it and use it as a Service Registry and Configuration source with Spring Cloud Zookeeper.
首先,安裝zookeeper ,然後 就可以利用spring cloud zookeeper 把zookeeper伺服器,當做註冊伺服器訪問
在程式中要啟用zookeeper可以在spring boot 程式中依賴 spring-cloud-zookeeper-core and spring-cloud-zookeeper-discovery 來實現,
The most convenient way to add the dependency is with a Spring Boot starter: org.springframework.cloud:spring-cloud-starter-zookeeper-discovery.
但是最方便的的方式是 依賴 spring-cloud-starter-zookeeper-discovery.
修改zookeeper伺服器地址
When this HTTP server runs, it connects to Zookeeper, which runs on the default local port (2181). To modify the startup behavior, you can change the location of Zookeeper by using application.properties, as shown in the following example:
spring:
  cloud:
    zookeeper:
      connect-string: localhost:2181
從zookeeper獲取數據
You can now use DiscoveryClient, @LoadBalanced RestTemplate, or @LoadBalanced WebClient.Builder to retrieve services and instances data from Zookeeper, as shown in the following example:
@Autowired
private DiscoveryClient discoveryClient;

public String serviceUrl() {
    List<ServiceInstance> list = discoveryClient.getInstances("STORES");
    if (list != null && list.size() > 0 ) {
        return list.get(0).getUri().toString();
    }
    return null;
}


服務提供者(provider)Pom.xml<?xml version="1.0" encoding="UTF-8"?> <project xmlns="http://maven.apache.org/POM/4.0.0" xmlns:xsi="http://www.w3.org/2001/XMLSchema-instance" xsi:schemaLocation="http://maven.apache.org/POM/4.0.0 http://maven.apache.org/xsd/maven-4.0.0.xsd"> <parent> <artifactId>springcloud19</artifactId> <groupId>com.hztech</groupId> <version>1.0-SNAPSHOT</version> </parent> <modelVersion>4.0.0</modelVersion> <artifactId>consumer-zk-order80</artifactId> <properties> <maven.compiler.source>19</maven.compiler.source> <maven.compiler.target>19</maven.compiler.target> <project.build.sourceEncoding>UTF-8</project.build.sourceEncoding> <zookeeper.version>4.0.0</zookeeper.version> </properties> <dependencies> <!-- zookeeper client --> <dependency> <groupId>org.springframework.cloud</groupId> <artifactId>spring-cloud-starter-zookeeper</artifactId> <version>${zookeeper.version}</version> </dependency> <dependency> <groupId>org.springframework.cloud</groupId> <artifactId>spring-cloud-zookeeper-discovery</artifactId> <version>${zookeeper.version}</version> </dependency> <!-- 引入公用模塊--> <dependency> <groupId>com.hztech</groupId> <artifactId>common-api</artifactId> <version>1.0-SNAPSHOT</version> </dependency> <dependency> <groupId>org.springframework.boot</groupId> <artifactId>spring-boot-starter-web</artifactId> </dependency> <dependency> <groupId>org.springframework.boot</groupId> <artifactId>spring-boot-starter-actuator</artifactId> </dependency> <dependency> <groupId>org.mybatis.spring.boot</groupId> <artifactId>mybatis-spring-boot-starter</artifactId> </dependency> <dependency> <groupId>org.springframework.boot</groupId> <artifactId>spring-boot-devtools</artifactId> <scope>runtime</scope> <optional>true</optional> </dependency> <dependency> <groupId>org.projectlombok</groupId> <artifactId>lombok</artifactId> <optional>true</optional> </dependency> <dependency> <groupId>org.springframework.boot</groupId> <artifactId>spring-boot-starter-test</artifactId> <scope>test</scope> </dependency> </dependencies> </project>
服務提供者(provider)application.yml
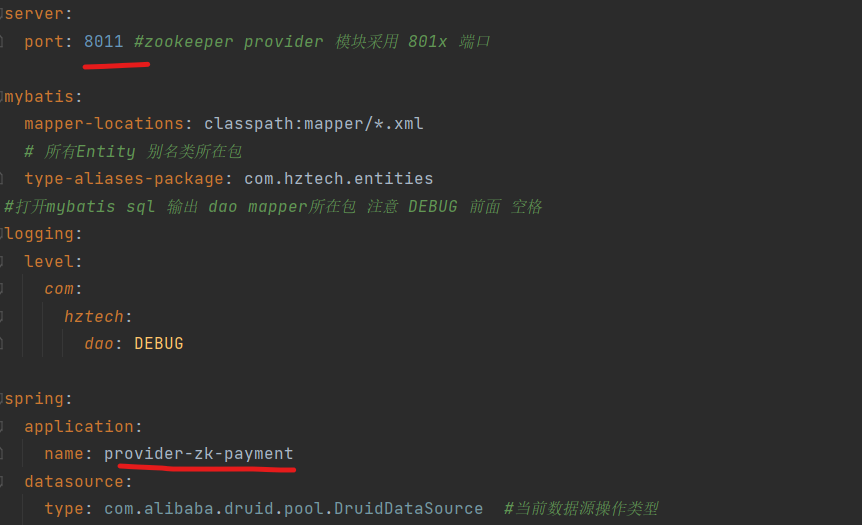
服務提供者(provider) Main()@SpringBootApplication @EnableDiscoveryClient public class PaymentZkMain8011 { public static void main(String[] args) { SpringApplication.run( PaymentZkMain8011.class, args); } }
運行效果
啟動程式

登錄zookeeper客戶端( bin/zkCli.sh -server IP)
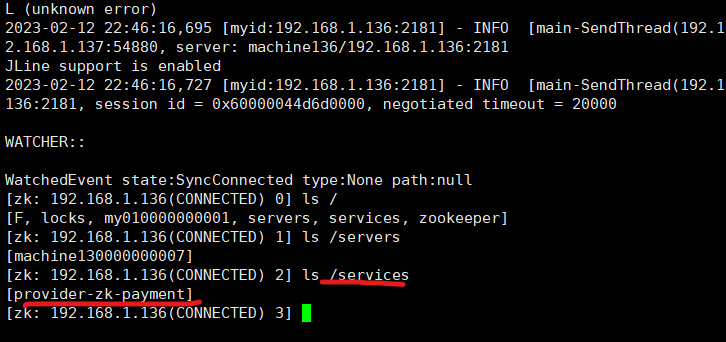
可以看到服務已經成功註冊到zookeeper服務中
讀取數據
[zk: machine136(CONNECTED) 4] get /services/provider-zk-payment/6ab8deaf-b6bd-4597-84fb-41d991c24636
{"name":"provider-zk-payment","id":"6ab8deaf-b6bd-4597-84fb-41d991c24636","address":"localhost","port":8011,"sslPort":null,"payload":{"@class":"org.springframework.cloud.zookeeper.discovery.ZookeeperInstance","id":"provider-zk-payment","name":"provider-zk-payment","metadata":{"instance_status":"UP"}},"registrationTimeUTC":1676184308283,"serviceType":"DYNAMIC","uriSpec":{"parts":[{"value":"scheme","variable":true},{"value":"://","variable":false},{"value":"address","variable":true},{"value":":","variable":false},{"value":"port","variable":true}]}}
[zk: machine136(CONNECTED) 5]
測試業務

用同樣的方式創建第二個服務提供者模塊(port:8012),並啟用 客戶端發現註解
啟動後登錄zookeeper client 查看註冊的的服務 payment-zk-provider

已經可看到兩個伺服器線上了
創建消費模塊(port:99) 完成對provider的調用,並完成負載均衡
1、mven 普通項目
2、添加依賴
 <dependencies>
        <!-- zookeeper client -->
        <dependency>
            <groupId>org.springframework.cloud</groupId>
            <artifactId>spring-cloud-starter-zookeeper-discovery</artifactId>
            <exclusions>
                <exclusion>
                    <groupId>org.apache.zookeeper</groupId>
                    <artifactId>zookeeper</artifactId>
                </exclusion>
            </exclusions>
        </dependency>
        <dependency>
            <groupId>org.apache.zookeeper</groupId>
            <artifactId>zookeeper</artifactId>
            <version>3.7.1</version>
        </dependency>

        <!-- 引入公用模塊-->
        <dependency>
            <groupId>com.hztech</groupId>
            <artifactId>common-api</artifactId>
            <version>1.0-SNAPSHOT</version>
        </dependency>
        <dependency>
            <groupId>org.springframework.boot</groupId>
            <artifactId>spring-boot-starter-web</artifactId>
        </dependency>
        <dependency>
            <groupId>org.springframework.boot</groupId>
            <artifactId>spring-boot-starter-actuator</artifactId>
        </dependency>
        <dependency>
            <groupId>org.mybatis.spring.boot</groupId>
            <artifactId>mybatis-spring-boot-starter</artifactId>
        </dependency>


        <dependency>
            <groupId>org.springframework.boot</groupId>
            <artifactId>spring-boot-devtools</artifactId>
            <scope>runtime</scope>
            <optional>true</optional>
        </dependency>
        <dependency>
            <groupId>org.projectlombok</groupId>
            <artifactId>lombok</artifactId>
            <optional>true</optional>
        </dependency>
        <dependency>
            <groupId>org.springframework.boot</groupId>
            <artifactId>spring-boot-starter-test</artifactId>
            <scope>test</scope>
        </dependency>


    </dependencies>
3、application.yml
server:
  port: 99
spring:
  application:
    name: order-Service-zk

  cloud:
    zookeeper:
      connect-string: 192.168.1.136:2181,192.168.1.137:2181,192.168.1.138:2181 # zk地址 192.168.1.x是linux zookeeper服務地址
4、main()方法
@SpringBootApplication(exclude = DataSourceAutoConfiguration.class)
@EnableDiscoveryClient
public class OrderZkMain80 {

    public static void main(String[] args) {

        SpringApplication.run( OrderZkMain80.class, args);

    }

}
5、創建restTemplate Bean
@Configuration

public class AppContextConfig {
    @Bean
    @LoadBalanced
    public RestTemplate getRestTmp()
    {

        return new RestTemplate();

    }

}
註意:
controller中的請求地址 直接為服務名稱,地址和埠交給zookeeper +restTemplate 完成轉換
http://provider-zk-payment
6、啟用項目 並驗證
服務註冊

介面調用
第一次請求

第二次請求

結束


