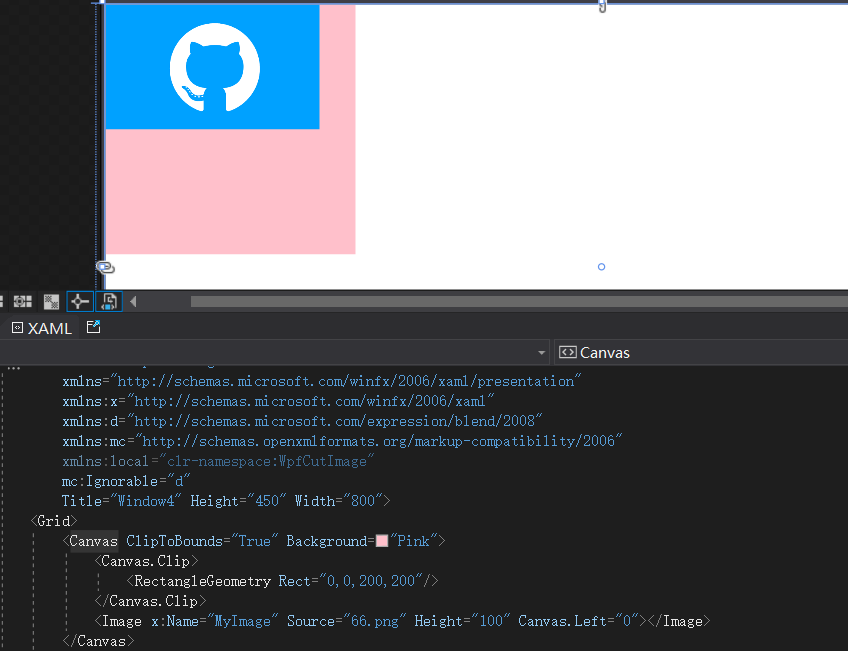
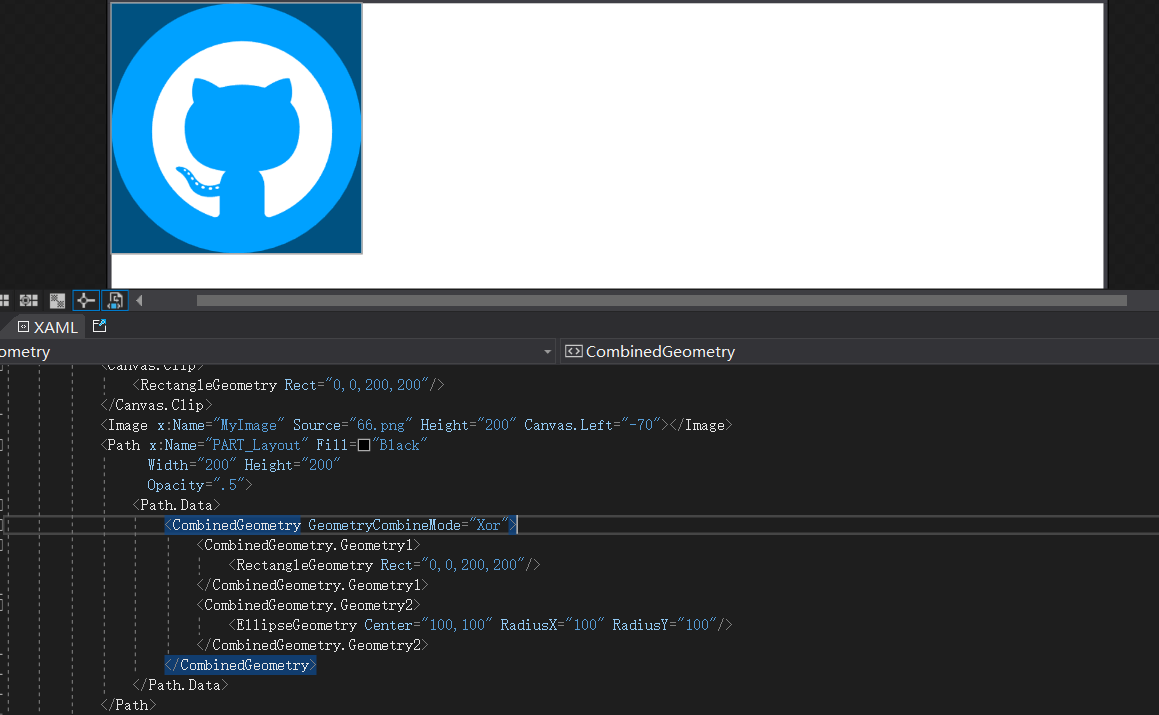
製作一個用戶頭像選擇器仿 WeGame 製作一個用戶頭像選擇Canvas為父控制項所實現,展示圖片使用Image,Path當作上方的蒙版;Canvas:主要用途方便移動Image,設置ClipToBounds="True"裁剪為一個正方形200x200做為主要展示區域;Image:展示需要裁剪的圖片; ...
製作一個用戶頭像選擇器仿 WeGame
製作一個用戶頭像選擇 Canvas為父控制項所實現,展示圖片使用Image,Path當作上方的蒙版;Canvas:主要用途方便移動Image,設置ClipToBounds="True"裁剪為一個正方形200x200做為主要展示區域;Image:展示需要裁剪的圖片;

Path:CombinedGeometry[1]繪製蒙版大小200x200效果如下;

當選擇一個本地圖片的時候判斷寬與高誰更大,誰小就將它更改為 200,另一邊做等比縮放後給到DrawingVisual繪製一個新的BitmapFrame[2]給Image控制項做展示;當移動圖片的時候右側展示當前區域使用CroppedBitmap[3]進行裁剪並顯示; 源碼Github[4] Gitee[5]
 1)
1)CropAvatar.xaml 代碼如下;
<ResourceDictionary xmlns="http://schemas.microsoft.com/winfx/2006/xaml/presentation"
                    xmlns:x="http://schemas.microsoft.com/winfx/2006/xaml"
                    xmlns:controls="clr-namespace:WPFDevelopers.Controls">
    <ResourceDictionary.MergedDictionaries>
        <ResourceDictionary Source="Basic/ControlBasic.xaml"/>
    </ResourceDictionary.MergedDictionaries>

    <Style TargetType="controls:CropAvatar" BasedOn="{StaticResource ControlBasicStyle}">
        <Setter Property="Template">
            <Setter.Value>
                <ControlTemplate TargetType="{x:Type controls:CropAvatar}">
                    <Canvas x:Name="PART_Canvas" ClipToBounds="True">
                        <Image x:Name="PART_Image" Cursor="SizeAll" ></Image>
                        <Path x:Name="PART_Layout"
                              Fill="{DynamicResource BlackSolidColorBrush}"
                              Width="200" Height="200"
                              Opacity=".5">
                            <Path.Data>
                                <CombinedGeometry GeometryCombineMode="Xor">
                                    <CombinedGeometry.Geometry1>
                                        <RectangleGeometry Rect="0,0,200,200"/>
                                    </CombinedGeometry.Geometry1>
                                    <CombinedGeometry.Geometry2>
                                        <EllipseGeometry Center="100,100" RadiusX="100" RadiusY="100"/>
                                    </CombinedGeometry.Geometry2>
                                </CombinedGeometry>
                            </Path.Data>
                        </Path>
                        <Grid x:Name="PART_Grid" Width="200" Height="200">
                            <Button x:Name="PART_ReplaceButton" Style="{StaticResource PathButton}"
                                    HorizontalAlignment="Right"
                                    VerticalAlignment="Top"
                                    Width="40" Height="40" ToolTip="更換圖片"
                                    Visibility="Collapsed">
                                <Button.Content>
                                    <Path Data="{StaticResource PathReplace}"
                                          Fill="{StaticResource PrimaryNormalSolidColorBrush}"
                                          Height="15"
                                          Width="15"
                                          Stretch="Fill" />
                                </Button.Content>
                            </Button>
                            <Button x:Name="PART_AddButton" Style="{StaticResource PathButton}"
                                    Width="40" Height="40" ToolTip="選擇圖片">
                                <Button.Content>
                                    <Path Data="{StaticResource PathAdd}"
                                          Fill="{StaticResource PrimaryNormalSolidColorBrush}"
                                          Height="20"
                                          Width="20"
                                          Stretch="Fill"
                                          RenderTransformOrigin="0.5,0.5" IsHitTestVisible="False">
                                        <Path.RenderTransform>
                                            <RotateTransform Angle="45"/>
                                        </Path.RenderTransform>
                                    </Path>
                                </Button.Content>
                            </Button>
                        </Grid>
                    </Canvas>
                </ControlTemplate>
            </Setter.Value>
        </Setter>
    </Style>

</ResourceDictionary>
2)CropAvatar.cs 代碼如下;
using System;
using System.Windows;
using System.Windows.Controls;
using System.Windows.Input;
using System.Windows.Media;
using System.Windows.Media.Imaging;
using System.Windows.Shapes;
using WPFDevelopers.Helpers;

namespace WPFDevelopers.Controls
{
    [TemplatePart(Name = CanvasTemplateName, Type = typeof(Canvas))]
    [TemplatePart(Name = ImageTemplateName, Type = typeof(Image))]
    [TemplatePart(Name = PathTemplateName, Type = typeof(Path))]
    [TemplatePart(Name = GridTemplateName, Type = typeof(Grid))]
    [TemplatePart(Name = ReplaceButtonTemplateName, Type = typeof(Button))]
    [TemplatePart(Name = AddButtonTemplateName, Type = typeof(Button))]
    public partial class CropAvatar : Control
    {
        private const string CanvasTemplateName = "PART_Canvas";
        private const string ImageTemplateName = "PART_Image";
        private const string PathTemplateName = "PART_Layout";
        private const string GridTemplateName = "PART_Grid";
        private const string ReplaceButtonTemplateName = "PART_ReplaceButton";
        private const string AddButtonTemplateName = "PART_AddButton";
        private Point point;
        private const int _size = 200;
        private bool isDown;
        private bool isLeft;
        private CroppedBitmap crop;
        private Canvas canvas;
        private Image image;
        private Path path;
        private Grid grid;
        private Button replaceButton, addButton;
        private int initialX, initialY, voffsetX, voffsetY;
        private double vNewStartX, vNewStartY, _StartX, _StartY, centerX, centerY;
        private BitmapFrame bitmapFrame;

        public ImageSource OutImageSource
        {
            get { return (ImageSource)GetValue(OutImageSourceProperty); }
            set { SetValue(OutImageSourceProperty, value); }
        }

        public static readonly DependencyProperty OutImageSourceProperty =
            DependencyProperty.Register("OutImageSource", typeof(ImageSource), typeof(CropAvatar), new PropertyMetadata(null));


        static CropAvatar()
        {
            DefaultStyleKeyProperty.OverrideMetadata(typeof(CropAvatar), new FrameworkPropertyMetadata(typeof(CropAvatar)));
        }
        public override void OnApplyTemplate()
        {
            base.OnApplyTemplate();
            canvas = GetTemplateChild(CanvasTemplateName) as Canvas;
            canvas.Loaded += Canvas_Loaded;
            grid = GetTemplateChild(GridTemplateName) as Grid;
            image = GetTemplateChild(ImageTemplateName) as Image;
            image.MouseDown += Image_MouseDown;
            image.MouseMove += Image_MouseMove;
            image.MouseUp += Image_MouseUp;
            image.MouseLeave += Image_MouseLeave;
            path = GetTemplateChild(PathTemplateName) as Path;
            replaceButton = GetTemplateChild(ReplaceButtonTemplateName) as Button;
            replaceButton.Click += ReplaceButton_Click;
            addButton = GetTemplateChild(AddButtonTemplateName) as Button;
            addButton.Click += AddButton_Click;
        }

        private void Canvas_Loaded(object sender, RoutedEventArgs e)
        {
            if (sender is Canvas canvas)
            {
                var width = canvas.ActualWidth;
                var height = canvas.ActualHeight;
                centerX = (width - path.Width) / 2.0d;
                centerY = (height - path.Height) / 2.0d;
                canvas.Clip = new RectangleGeometry(new Rect(centerX, centerY, 200, 200));
                Canvas.SetLeft(path, centerX);
                Canvas.SetTop(path, centerY);
                Canvas.SetLeft(grid, centerX);
                Canvas.SetTop(grid, centerY);
            }
        }

        private void Image_MouseLeave(object sender, MouseEventArgs e)
        {
            isDown = false;
            if (isLeft)
                _StartX = Canvas.GetLeft(image);
            else
                _StartY = Canvas.GetTop(image);
        }

        private void Image_MouseUp(object sender, MouseButtonEventArgs e)
        {
            if (isDown)
            {
                var vPoint = e.GetPosition(this);
                if (isLeft)
                {
                    _StartX = Canvas.GetLeft(image);
                    initialX = voffsetX;
                }

                else
                {
                    _StartY = Canvas.GetTop(image);
                    initialY = voffsetY;
                }
            }
        }

        private void Image_MouseMove(object sender, MouseEventArgs e)
        {
            if (e.LeftButton == MouseButtonState.Pressed && isDown)
            {
                var vPoint = e.GetPosition(this);
                if (isLeft)
                {
                    var voffset = vPoint.X - point.X;
                    vNewStartX = _StartX + voffset;
                    var xPath = Canvas.GetLeft(path);
                    if (vNewStartX <= xPath && vNewStartX >=&


