你在山上看風景,看風景的人在山上看你。明月裝飾了你的窗子,你裝飾了別人的夢。 裝飾器模式(Decorator Pattern),別名又叫包裝者模式(wapper),允許向一個現有的對象添加新的功能,同時又不改變其結構。這種類型的設計模式屬於結構型模式,它是作為現有的類的一個包裝,不同於代理。 這種模 ...
你在山上看風景,看風景的人在山上看你。明月裝飾了你的窗子,你裝飾了別人的夢。
裝飾器模式(Decorator Pattern),別名又叫包裝者模式(wapper),允許向一個現有的對象添加新的功能,同時又不改變其結構。這種類型的設計模式屬於結構型模式,它是作為現有的類的一個包裝,不同於代理。
這種模式創建了一個裝飾類,用來包裝原有的類,併在保持類方法簽名完整性的前提下,提供了額外的功能。
介紹
意圖:動態地給一個對象添加一些額外的職責。就增加功能來說,裝飾器模式相比生成子類更為靈活。
主要解決:一般我們為了擴展一個類經常使用繼承方式實現,由於繼承為類引入靜態特征,並且隨著擴展功能的增多,子類會很膨脹。
何時使用:在不想增加很多子類的情況下擴展類。
如何解決:將具體功能職責劃分,同時繼承裝飾者模式。
關鍵代碼: 1、Component 類充當抽象角色,不應該具體實現。 2、修飾類引用和繼承 Component 類,具體擴展類重寫父類方法。
優點:裝飾類和被裝飾類可以獨立發展,不會相互耦合,裝飾模式是繼承的一個替代模式,裝飾模式可以動態擴展一個實現類的功能。
缺點:多層裝飾比較複雜。
使用場景: 1、擴展一個類的功能。 2、動態增加功能,動態撤銷。
註意事項:可代替繼承。
結構圖
參與者:
Component:定義一個對象介面,可以給這些對象動態的添加職責
ConcreteComponent: 定義一個對象,可以給這個對象添加一些職責
Decorator:維持一個指向Component對象的指針,並定義一個與Component介面一致的介面
ConcreteDecoratorA,ConcreteDecoratorB。。。CD等:向組件添加職責
我們通過下麵的實例來演示裝飾器模式的用法,給圖像修飾比如上色、裝框、然後列印。
1. 定義一個抽象類:
/**
 * @author dgm
 * @describe "圖片圖像,同比Conpenent"
 */
public abstract class PhotoImage {
	//圖像描述
	public abstract String getDescription();
}
2. 創建抽象類的包裝實現類。
/**
 *
 * @author dgm
 * @describe "類比ConcreteComponent"
 */
public class PhotoImageWrapper extends PhotoImage {

	// 圖像標題
	String title;
	// 圖片文件名
	String fileName;
	// 圖像寬高
	int pixWidth, pixHeight;

	public PhotoImageWrapper() {
		// Empty; used in Decorators.
	}

	public PhotoImageWrapper(String title, String fileName) {
		super();
		this.title = title;
		this.fileName = fileName;
	}

	@Override
	public String toString() {
		return getDescription();
	}

	public String getTitle() {
		return title;
	}

	public void setTitle(String title) {
		this.title = title;
	}

	public String getFileName() {
		return fileName;
	}

	public void setFileName(String fileName) {
		this.fileName = fileName;
	}

	public int getPixWidth() {
		return pixWidth;
	}

	public void setPixWidth(int width) {
		this.pixWidth = width;
	}

	public int getPixHeight() {
		return pixHeight;
	}

	public void setPixHeight(int height) {
		this.pixHeight = height;
	}

	@Override
	public String getDescription() {
		return getTitle();
	}
}
3. 創建裝飾類
/**
 *
 * @author dgm
 * @describe "圖像裝飾,類比Decorator"
 */
public abstract class ImageDecorator extends PhotoImage {
	protected PhotoImage target;

	public ImageDecorator(PhotoImage target) {
		this.target = target;
	}

	@Override
	public String getDescription() {
		return target.getDescription();
	}

	@Override
	public String toString() {
		return getDescription();
	}
}
4. 擴寫具體實現的裝飾類(上色,裝框,列印,其實還接著加,比如售賣)
ColorDecorator.java、FrameDecorator.java、PrintDecorator.java
public class ColorDecorator extends ImageDecorator {
	String color;

	public ColorDecorator(String color, PhotoImage target) {
		super(target);
		this.color = color;
	}

	@Override
	public String getDescription() {
		return target.getDescription() + ", 上色(" + color + ")";
	}
}

public class FrameDecorator extends ImageDecorator {
	private String desc;
	public FrameDecorator(String desc, PhotoImage target) {
		super(target);
		this.desc = desc;
	}

	@Override
	public String getDescription() {
		return target.getDescription() + ", "+desc+", ";
	}
}

/**
 *
 * @author dgm
 * @describe "列印圖像,類比ConcreteDecorator"
 */
public class PrintDecorator extends ImageDecorator {
	private String desc;
	private double printWidth, printHeight;

	public PrintDecorator(String desc,double printWidth, double printHeight, PhotoImage target) {
		super(target);
		this.desc = desc;
		this.printWidth = printWidth;
		this.printHeight = printHeight;
	}

	@Override
	public String getDescription() {
		return target.getDescription() + desc+ " " + String.format("(%4.1f x %4.1f in)", getPrintWidth(), getPrintHeight());
	}

	public double getPrintWidth() {
		return printWidth;
	}

	public void setPrintWidth(double printWidth) {
		this.printWidth = printWidth;
	}

	public double getPrintHeight() {
		return printHeight;
	}

	public void setPrintHeight(double printHeight) {
		this.printHeight = printHeight;
	}
}
5. 測試圖像裝飾效果:
/**
 *
 * @author dgm
 * @describe "裝飾模式(裝飾的是圖片圖像)測試"
 */
public class PhotoImageDecoratorTest {

	public static void main(String[] args) {
		//先生成圖像對象,然後著色,裝訂,最後列印
		PrintDecorator image = new PrintDecorator("彩色激光列印要高清", 19, 11,
				new FrameDecorator("鑲金裝框",new ColorDecorator("天空式藍色", new PhotoImageWrapper(
						"蒙娜麗莎的微笑", "1968/ifd.00042.jpg"))));
		System.out.println(image);
	}

	private static void addToPrintOrder(PrintDecorator image) {
		System.out.println(image);
	}
}
輸出效果:
只有0是原材料,123修飾
入庫https://github.com/dongguangming/design-pattern/tree/master/src/code/decorator
案例: 比如原生jdk中io流就用到了裝飾模式,裝飾一個流
        InputStream inputStream = new FileInputStream("f:\\InstallCert.java");
        InputStream bis = new BufferedInputStream(inputStream);
        InputStream in = new DataInputStream(bis);
        InputStreamReader isr = new InputStreamReader(in);
        BufferedReader br  = new BufferedReader(isr);
        String line = null;
        while ((line = br.readLine()) != null) {
            //將文本列印到控制台
            System.out.println(line);
        }
鏈式寫法長
BufferedReader br = new BufferedReader(new InputStreamReader(new DataInputStream(
        new BufferedInputStream(new FileInputStream("f:\\InstallCert.java")))));
和javafx.swing 開發中component的擴展開發也都用到了裝飾模式
MyBatis框架中cache也有裝飾的影子
Spring也有裝飾,發揮的更牛叉(沒有Bean就沒有其他擴展):BeanDefinitionDecorator(要分開理解,BeanDefinition和Decorator),是Bean定義階段的裝飾,當然還有其他裝飾比如裝飾WebSocket 對象。
裝飾模式,特別於日誌、緩存、io流等場景太合適不過了!!!
現實生活中裝飾模式也發揮的很好,比如汽車需要裝飾(洗車、音響加裝、拋光、打蠟、劃痕處理、環保桑拿、地板鋪設、貼防爆膜、烤前後擋膜、中控門鎖、輪胎動平衡、四輪定位、倒車雷達、防盜器等)、房子也要裝飾(鋪地板、地暖、傢具、陽臺要不要種點花)、飯店開業經營(門口要擺兩排花、室內安裝液晶影視、買了紅色鯉魚加水藻裝飾下)。。。太多了!!!
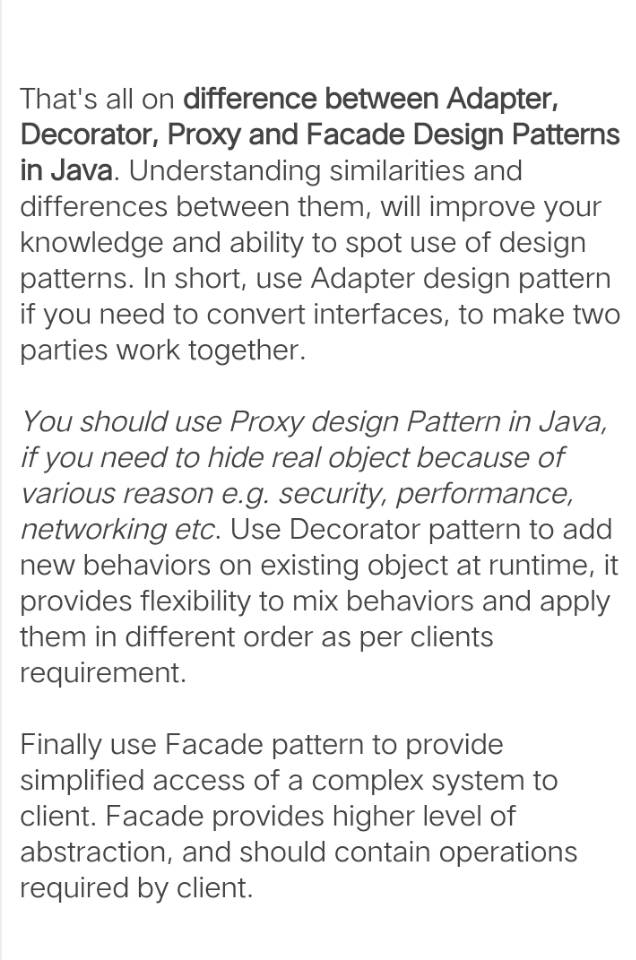
特別註意它和其他幾種模式的區別:
小結: 如果你想給原生對象(比如車、房、飯店,其實主題就一個)添加額外的行為職責,又不想變它,就可以使用該模式,那就裝飾它原生對象, 使用場景頗多,具體自己發揮去,走自己的路,然別人去說吧
參考:
0. 裝飾模式 https://baike.baidu.com/item/%E8%A3%85%E9%A5%B0%E6%A8%A1%E5%BC%8F/10158540
1. 如何使用Decorator模式 http://www.uml.org.cn/sjms/20041655.htm
2. javax.swing.JScrollPane https://docs.oracle.com/javase/8/docs/api/javax/swing/JScrollPane.html
3. Decorator Design Pattern Applied https://www.javacodegeeks.com/2014/08/decorator-design-pattern-applied.html
4. The Decorator Pattern in Depth https://blogs.oracle.com/javamagazine/the-decorator-pattern-in-depth
5. Decorator Design Pattern in Java with Example https://www.java67.com/2013/07/decorator-design-pattern-in-java-real-life-example-tutorial.html?m=1


