引子 關於Django2版本連接MySQL發生的問題以及修改源碼的解決方法參考下麵這篇文章: Django與MySQL的交互 但是,上面這種修改源碼的方法在生產環境中使用的話會有很多問題。 本文為大家詳細講解如何在不修改Django源碼的情況下解決這個問題。 Django中的源碼解析 我們來看一下我 ...
引子
關於Django2版本連接MySQL發生的問題以及修改源碼的解決方法參考下麵這篇文章:
但是,上面這種修改源碼的方法在生產環境中使用的話會有很多問題。
本文為大家詳細講解如何在不修改Django源碼的情況下解決這個問題。
Django中的源碼解析
我們來看一下我們使用的Python解釋器(可以是全局的也可以是虛擬環境的)中django包有關MySQL配置的源碼。
源碼位置是:
(你的Python解釋器安裝目錄或者虛擬環境目錄)\django21\Lib\site-packages\django\db\backends\mysql\base.py
這個base.py文件中的內容有點多,我們把最關鍵的部分挑出來解釋一下:
"""
MySQL database backend for Django.

Requires mysqlclient: https://pypi.org/project/mysqlclient/  # 之前沒安裝的話得從pypi中下載mysqlclient包
"""
import re

from django.core.exceptions import ImproperlyConfigured
from django.db import utils
from django.db.backends import utils as backend_utils
from django.db.backends.base.base import BaseDatabaseWrapper
from django.utils.functional import cached_property

try:
    import MySQLdb as Database  # 導入MySQLdb模塊
except ImportError as err:
    raise ImproperlyConfigured(
        'Error loading MySQLdb module.\n'
        'Did you install mysqlclient?'
    ) from err

from MySQLdb.constants import CLIENT, FIELD_TYPE                # isort:skip
from MySQLdb.converters import conversions                      # isort:skip

# Some of these import MySQLdb, so import them after checking if it's installed.
from .client import DatabaseClient                          # isort:skip
from .creation import DatabaseCreation                      # isort:skip
from .features import DatabaseFeatures                      # isort:skip
from .introspection import DatabaseIntrospection            # isort:skip
from .operations import DatabaseOperations                  # isort:skip
from .schema import DatabaseSchemaEditor                    # isort:skip
from .validation import DatabaseValidation                  # isort:skip

version = Database.version_info
# 列印一下這個version
print("version>>>>>>",version)

if version < (1, 3, 7):
    raise ImproperlyConfigured('mysqlclient 1.3.7 or newer is required; you have %s.' % Database.__version__)

###################
and so on...
我們可以看到,源碼中對MySQLdb模塊的版本進行了限制!
django1.11.20版本對MySQLdb的version的限制
在django1.11.20版本中的version限制是1.2.3以上:
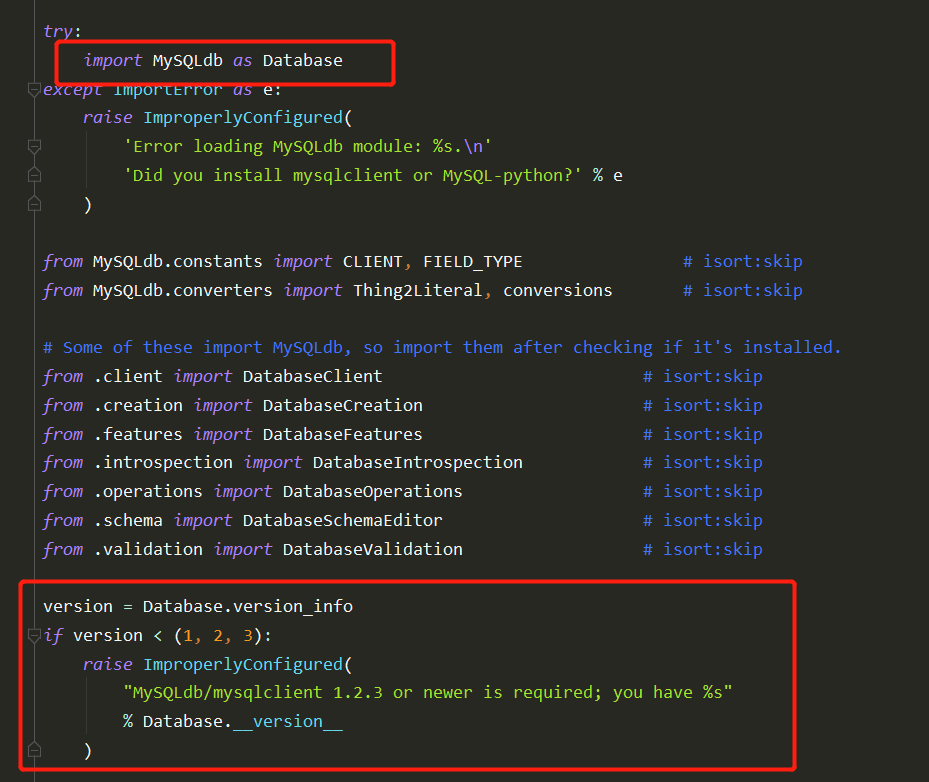
django2.1及以上對MySQLdb的version的限制
是1.3.7以上:

成功運行程式時列印的版本
項目成功運行的話,MySQLdb的版本必須大於1.3.7才可以:
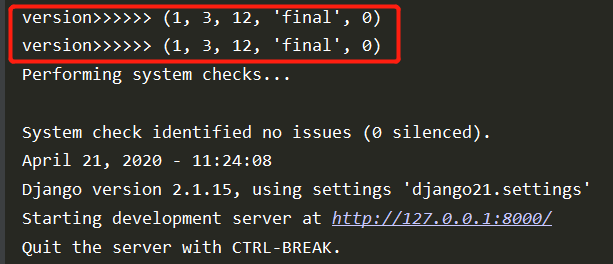
所以:解決這個問題的關鍵在於得解決本機MySQLdb模塊的版本!用django2的話必須大於1.3.7!
MySQLdb模塊的問題
還是在Django源碼裡面,我們列印一下這個Database(其實就是MySQLdb):
try:
    import MySQLdb as Database
    # 列印一下這個Database
    print(Database,type(Database))
except ImportError as err:
    raise ImproperlyConfigured(
        'Error loading MySQLdb module.\n'
        'Did you install mysqlclient?'
    ) from err
結果出乎意料!!!

是的!你沒有看錯!顯示的模塊竟然是:pymysql(列印2次是在DEBUG模式下的設置)!!!
這裡才是解決問題的關鍵所在!
pymysql源碼解析 ***
然後大家回過頭來想一下,我們配置的時候,在與項目同名的那個模塊的__init__.py文件中加入了2行與pymysql相關的代碼:
import pymysql  # 導入模塊相當於執行了這個包中的__init__.py文件

pymysql.install_as_MySQLdb()  # 執行pymysql的install_as_MySQLdb方法
然後我們來看一下當前虛擬環境中安裝的pymysql包中的__init_.py文件的源碼:
"""
PyMySQL: A pure-Python MySQL client library.

### 說明略去
"""
import sys

from ._compat import PY2
from .constants import FIELD_TYPE
from .converters import escape_dict, escape_sequence, escape_string
from .err import (
    Warning, Error, InterfaceError, DataError,
    DatabaseError, OperationalError, IntegrityError, InternalError,
    NotSupportedError, ProgrammingError, MySQLError)
from .times import (
    Date, Time, Timestamp,
    DateFromTicks, TimeFromTicks, TimestampFromTicks)

# pymysql的版本
VERSION = (0, 9, 3, None)
if VERSION[3] is not None:
    VERSION_STRING = "%d.%d.%d_%s" % VERSION
else:
    VERSION_STRING = "%d.%d.%d" % VERSION[:3]
threadsafety = 1
apilevel = "2.0"
paramstyle = "pyformat"


class DBAPISet(frozenset):

    # 省略

# 省略

def Binary(x):
    """Return x as a binary type."""
    # 省略

def Connect(*args, **kwargs):
    """
    Connect to the database; see connections.Connection.__init__() for
    more information.
    """
    # 省略

from . import connections as _orig_conn
if _orig_conn.Connection.__init__.__doc__ is not None:
    Connect.__doc__ = _orig_conn.Connection.__init__.__doc__
del _orig_conn


def get_client_info():  # for MySQLdb compatibility
    version = VERSION
    if VERSION[3] is None:
        version = VERSION[:3]
    return '.'.join(map(str, version))

connect = Connection = Connect

# we include a doctored version_info here for MySQLdb compatibility
version_info = (1, 3, 12, "final", 0)

NULL = "NULL"

__version__ = get_client_info()

def thread_safe():
    return True  # match MySQLdb.thread_safe()


### 這裡是最關鍵的
def install_as_MySQLdb():
    """
    After this function is called, any application that imports MySQLdb or
    _mysql will unwittingly actually use pymysql.
    """
 ### 導入MySQLdb、_mysql其實相當於導入了pymysql模塊!!!
    sys.modules["MySQLdb"] = sys.modules["_mysql"] = sys.modules["pymysql"]


__all__ = [
    # 略去
]
其中有個地方十分關鍵,根據 install_as_MySQLdb 函數中的內容可以看到:
在這個環境中導入MySQLdb模塊相當於導入了pymysql模塊。
也就是說,在Django的那個base.py文件中的 version = Database.version_info,其實用的是pymysql.version_info,從pymysql的源碼中我們可以看到,裡面的version_info的值為(1, 3, 12, 'final', 0),跟我們上圖中列印的結果是一樣的!
這也就解釋了了為什麼我們列印Database的時候顯示的竟然是pymysql模塊。
使用合適的pymysql的版本解決
通過上面的源碼分析,相信聰明的你已經想出瞭解決方案了:針對不同版本的Django使用對應版本的pymysql模塊就可以了!
從上面pymysql的源碼可以看到:pymysql的版本是 VERSION為0.9.3,對應的MySQLdb的版本設置成了1.3.12,比規定的1.3.7高,可以解決報錯問題!
使用pypi安裝指定版本的pymysql
當然,在聯網的情況下,我們可以直接使用pip安裝指定版本的pymysql:
pip install pymysql==0.9.3 -i https://pypi.douban.com/simple
實際中大家的伺服器可能會禁止連接外網,下麵為大家介紹一下使用pypi安裝的方法。
進入pypi官網搜索對應的模塊
pypi的官網為:https://pypi.org/
然後搜索對應的模塊:
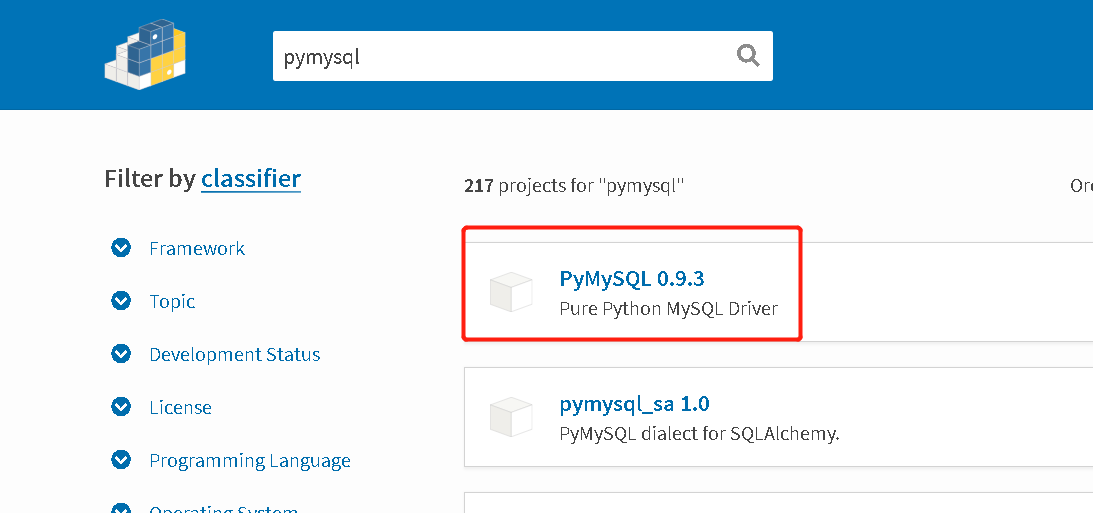
尋找對應的版本
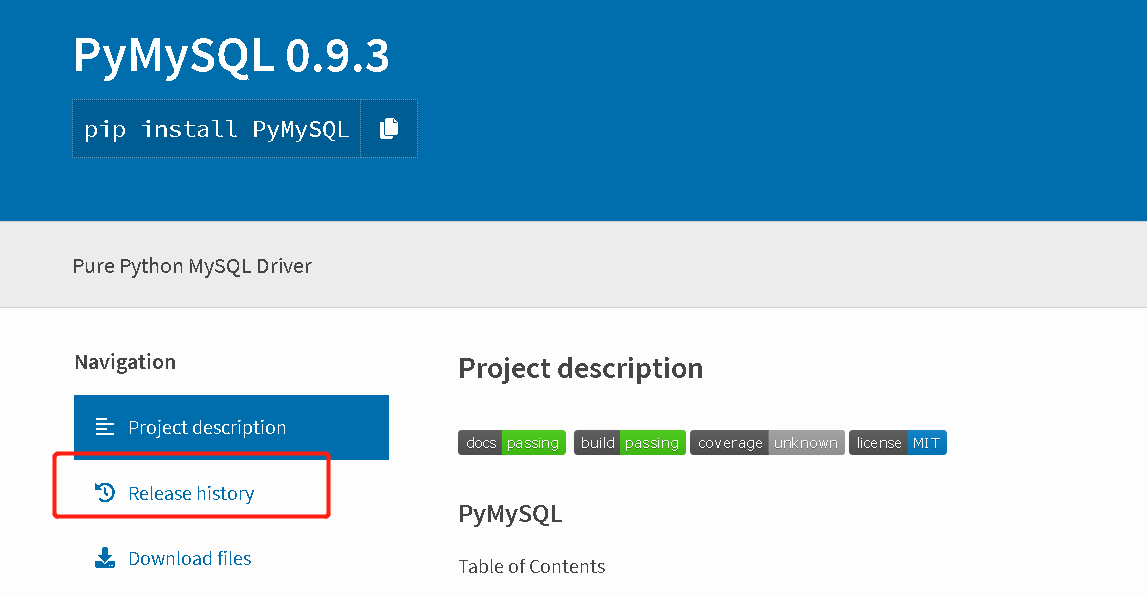
找到對應的版本

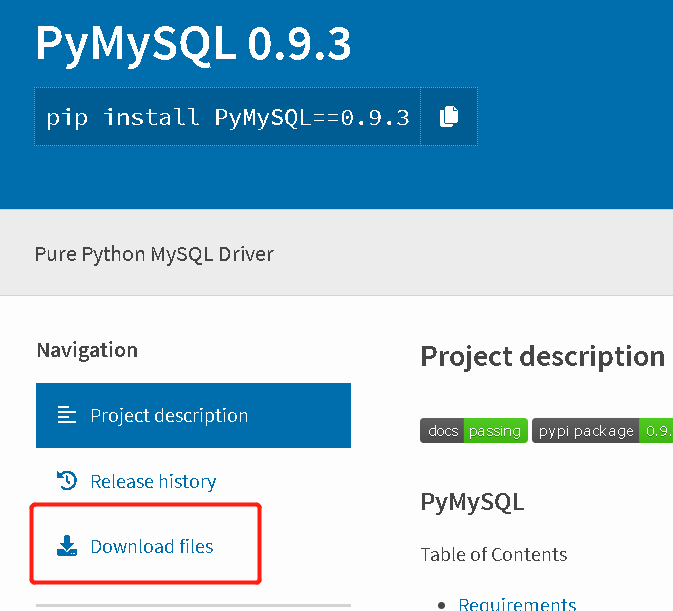
點擊DownloadFiles
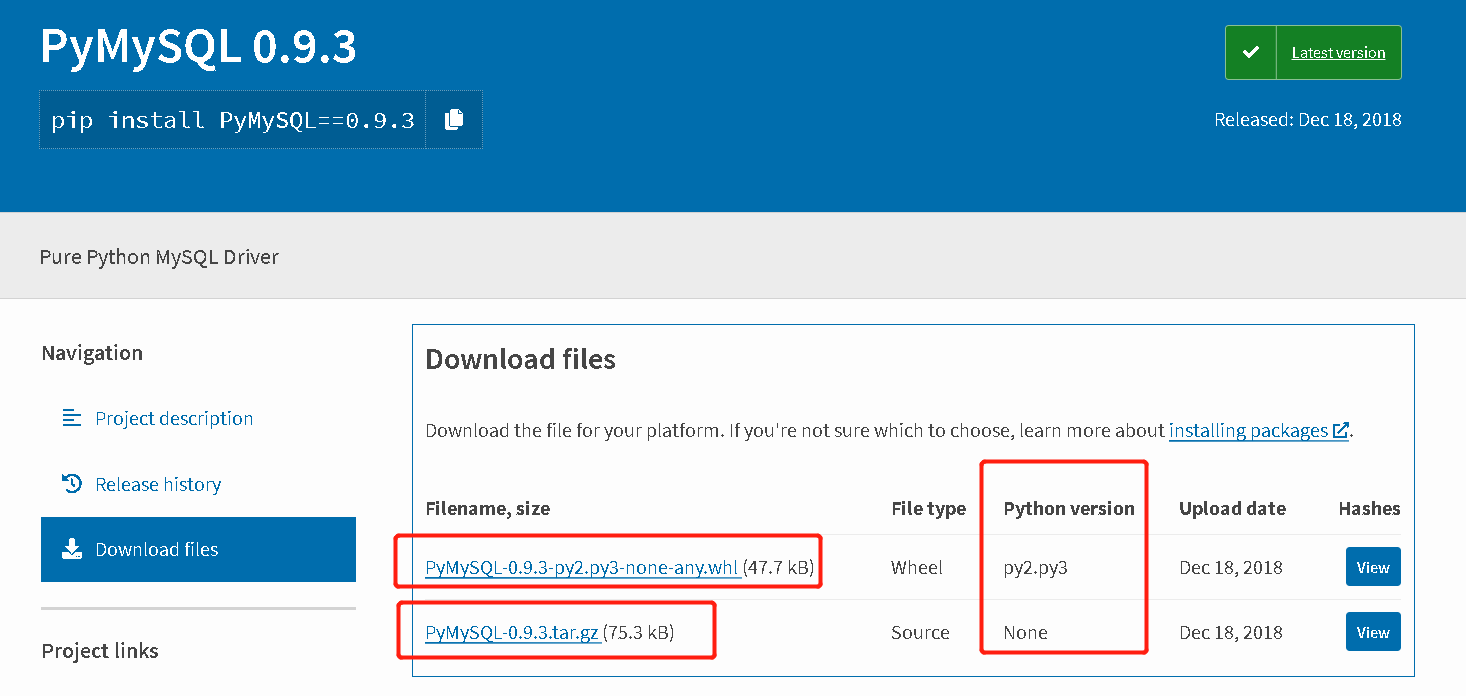
選擇不同格式的文件
文件的格式基本都是 *.whl 或者 *.tar.gz
使用scp命令傳遞文件
whl文件與tar包的安裝方法
whl文件的安裝方法
[root@mycentos ~]# /opt/py3.6/ve1/bin/pip install xxx.whl
tar包的安裝方法
先解壓併進入目錄
tar -xzvf  xxx.tar.gz
cd xxx
執行安裝命令 (虛擬環境中安裝的話需要使用虛擬環境的目錄)
/opt/py3.6/ve1/bin/python setup.py install
大功告成!
後記:關於Django2.2版本的問題
我試了一下,使用Django2.2版本的話,需要的MySQldb版本是 1.3.13,而0.9.3版本的pymysql不能支持,還是會報錯的:

所以實際中建議大家選擇合適的Django版本開發。


