一、ListView 該組件是android中最常用的一個UI組件,用於實現在屏幕上顯示多個內容,以便於我們用手指來回翻轉。 先在layout中進行佈局我們的組件 <LinearLayout xmlns:android="http://schemas.android.com/apk/res/and ...
一、ListView
該組件是android中最常用的一個UI組件,用於實現在屏幕上顯示多個內容,以便於我們用手指來回翻轉。
先在layout中進行佈局我們的組件
<LinearLayout xmlns:android="http://schemas.android.com/apk/res/android"

    android:layout_width="match_parent"

    android:layout_height="match_parent" >


    <ListView

        android:id="@+id/list_view"

        android:layout_width="match_parent"

        android:layout_height="match_parent" >


    </ListView>

</LinearLayout>
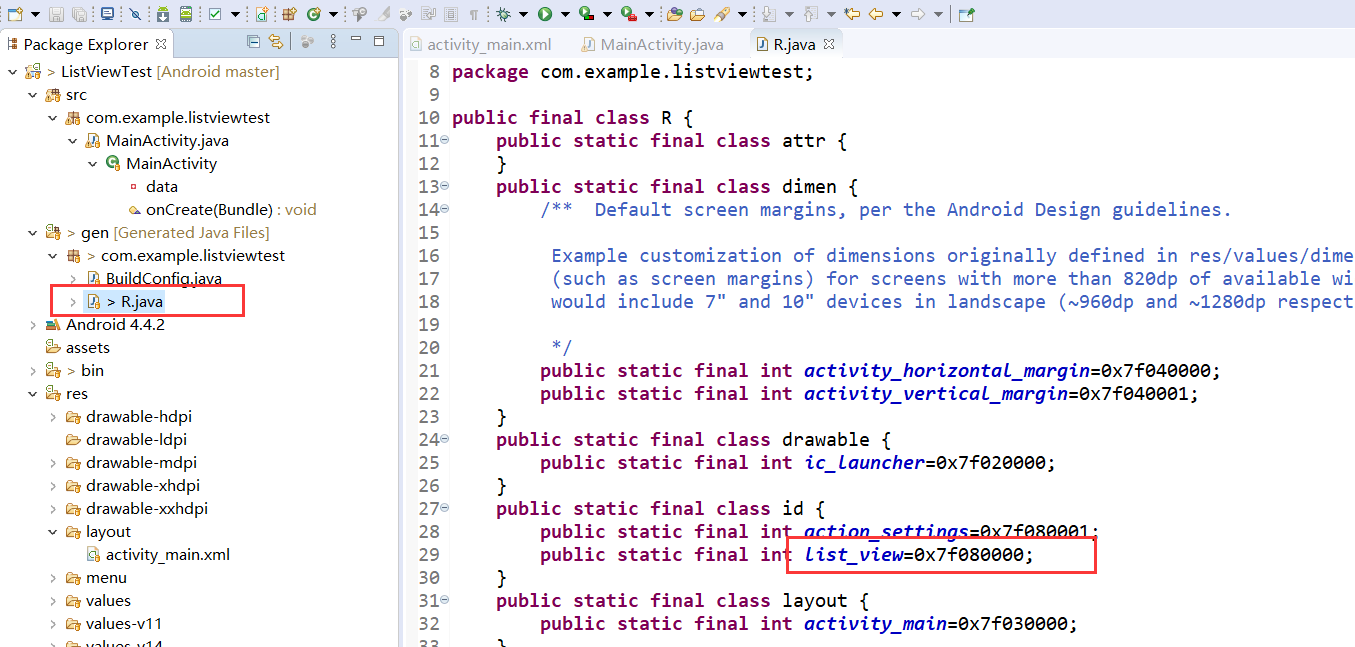
對該組件註冊一個list_view的ID(這個R中的語句是運行時會自動生成的),可在這裡看到

這樣這個組件就定義好了,然後在活動的源碼中進行註冊
package com.example.listviewtest; import android.app.Activity; import android.os.Bundle; import android.view.Menu; import android.view.MenuItem; import android.widget.ArrayAdapter; import android.widget.ListView; //import java.lang.ArrayAdapter; public class MainActivity extends Activity { private String[] data = {"Apple","Banana","Orange","Watermelon","Pear","Grape","Pineapple","Strawberry","Cherry"}; @Override protected void onCreate(Bundle savedInstanceState) { super.onCreate(savedInstanceState); setContentView(R.layout.activity_main); ArrayAdapter<String> adapter = new ArrayAdapter<String>( MainActivity.this,android.R.layout.simple_list_item_1,data); ListView listView = (ListView) findViewById(R.id.list_view); listView.setAdapter(adapter); } }
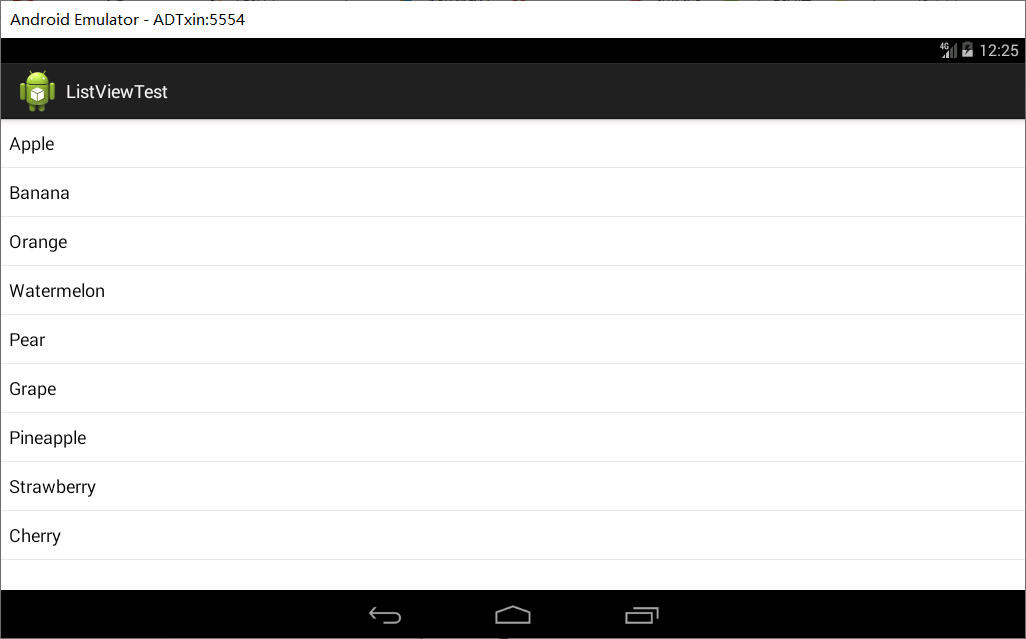
可以看出這裡使用了一個Android自帶適配器類ArrayAdapter,使用泛型String的實例創建,然後傳入參數,分別為上下文實例,android自帶的一個list_item_1的內部佈局文件,裡面只有一個TextView,可用於顯示一段簡單的文本;最後一個參數就是我們傳入的數據。
創建一個ListView的實例,並且找到這個R文件的listView地址。最後調用setAdapter()方法,即為設置完畢。

二、源碼:
1.項目地址
https://github.com/ruigege66/Android/tree/master/ListViewTest
2.CSDN:https://blog.csdn.net/weixin_44630050
3.博客園:https://www.cnblogs.com/ruigege0000/
4.歡迎關註微信公眾號:傅里葉變換,個人公眾號,僅用於學習交流,後臺回覆”禮包“,獲取大數據學習資料


