獲取足球的3D坐標後,在每一個坐標位置創建一個ModelVisual3D元素,既能實現炫酷的3D界面。同樣根據這些點也能獲取到足球的每一個面。 ...
根據博文:https://www.cnblogs.com/duel/p/regular3dpoints.html獲取足球的3D坐標後,在每一個坐標位置創建一個ModelVisual3D元素,既能實現炫酷的3D界面。在此基礎上我基於這些點構建了3D足球。
動態效果圖:
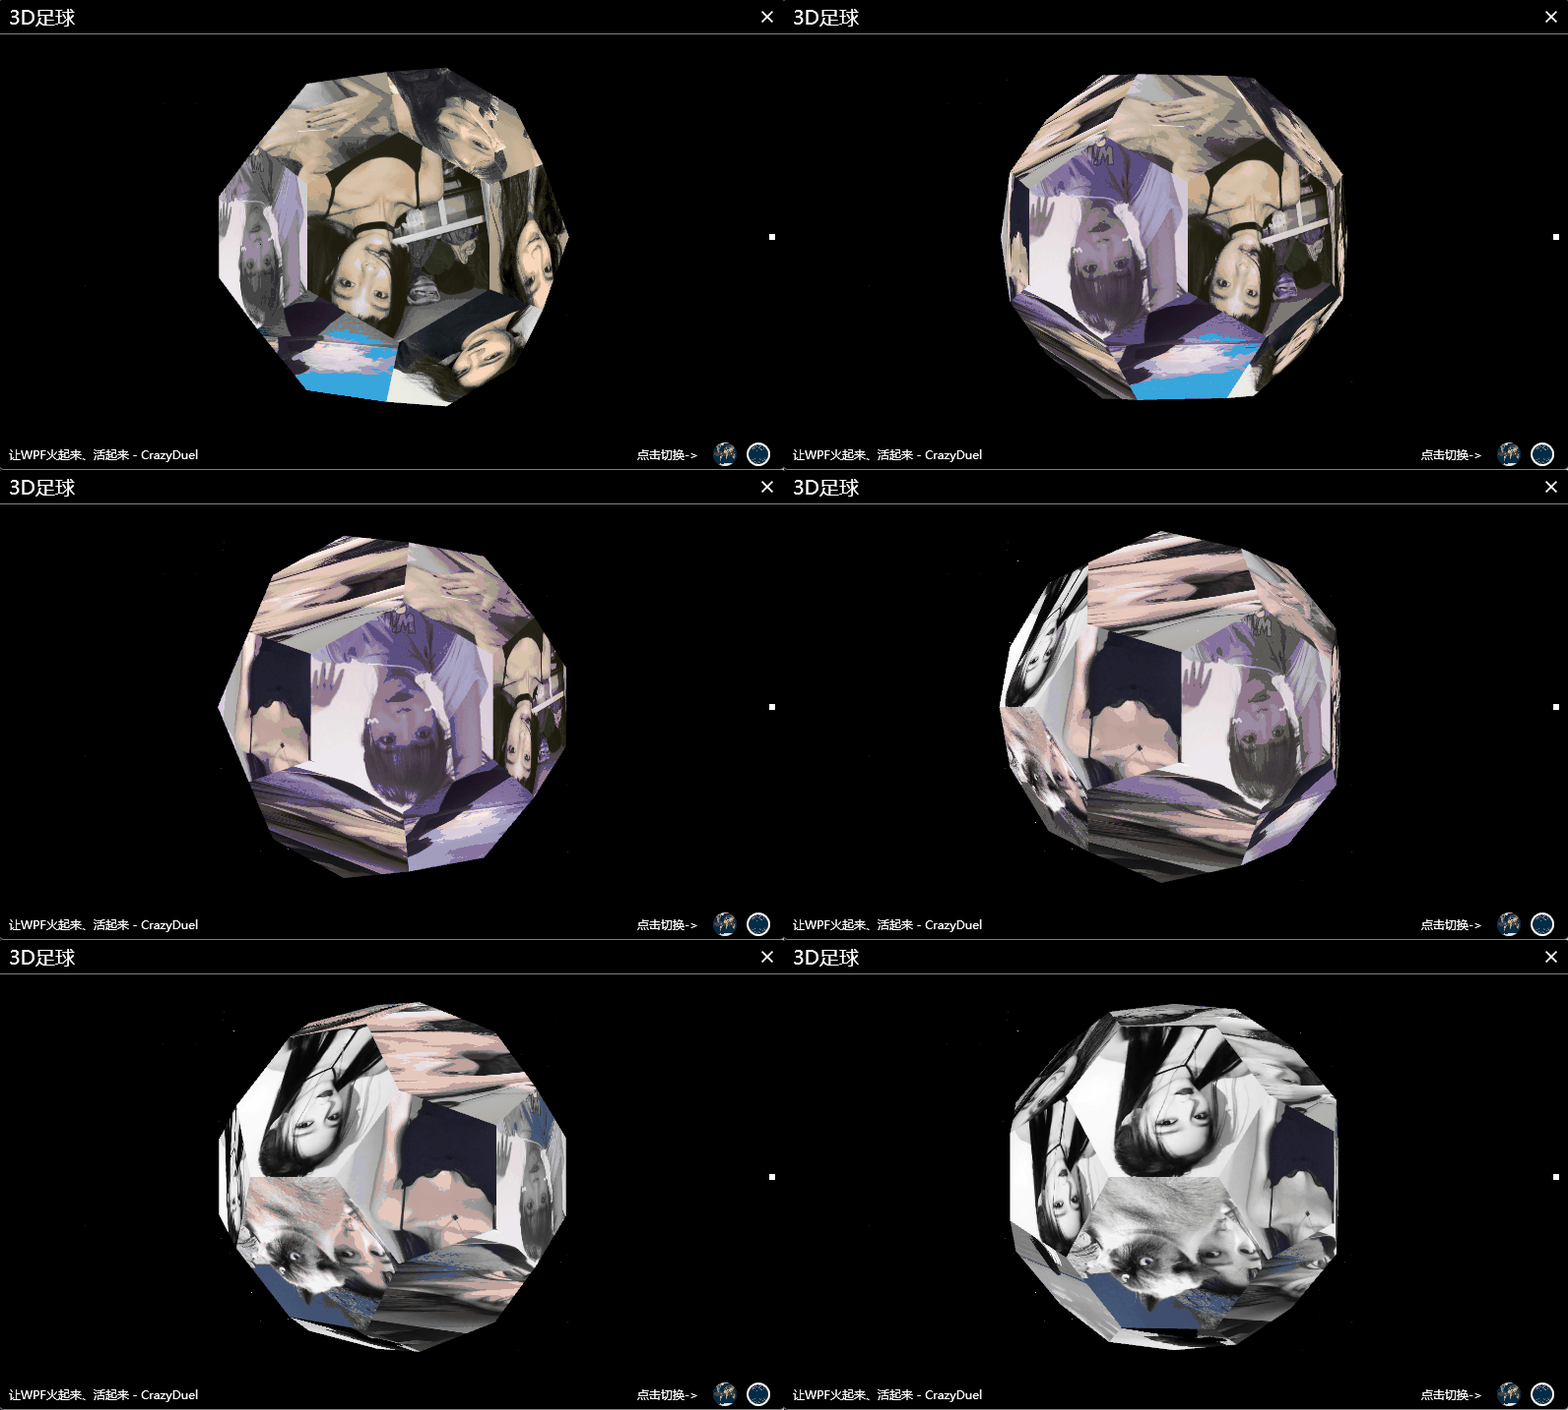
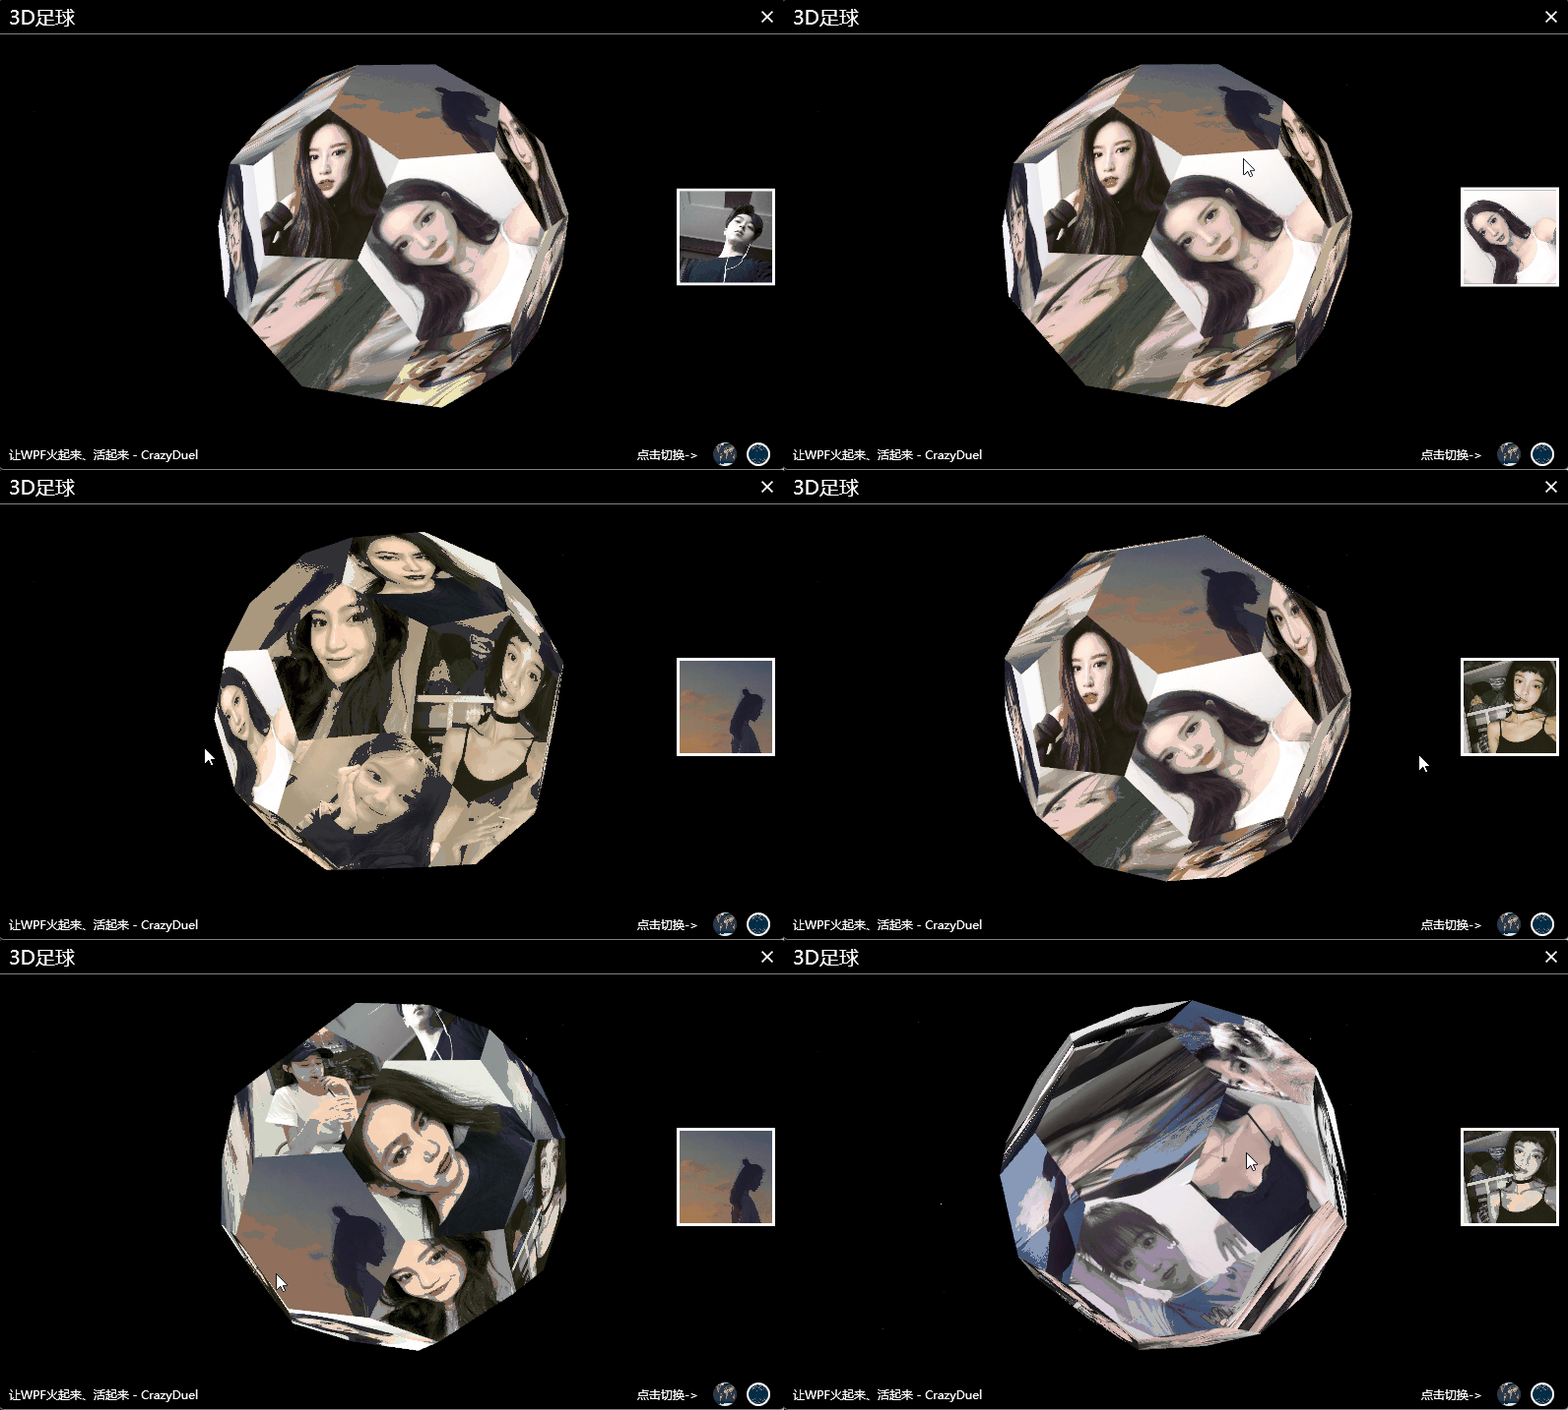
每一個足球的塊上,我貼上了不同的圖,點擊圖獲取對應的信息在右側顯示。
實現原理:
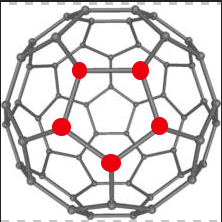
首先對所有頂點根據Y值進行分層,第一層的頂點見下圖:
所有與第一層相互連接的點為第二層:
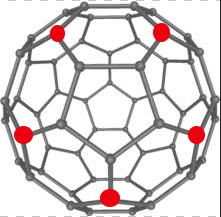
以此類推,總共可獲得八層頂點。
然後,拿到第一層(第一組)的頂點(5個),第一組五個頂點組成了正五邊型,正五邊形每一條邊對應兩個頂點,根據距離計算,可以從第二層中找到與第一層頂點距離最近的點,如下圖第一層的正五邊形的其中一條邊AB,在第二層中可以通過計算拿到與A、B兩個點距離最近的C、D兩個點。然後以C、D作為基點從第三層中又可以得到同時距離C、D 兩個點距離最近的兩個點E、F。
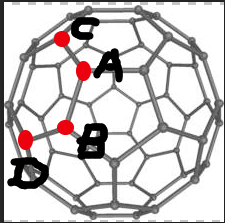
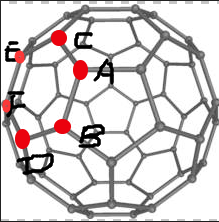
從上面兩個圖你可以直觀的看見,在第二層中分別與A、B距離最近的點只能是C、D。 在第三層中同時距離C點和D點最近的點只能是E、F。 ABCDEF六個點即構成了足球的一個面。
按照這種以層級和距離的方式即可計算得到足球的每一面所包含的3D坐標。
迴圈計算實現邏輯代碼:
// Get Bucky Ball all Blocks
private void GetBuckyBallBlocks()
{
    // BuckyBallPoints -> List<List<Point3D>>
    int nLevelCount = BuckyBallPoints.Count; // 總層數 - 8
    for (int i = 0; i < nLevelCount; i++) //
    {
        int nCurLevel = i;  //當前層
        //  下一層
        int nSecondLevelBaseCur = nCurLevel + 1;
        //  第三層
        int nThirdLevelBaseCur = nCurLevel + 2;

        //  three levels as a group, and every group defined five blocks
        //(1,2,3)(2,3,4)(3,4,5)(4,5,6)(5,6,7)(6,7,8)
        if (nThirdLevelBaseCur < nLevelCount)
        {
            // 計算距離,根據距離判斷是否屬於同一個面
            this.CalculateBuckyBallBlocks(BuckyBallPoints[nCurLevel],
                BuckyBallPoints[nSecondLevelBaseCur],
                BuckyBallPoints[nThirdLevelBaseCur]);
        }
    }
    // 第一層(現成的正五邊形)
    this.BuckyBallBlocks.Add(BuckyBallPoints[0]);
    // bottom block points  第八層(現成的正五邊形)
    this.BuckyBallBlocks.Add(BuckyBallPoints[BuckyBallPoints.Count - 1]);
}
通過以上方式獲得每一個面對應的頂點坐標後,即可通過坐標構建平面。
關鍵代碼:
// 根據頂面創建3D平面
private MeshGeometry3D CreateBlockMeshGeometry3D(List<Point3D> ltPoints)
{
    Point3D[] Point3Ds = new Point3D[ltPoints.Count];
    for (int i = 0; i < ltPoints.Count; i++)
        Point3Ds[i] = ltPoints[i];

    MeshGeometry3D oGeometry = new MeshGeometry3D()
    {
        Positions = new Point3DCollection(Point3Ds)
    };

    if (ltPoints.Count == 6)
        oGeometry.TriangleIndices = new Int32Collection(new int[] { 0, 1, 2, 0, 2, 3, 0, 3, 4, 0, 4, 5 });
    else if (ltPoints.Count == 5)
        oGeometry.TriangleIndices = new Int32Collection(new int[] { 0, 1, 2, 0, 2, 3, 0, 3, 4 });
    else
        ShowErrorAndExit();

    PointCollection texCoords = new PointCollection();
    for (int i = ltPoints.Count -1; i >= 0; i--)
        texCoords.Add(new Point(ltPoints[i].X, ltPoints[i].Y));
    oGeometry.TextureCoordinates = texCoords;

    return oGeometry;
}
最後給每一個構建的平面的Visual屬性附上載入的圖片和點擊事件既能實現我Demo中的效果。
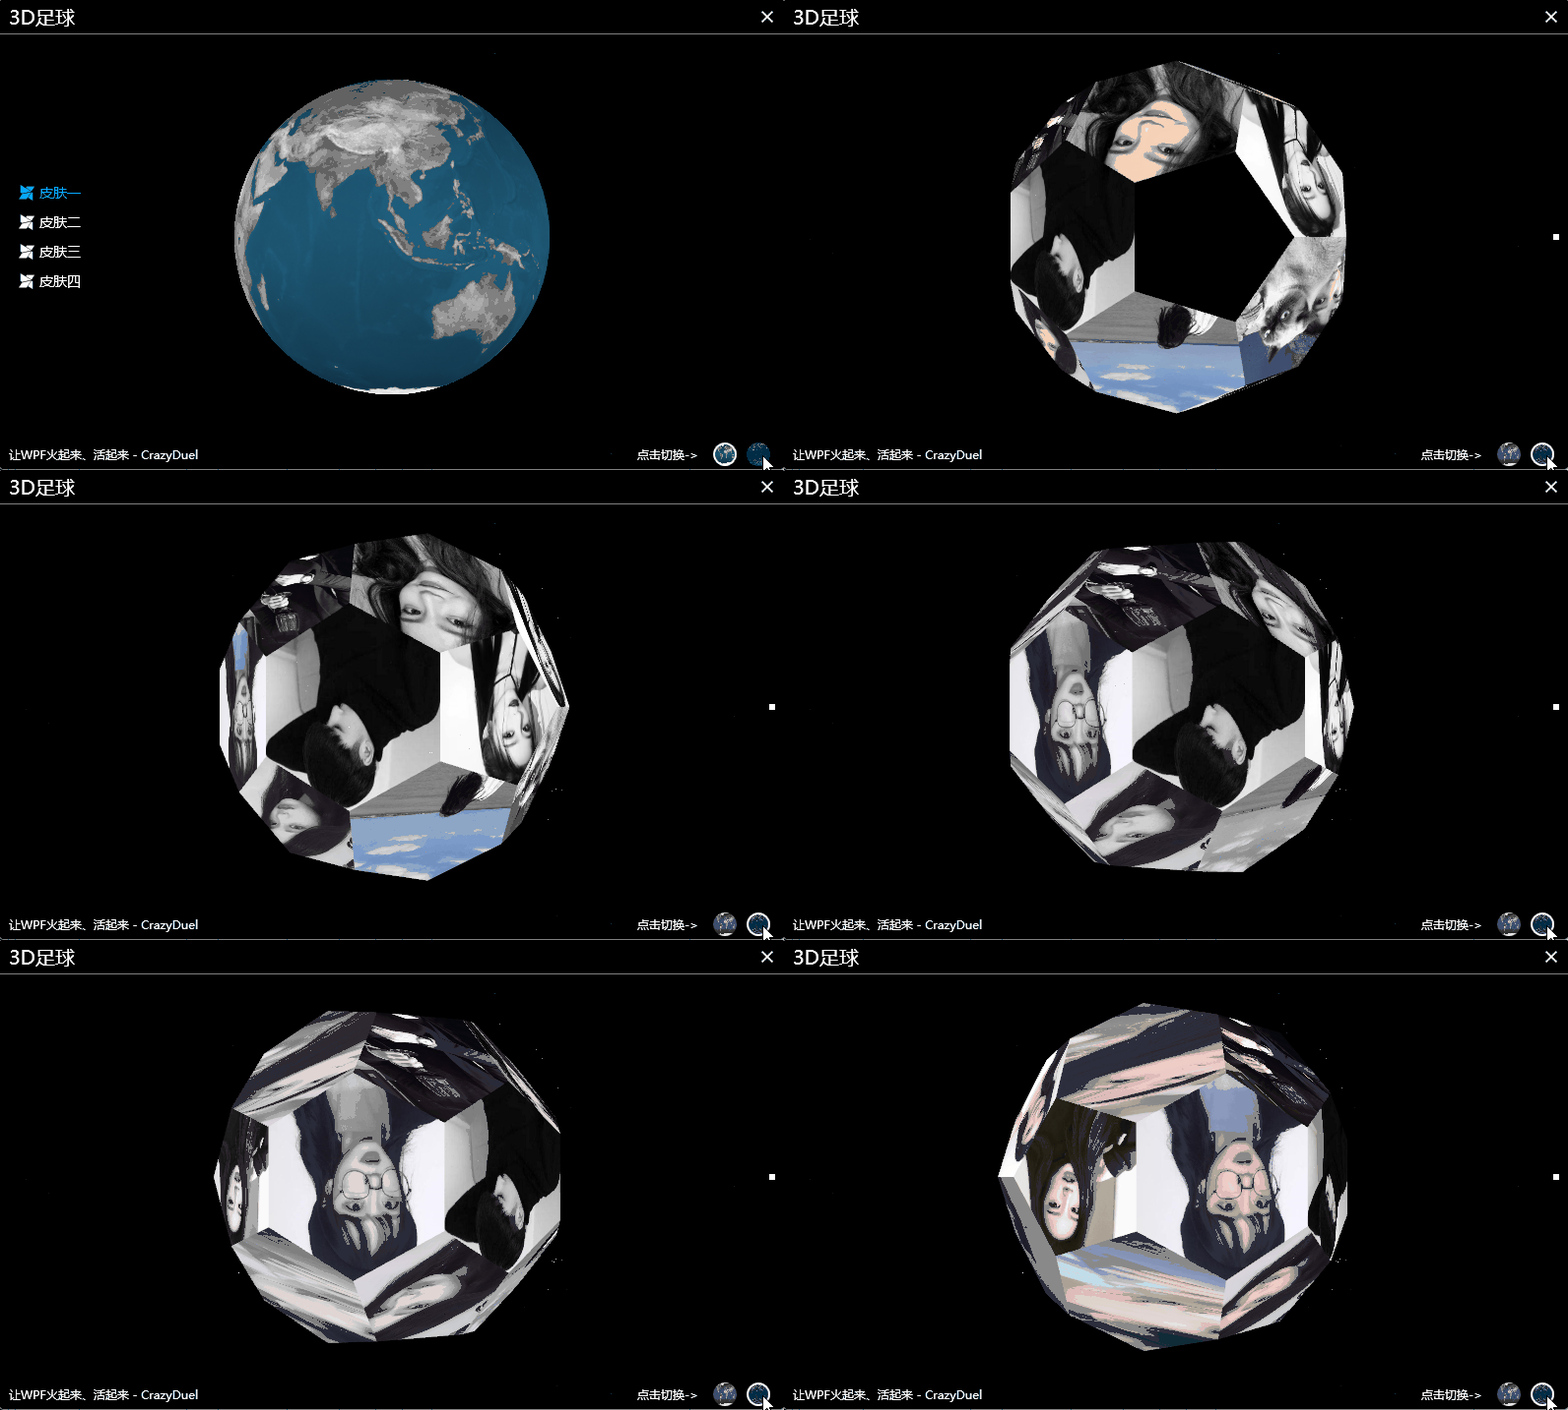
最後附上Demo整體效果圖:
工具:Visual Studio 2017
工程:WPF C#
源代碼下載:
