場景 SpringCloud-服務註冊與實現-Eureka創建服務註冊中心(附源碼下載): https://blog.csdn.net/BADAO_LIUMANG_QIZHI/article/details/102535957 SpringCloud-服務註冊與實現-Eureka創建服務提供者(附源 ...
場景
SpringCloud-服務註冊與實現-Eureka創建服務註冊中心(附源碼下載):
https://blog.csdn.net/BADAO_LIUMANG_QIZHI/article/details/102535957
SpringCloud-服務註冊與實現-Eureka創建服務提供者(附源碼下載):
https://blog.csdn.net/BADAO_LIUMANG_QIZHI/article/details/102558004
SpringCloud-創建服務消費者-Ribbon方式(附代碼下載):
https://blog.csdn.net/BADAO_LIUMANG_QIZHI/article/details/102558080
在上面已經實現服務註冊中心、服務提供者和以Ribbon方式實現服務消費者的前提下,使用另一種Feign方式實現服務消費者。
Feign
Feign 是一個聲明式的偽 Http 客戶端,它使得寫 Http 客戶端變得更簡單。使用 Feign,只需要創建一個介面並註解。它具有可插拔的註解特性,可使用 Feign 註解和 JAX-RS 註解。Feign 支持可插拔的編碼器和解碼器。Feign 預設集成了 Ribbon,並和 Eureka 結合,預設實現了負載均衡的效果
註:
博客:
https://blog.csdn.net/badao_liumang_qizhi
關註公眾號
霸道的程式猿
獲取編程相關電子書、教程推送與免費下載。
實現
參考上面構建項目的方式,依次建立目錄hello-spring-cloud-web-admin-feign目錄以及在
目錄下新建pom.xml,並將其托管。然後新建src/main/java目錄和src/main/resources目錄並分別進行目錄設置。
然後在java下新建包,包下新建啟動類,在resources下新建配置文件application.yml。
完成後的目錄為:
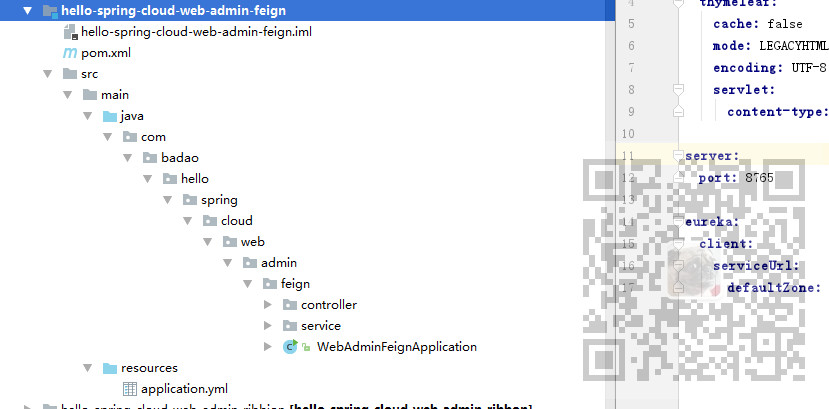
pom.xml代碼:
<?xml version="1.0" encoding="UTF-8"?>
<project xmlns="http://maven.apache.org/POM/4.0.0" xmlns:xsi="http://www.w3.org/2001/XMLSchema-instance"
         xsi:schemaLocation="http://maven.apache.org/POM/4.0.0 http://maven.apache.org/xsd/maven-4.0.0.xsd">
    <modelVersion>4.0.0</modelVersion>

    <parent>
        <groupId>com.badao</groupId>
        <artifactId>hello-spring-cloud-dependencies</artifactId>
        <version>1.0.0-SNAPSHOT</version>
        <relativePath>../hello-spring-cloud-dependencies/pom.xml</relativePath>
    </parent>

    <artifactId>hello-spring-cloud-web-admin-feign</artifactId>
    <packaging>jar</packaging>

    <name>hello-spring-cloud-web-admin-feign</name>
    <url>https://blog.csdn.net/badao_liumang_qizhi</url>
    <inceptionYear>2019-Now</inceptionYear>

    <dependencies>
        <!-- Spring Boot Begin -->
        <dependency>
            <groupId>org.springframework.boot</groupId>
            <artifactId>spring-boot-starter-web</artifactId>
        </dependency>
        <dependency>
            <groupId>org.springframework.boot</groupId>
            <artifactId>spring-boot-starter-tomcat</artifactId>
        </dependency>
        <dependency>
            <groupId>org.springframework.boot</groupId>
            <artifactId>spring-boot-starter-thymeleaf</artifactId>
        </dependency>
        <dependency>
            <groupId>org.springframework.boot</groupId>
            <artifactId>spring-boot-starter-actuator</artifactId>
        </dependency>
        <dependency>
            <groupId>org.springframework.boot</groupId>
            <artifactId>spring-boot-starter-test</artifactId>
            <scope>test</scope>
        </dependency>
        <!-- Spring Boot End -->

        <!-- Spring Cloud Begin -->
        <dependency>
            <groupId>org.springframework.cloud</groupId>
            <artifactId>spring-cloud-starter-netflix-eureka-server</artifactId>
        </dependency>
        <dependency>
            <groupId>org.springframework.cloud</groupId>
            <artifactId>spring-cloud-starter-openfeign</artifactId>
        </dependency>
        <!-- Spring Cloud End -->

        <!-- 解決 thymeleaf 模板引擎一定要執行嚴格的 html5 格式校驗問題 -->
        <dependency>
            <groupId>net.sourceforge.nekohtml</groupId>
            <artifactId>nekohtml</artifactId>
        </dependency>
    </dependencies>

    <build>
        <plugins>
            <plugin>
                <groupId>org.springframework.boot</groupId>
                <artifactId>spring-boot-maven-plugin</artifactId>
                <configuration>
                    <mainClass>com.badao.hello.spring.cloud.web.admin.feign.WebAdminFeignApplication</mainClass>
                </configuration>
            </plugin>
        </plugins>
    </build>
</project>
註:
這裡的parent標簽要與上面的統一的依賴管理對應起來。
要修改指定的程式入口類為自己相應的路徑。
然後應用啟動類的代碼:
package com.badao.hello.spring.cloud.web.feign;

import org.springframework.boot.SpringApplication;
import org.springframework.boot.autoconfigure.SpringBootApplication;
import org.springframework.cloud.client.discovery.EnableDiscoveryClient;
import org.springframework.cloud.openfeign.EnableFeignClients;

@SpringBootApplication
@EnableDiscoveryClient
@EnableFeignClients
public class WebAdminFeignApplication {
    public static void main(String[] args) {
        SpringApplication.run(WebAdminFeignApplication.class, args);
    }
}
註:
通過 @EnableDiscoveryClient 註解註冊到服務中心
通過 @EnableFeignClients 註解開啟 Feign 功能
然後是配置文件application.yml
spring:
  application:
    name: hello-spring-cloud-web-admin-feign
  thymeleaf:
    cache: false
    mode: LEGACYHTML5
    encoding: UTF-8
    servlet:
      content-type: text/html

server:
  port: 8765

eureka:
  client:
    serviceUrl:
      defaultZone: http://localhost:8761/eureka/
註:
1.服務註冊與發現是根據上面的name去尋找。
2.port表示埠號。
3.serviceURL設置eureka的地址,與上面創建服務註冊中心時的URL對應。
與使用Ribbon方式不同的是,這裡需要創建service介面,而不是service類。
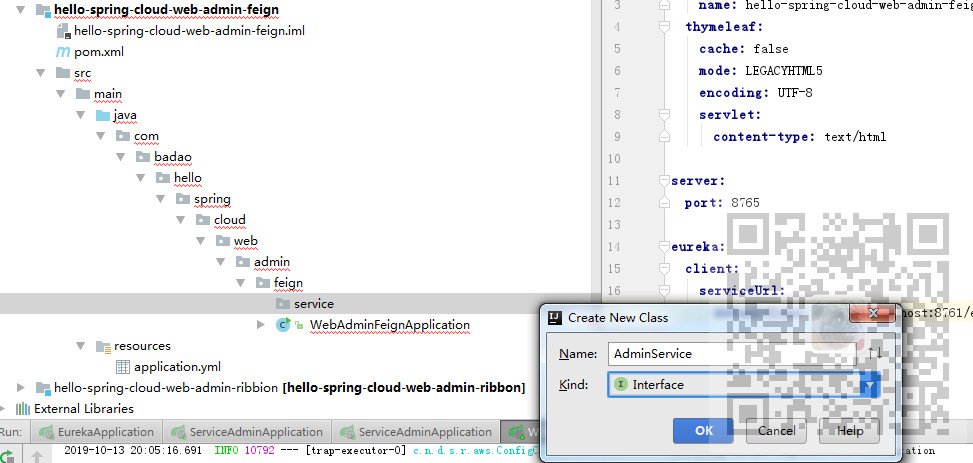
AdminService介面代碼:
package com.badao.hello.spring.cloud.web.feign.service;

import org.springframework.cloud.openfeign.FeignClient;
import org.springframework.web.bind.annotation.RequestMapping;
import org.springframework.web.bind.annotation.RequestMethod;
import org.springframework.web.bind.annotation.RequestParam;

@FeignClient(value = "hello-spring-cloud-service-admin")
public interface AdminService {

    @RequestMapping(value = "hi", method = RequestMethod.GET)
    public String sayHi(@RequestParam(value = "message") String message);
}
註:
通過@FeignClient(value = "hello-spring-cloud-service-admin")來指定調用哪個服務。
這裡就是對應上面服務提供者的配置文件的name屬性。
import com.badao.hello.spring.cloud.web.feign.service.AdminService;
import org.springframework.beans.factory.annotation.Autowired;
import org.springframework.web.bind.annotation.RequestMapping;
import org.springframework.web.bind.annotation.RequestMethod;
import org.springframework.web.bind.annotation.RequestParam;
import org.springframework.web.bind.annotation.RestController;

@RestController
public class AdminController {

    @Autowired
    private AdminService adminService;

    @RequestMapping(value = "hi", method = RequestMethod.GET)
    public String sayHi(@RequestParam String message) {
        return adminService.sayHi(message);
    }
}
為了體現出負載均衡效果,我們要啟動兩台service-admin,即啟動兩個服務提供者。
我們先啟動服務註冊中心Eureka服務8761埠,再以8762埠啟動一個服務提供者,然後點擊Run-Edit Configuration,將啟動單實例去掉。
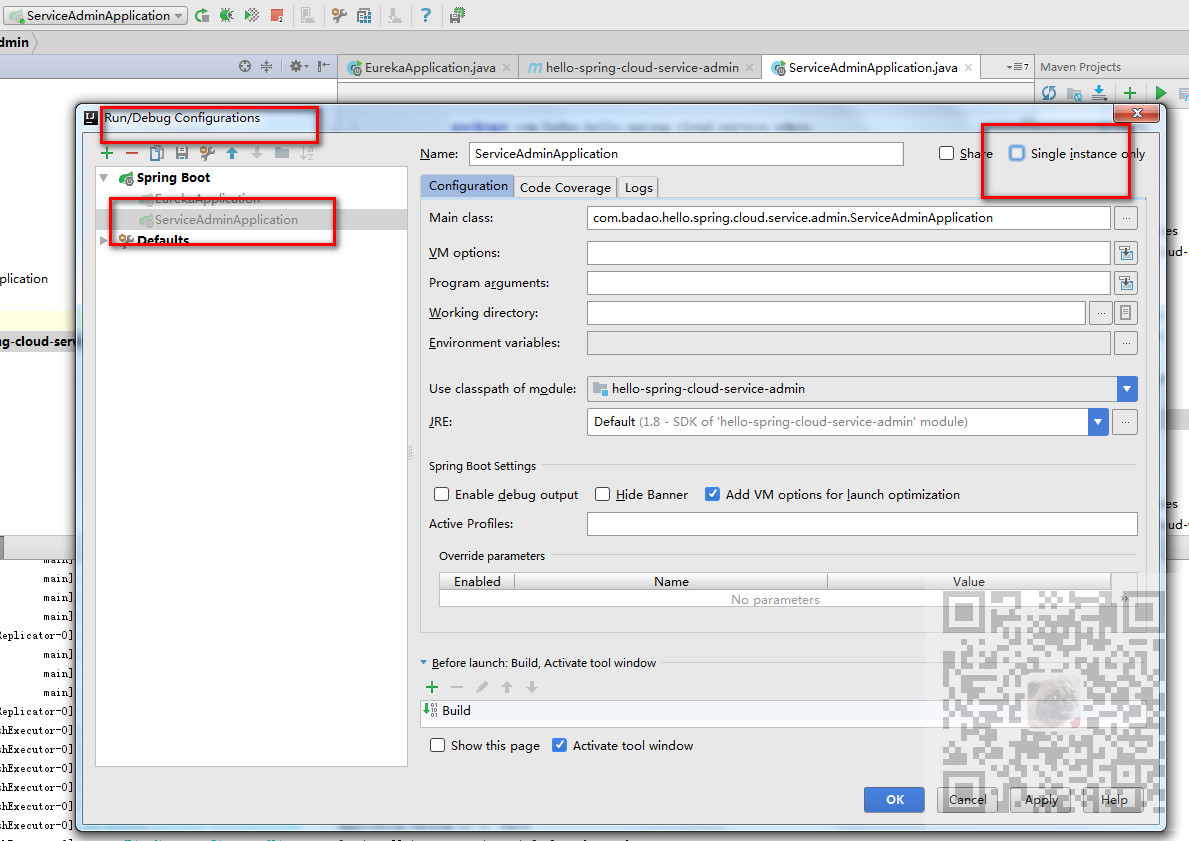
然後修改服務提供者的配置文件中埠號為8763,再啟動一個服務提供者。
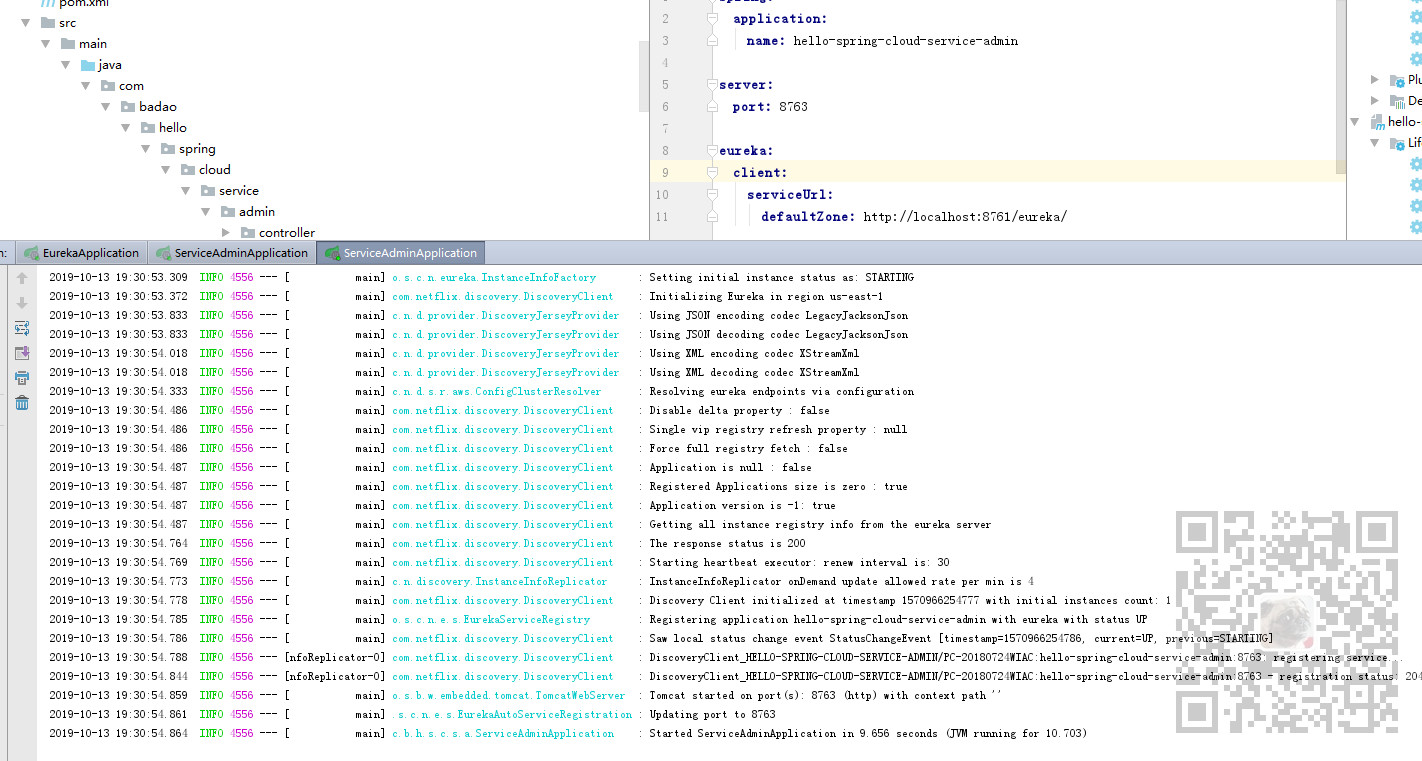
消費者要想實現負載均衡的效果,應該一會訪問8762的服務提供者,一會訪問8763的服務提供者。
然後運行當前服務消費者的啟動程式。
打開瀏覽器輸入:
http://localhost:8765/hi?message=HelloFeign
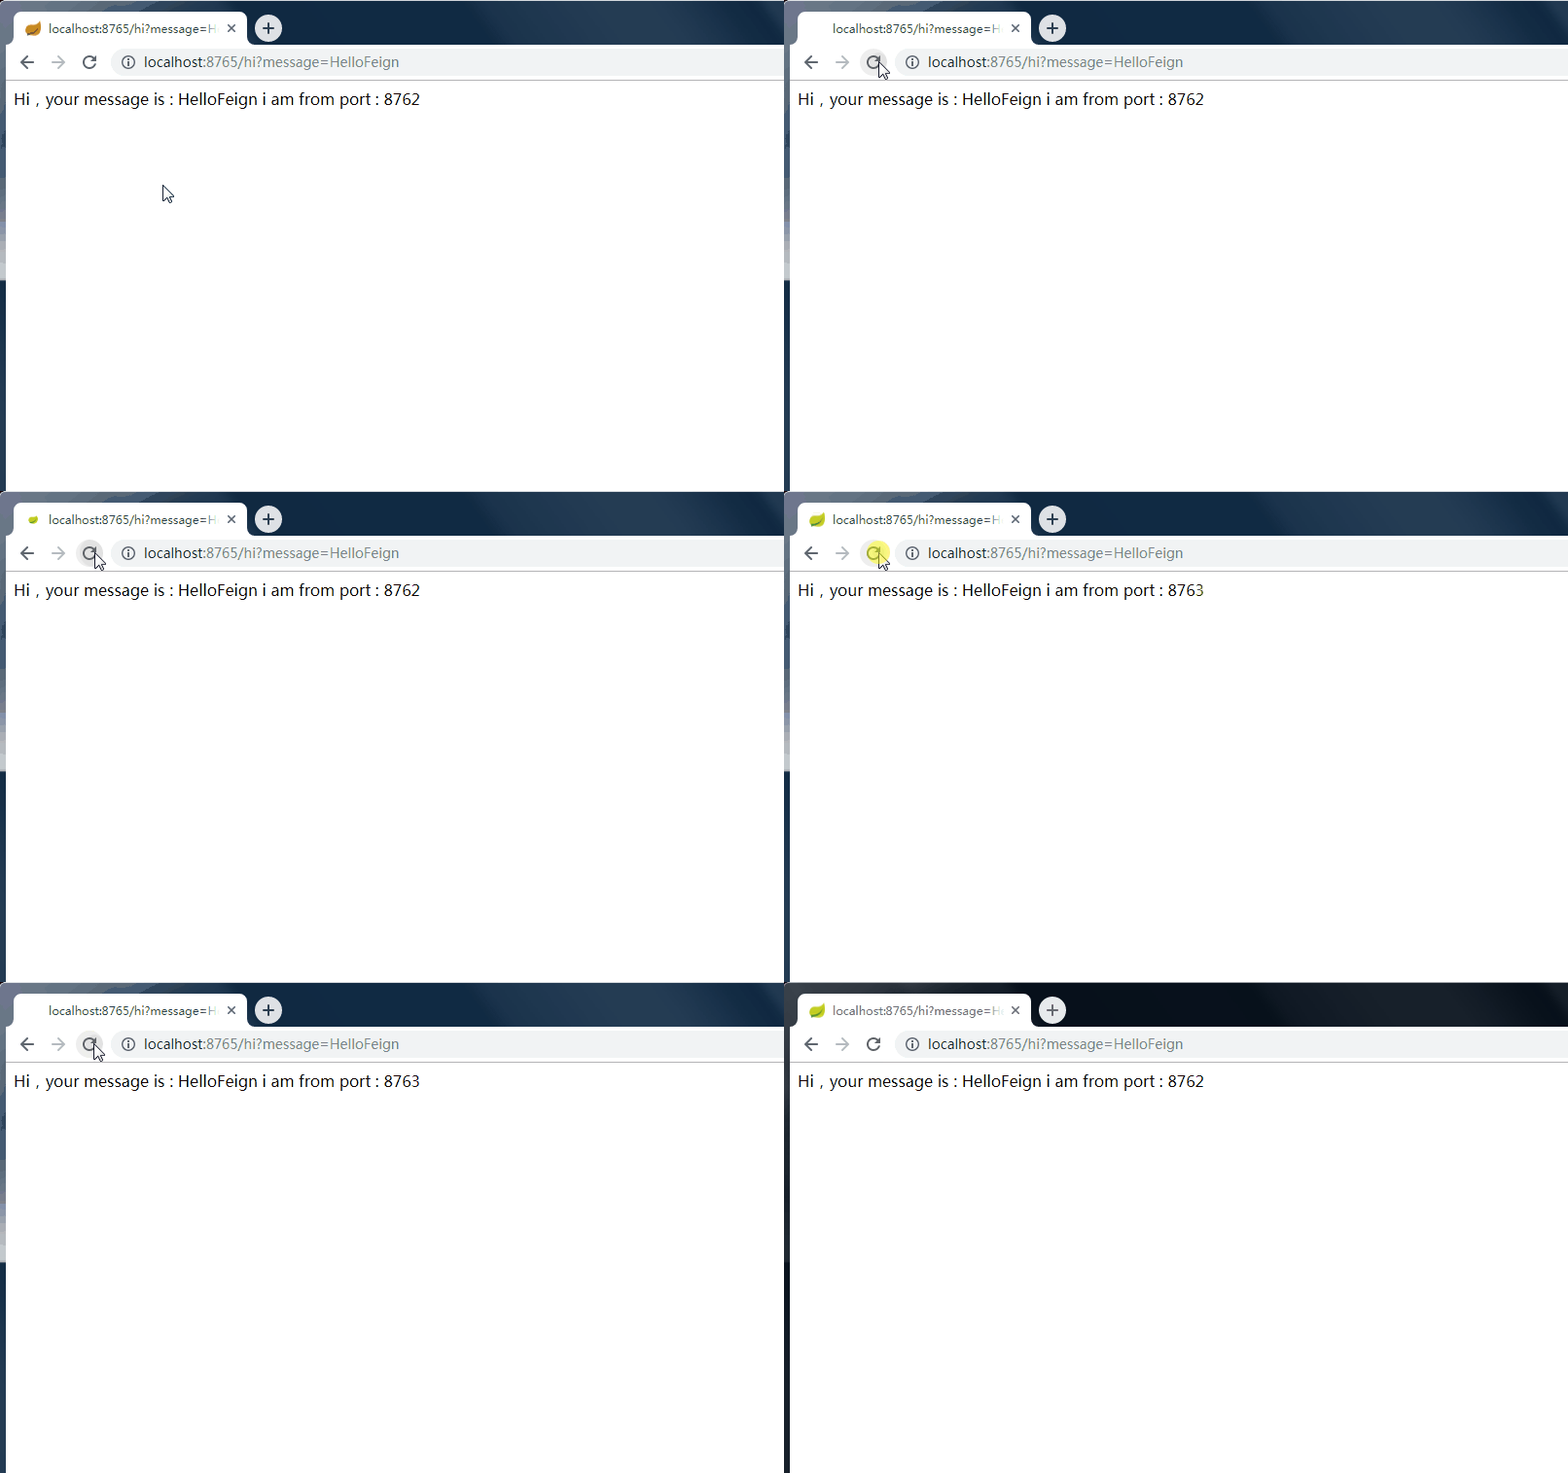
此時的架構
一個服務註冊中心,Eureka Server,埠號為:8761
service-admin 工程運行了兩個實例,埠號分別為:8762,8763
web-admin-feign 工程埠號為:8765
源碼下載
https://download.csdn.net/download/badao_liumang_qizhi/11867357


