
使用python鏈接mysql讀入一個表並把它再寫到hbase 里去(九頭蛇萬歲) 先聲明一下需要用的庫: 倆!!: happybase (寫這個的老哥真的happy) pymysql 建議使用anaconda進行相應版本匹配安裝,在裝happybase的時候,conda預設的channel是找不到 ...
使用python鏈接mysql讀入一個表並把它再寫到hbase 里去(九頭蛇萬歲)
先聲明一下需要用的庫:
倆!!:
happybase (寫這個的老哥真的happy)
pymysql
建議使用anaconda進行相應版本匹配安裝,在裝happybase的時候,conda預設的channel是找不到這個庫的你需要使用 conda-forge 鏡像參考如下網站:
https://anaconda.org/conda-forge/happybase
pymysql就不用說了,畢竟mysql業界廣泛使用,這個平臺都好找
安裝好了之後打開你的pycharm把基本purepython項目創建好,解釋器指定到anaconda3下麵的python.exe上面
然後開始玩耍:
Step1:
請打算開你的大數據環境啟動hadoop、zookeeper、hbase(簡直後臺記憶體爆掉)
Step2:
開始編寫自己的腳本,建議表級別操作和數據級別操作分別寫腳本,這樣會好控制一些。
這裡我簡單寫了四個腳本
test.py,mysql.py,delete.py,scan.py
(test開始沒規劃,實際就是創表腳本)
test.py
 1 #!/usr/bin/python
 2 # coding:utf-8
 3 import happybase
 4
 5 connection = happybase.Connection('localhost', 9090)
 6
 7 connection.create_table(
 8     'short',
 9     {
10         'base':dict(),
11         'region':dict(),
12         'infos':dict()
13     }
14 )
這裡面很簡單的操作,你要用hbase,你就要鏈接它,happybase.Connection(主機名, 埠號)參數就這麼簡單,對應好就ok
這裡創建表的方法寫法和hbase的操作感覺相當的像,hbase的table用起來確實就像是字典嵌套字典,太過於真實
這裡我的表名為short,表有三個列族base、region、infos,這個是根據數據自己設計出來的。數據是個csv:如下,請先存為csv文件,導入你的mysql做準備(如果你要實驗這個例子)
customer_id,first_name,last_name,email,gender,address,country,language,job,credit_type,credit_no
1,Spencer,Raffeorty,[email protected],Male,9274 Lyons Court,China,Khmer,Safety Technician III,jcb,3589373385487669
2,Cherye,Poynor,[email protected],Female,1377 Anzinger Avenue,China,Czech,Research Nurse,instapayment,6376594861844533
3,Natasha,Abendroth,[email protected],Female,2913 Evergreen Lane,China,Yiddish,Budget/Accounting Analyst IV,visa,4041591905616356
4,Huntley,Seally,[email protected],Male,694 Del Sol Lane,China,Albanian,Environmental Specialist,laser,677118310740263477
5,Druci,Coad,[email protected],Female,16 Debs Way,China,Hebrew,Teacher,jcb,3537287259845047
6,Sayer,Brizell,[email protected],Male,71 Banding Terrace,China,Maltese,Accountant IV,americanexpress,379709885387687
7,Becca,Brawley,[email protected],Female,7 Doe Crossing Junction,China,Czech,Payment Adjustment Coordinator,jcb,3545377719922245
8,Michele,Bastable,[email protected],Female,98 Clyde Gallagher Pass,China,Malayalam,Tax Accountant,jcb,3588131787131504
9,Marla,Brotherhood,[email protected],Female,4538 Fair Oaks Trail,China,Dari,Design Engineer,china-unionpay,5602233845197745479
10,Lionello,Gogarty,[email protected],Male,800 Sage Alley,China,Danish,Clinical Specialist,diners-club-carte-blanche,30290846607043
11,Camile,Ringer,[email protected],Female,5060 Fairfield Alley,China,Punjabi,Junior Executive,china-unionpay,5602213490649878
12,Gillan,Banbridge,[email protected],Female,91030 Havey Point,China,Kurdish,Chemical Engineer,jcb,3555948058752802
13,Guinna,Damsell,[email protected],Female,869 Ohio Park,China,Fijian,Analyst Programmer,jcb,3532009465228502
14,Octavia,McDugal,[email protected],Female,413 Forster Center,China,English,Desktop Support Technician,maestro,502017593120304035
15,Anjanette,Penk,[email protected],Female,8154 Schiller Road,China,Swedish,VP Sales,jcb,3548039055836788
16,Maura,Teesdale,[email protected],Female,9568 Quincy Alley,China,Dutch,Dental Hygienist,jcb,3582894252458217
導入mysql之後:
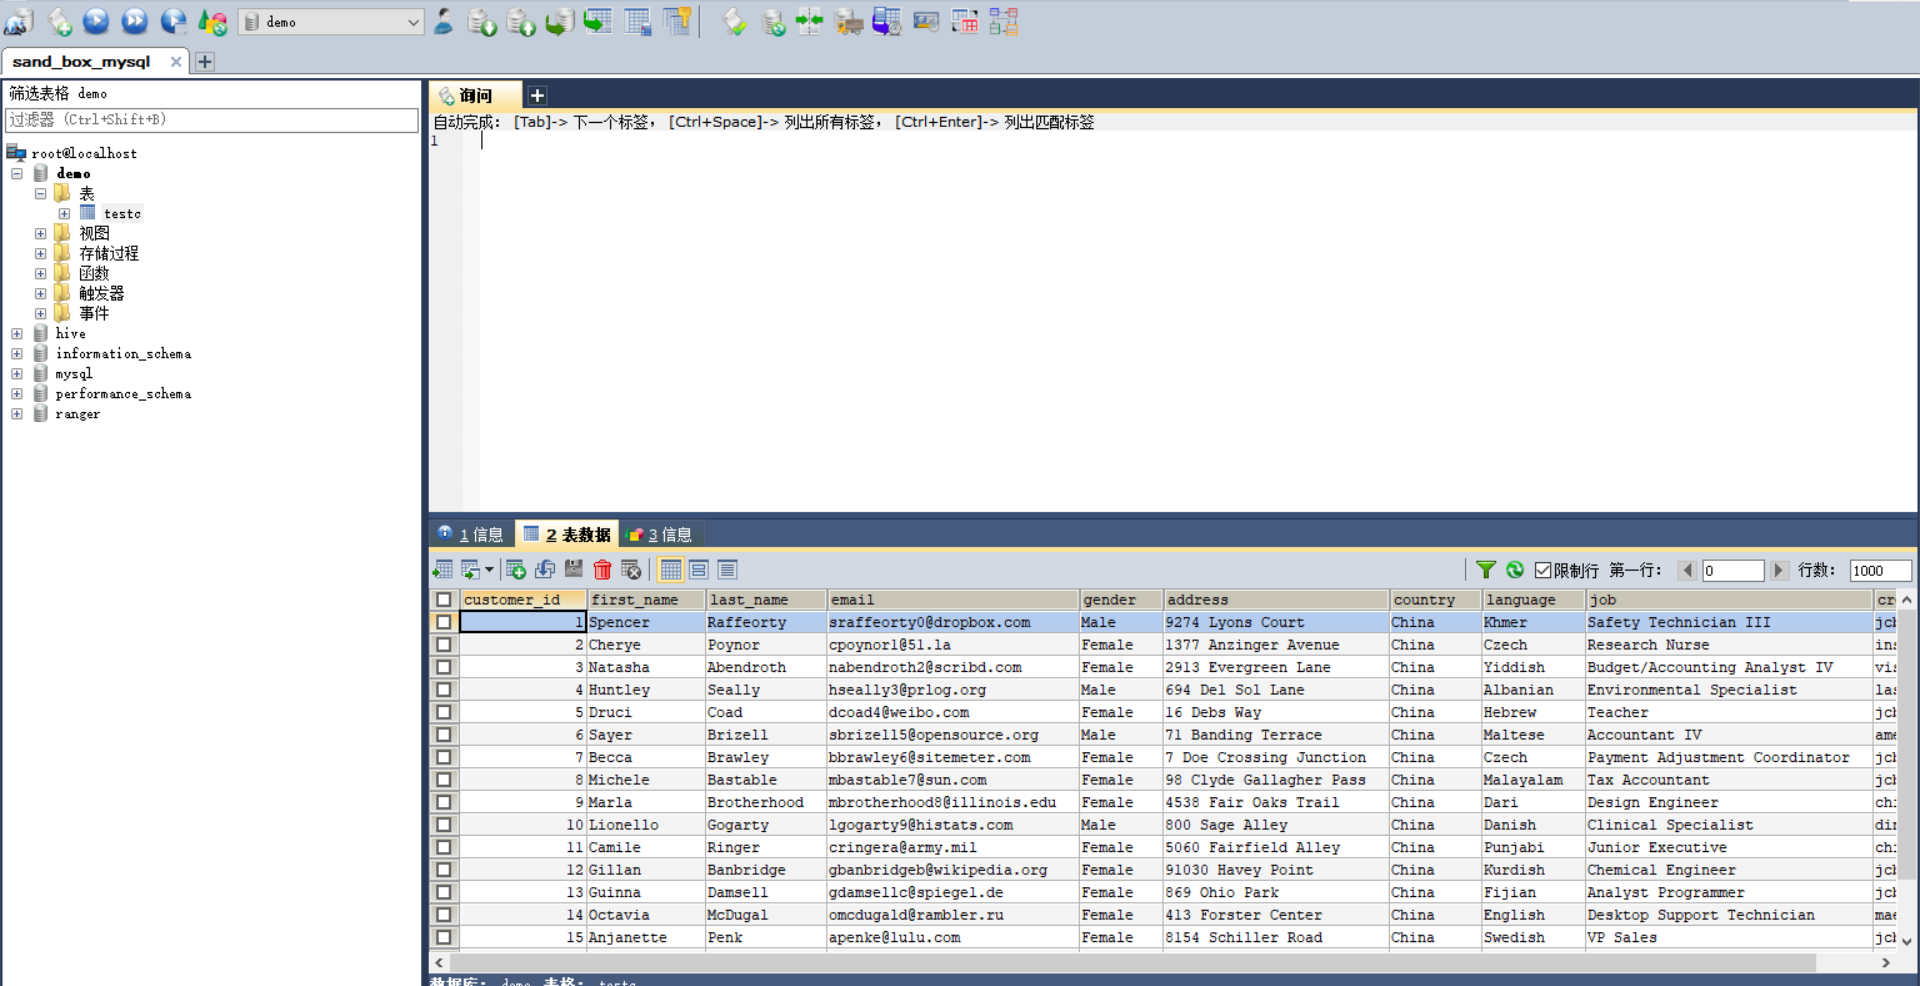
我是將它導在了資料庫demo下麵。
接下來,你就可以去玩蛇了
是不是感覺順序混亂???混亂就對了
現在要乾的事情是鏈接資料庫讀取數據,再將其插入到hbase中,mysql查表select,hbase插入put,知識點咚咚咚
mysql.py
 1 #!/usr/bin/python
 2 # coding:utf-8
 3 import pymysql
 4 import happybase
 5
 6
 7 class testc:
 8     def __init__(self, customer_id, first_name, last_name, email, gender, address, country, language, job, credit_type,
 9                  credit_no):
10         self._key = customer_id
11         self._first_name = first_name
12         self._last_name = last_name
13         self._email = email
14         self._gender = gender
15         self._address = address
16         self._country = country
17         self._language = language
18         self._job = job
19         self._credit_type = credit_type
20         self._credit_no = credit_no
21
22     def get(self):
23         return list((self._key, self._first_name, self._last_name,
24                      self._email, self._gender, self._address,
25                      self._country, self._language, self._job,
26                      self._credit_type, self._credit_no)
27                     )
28
29     def __str__(self):
30         return '%s,%s,%s,%s,%s,%s,%s,%s,%s,%s,%s' % (self._key,
31                                                      self._first_name,
32                                                      self._last_name,
33                                                      self._email,
34                                                      self._gender,
35                                                      self._address,
36                                                      self._country,
37                                                      self._language,
38                                                      self._job,
39                                                      self._credit_type,
40                                                      self._credit_no
41                                                      )
42
43
44 connection = happybase.Connection('localhost', 9090)
45
46 db = pymysql.connect(host='127.0.0.1', port=3307, user='root', password='hadoop', database='demo')
47 cursor = db.cursor()
48
49 sql = 'select * from testc'
50 cursor.execute(sql)
51 data = cursor.fetchall()
52 data = list(data)
53 datalist = []
54 for i in range(0, len(data)):
55     datalist.append(testc(data[i][0], data[i][1], data[i][2],
56                           data[i][3], data[i][4], data[i][5],
57                           data[i][6], data[i][7], data[i][8],
58                           data[i][9], data[i][10]
59                           ))
60     print(datalist[i])
61 # 到這裡mysql中的表數據已經被讀取並存儲與datalist中,接下來將它轉存在hbase中去
62 table = connection.table('short')
63 for data_ in datalist:
64     row = data_.get()
65     table.put(
66         bytes('{}'.format(row[0]),encoding='ascii'),
67         {
68             b'base:first_name': bytes('{}'.format(row[1]), encoding='ascii'),
69             b'base:last_name': bytes('{}'.format(row[2]), encoding='ascii'),
70             b'base:email': bytes('{}'.format(row[3]), encoding='ascii'),
71             b'base:gender': bytes('{}'.format(row[4]), encoding='ascii'),
72             b'region:address': bytes('{}'.format(row[5]), encoding='ascii'),
73             b'region:country': bytes('{}'.format(row[6]), encoding='ascii'),
74             b'infos:language': bytes('{}'.format(row[7]), encoding='ascii'),
75             b'infos:job': bytes('{}'.format(row[8]), encoding='ascii'),
76             b'infos:credit_type': bytes('{}'.format(row[9]), encoding='ascii'),
77             b'infos:credit_no': bytes('{}'.format(row[10]), encoding='ascii')
78         }
79     )
80
81 db.close()
大概流程思路是查出來的數據用特定格式做好,然後再寫入,這裡我做了個類(本質上沒有必要),讀者在實驗的時候可以考錄直接使用一個list去接收
連接mysql就需要你使用pymysql庫
db = pymysql.connect(host='127.0.0.1', port=3307, user='root', password='hadoop', database='demo')
其中的參數怕是意思很清楚了,這裡不進行過多贅述。
這裡有個叫做游標對象的東西 cursor = db.cursor() 可以認為他是個代理,使用它來執行sql語句並展示。
cursor有三個方法,fetchall、fetchone、fetchmany。嚼一嚼英語就知道意思是取全部、一行和多行,多行自然你要設定參數
找合適的容器接收你得到的數據,把數據按一定規格處理好之後,準備導入到hvase中。末尾的for迴圈就是導入代碼,這裡全部使用了bytes()是因為hbase只支持二進位,所以轉換為了ascii碼編碼,否則你會在接下來的scan中看到不想要的utf-8字元。
導好了之後,我們使用scan來看一下,hbase中scan是用來看全表的,那麼這裡table對象就會同樣有這個方法,人家老哥很厲害啊。
scan.py
 1 #!/usr/bin/python
 2 # coding:utf-8
 3
 4 import happybase
 5
 6 connection = happybase.Connection('localhost', 9090)
 7 table = connection.table('short')
 8
 9 for key, data in table.scan():
10     print(str(key),data)
這個篇幅很小,因為表級操作。
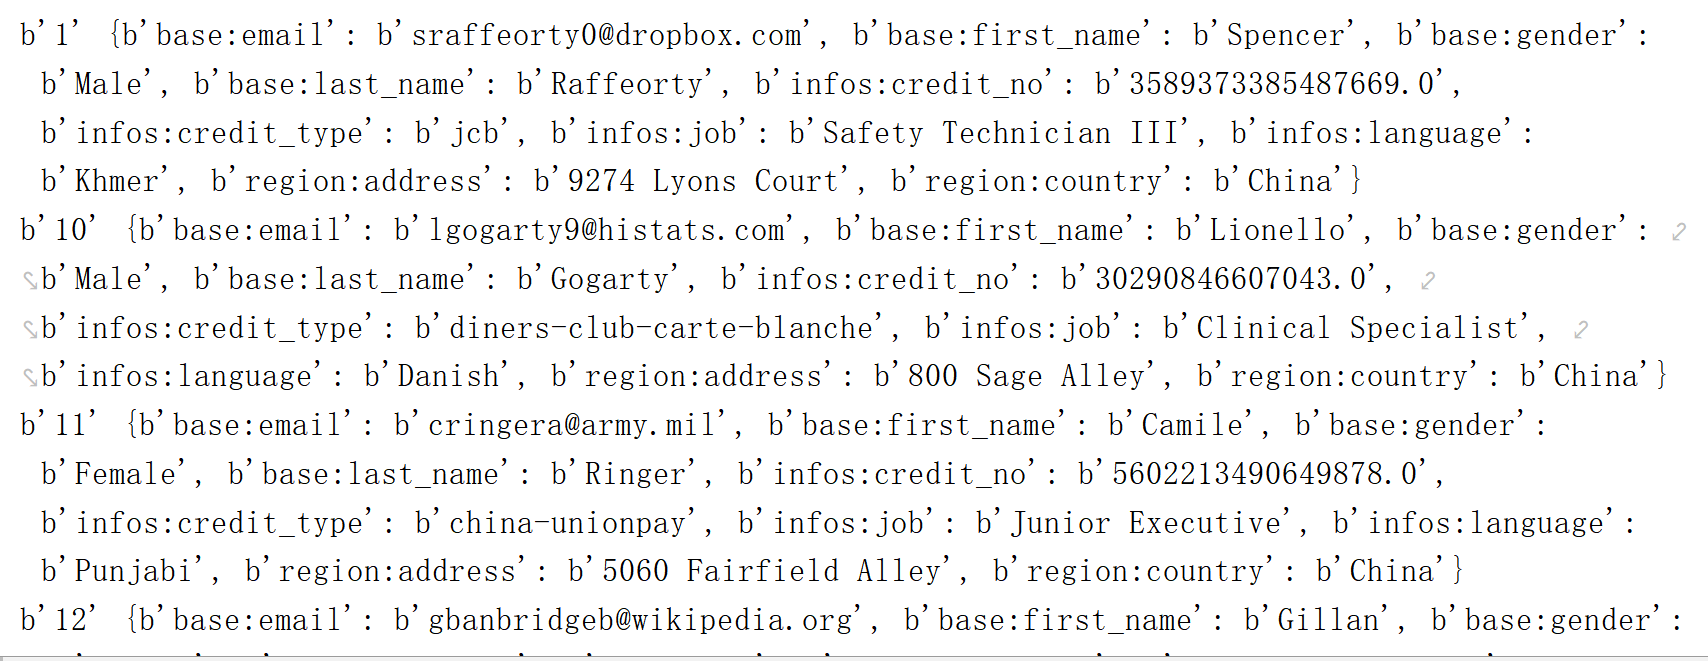
這裡是我查到的結果
這個小小的實驗基本就完成了,中間遇到坑的時候可能會重覆刪表和建表,這裡再提供一個
delete.py
1 #!/usr/bin/python
2 # coding:utf-8
3 import happybase
4
5 connection = happybase.Connection('localhost', 9090)
6 connection.disable_table('short')
7 connection.delete_table('short')
嗯好的,我只能幫你到這了,還要去學習哦,如果大佬有更好的數據導入是字元編碼的處理方式,跪求告知,知識就是力量!謝過大佬。
hail hydra


