首先在edelivery中下載Oracle Linux 8.0然後就預設安裝系統環境準備工具目前不支持OL8,所以需要手動安裝,首先設置內核參數,在/etc/sysctl.conf追加[root@localhost ~]# cat /etc/sysctl.conf |grep -v ^#|grep ... ...
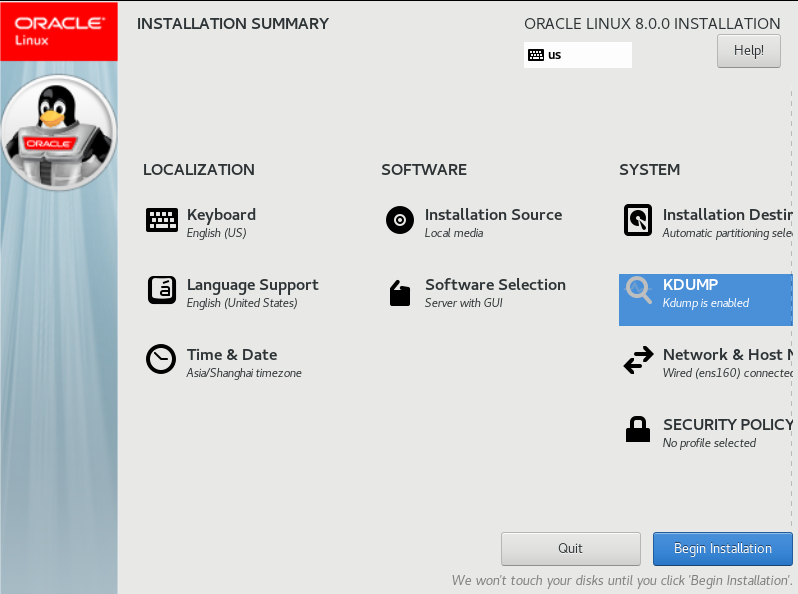
首先在edelivery中下載Oracle Linux 8.0
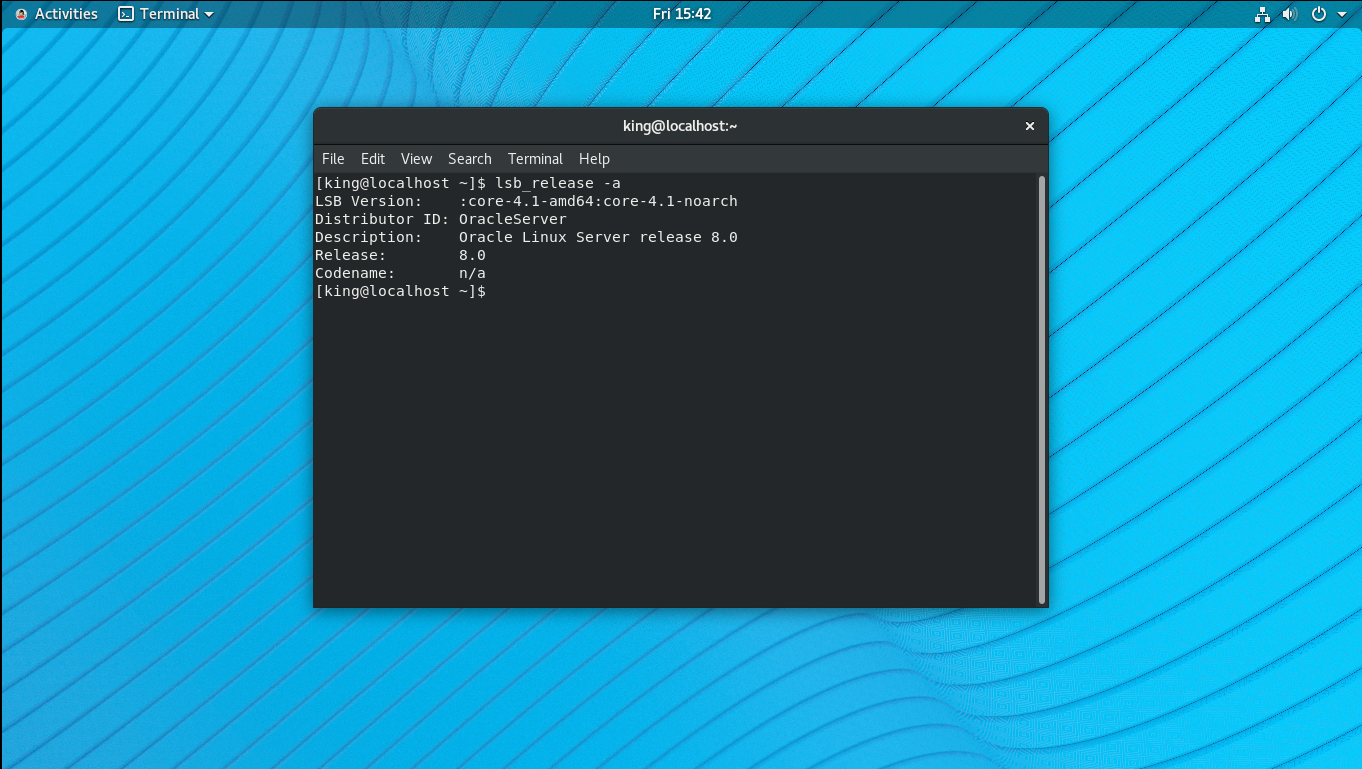
 然後就預設安裝系統


環境準備工具目前不支持OL8,所以需要手動安裝,首先設置內核參數,在/etc/sysctl.conf追加
[root@localhost ~]# cat /etc/sysctl.conf |grep -v ^#|grep -v ^$
fs.file-max = 6815744
kernel.sem = 250 32000 100 128
kernel.shmmni = 4096
kernel.shmall = 1073741824
kernel.shmmax = 4398046511104
kernel.panic_on_oops = 1
net.core.rmem_default = 262144
net.core.rmem_max = 4194304
net.core.wmem_default = 262144
net.core.wmem_max = 1048576
net.ipv4.conf.all.rp_filter = 2
net.ipv4.conf.default.rp_filter = 2
fs.aio-max-nr = 1048576
net.ipv4.ip_local_port_range = 9000 65500
[root@localhost ~]#
sysctl -p使參數生效
然後/etc/security/limits.d/oracle-database-preinstall-19c.conf中添加
[root@localhost limits.d]# cat /etc/security/limits.d/oracle-database-preinstall-19c.conf
oracle   soft   nofile    1024
oracle   hard   nofile    65536
oracle   soft   nproc    16384
oracle   hard   nproc    16384
oracle   soft   stack    10240
oracle   hard   stack    32768
oracle   hard   memlock    134217728
oracle   soft   memlock    134217728
[root@localhost limits.d]#
安裝依賴軟體
dnf install -y bc binutils compat-libstdc++-33 elfutils-libelf elfutils-libelf-devel fontconfig-devel glibc glibc-devel ksh libaio libaio-devel libXrender libXrender-devel libX11 libXau libXi libXtst libgcc librdmacm-devel libstdc++ libstdc++-devel libxcb make net-tools nfs-utils python3 python3-configshell python3-rtslib python3-six targetcli smartmontools sysstat unixODBC libnsl libnsl.i686 libnsl2 libnsl2.i686
創建用戶組和用戶
[root@localhost limits.d]# groupadd -g 1001 oinstall
[root@localhost limits.d]# groupadd -g 1002 dba
[root@localhost limits.d]# groupadd -g 1003 oper
[root@localhost limits.d]# useradd -u 1001 -g oinstall -G dba,oper oracle
[root@localhost limits.d]# passwd oracle
Changing password for user oracle.
New password:
BAD PASSWORD: The password is shorter than 8 characters
Retype new password:
passwd: all authentication tokens updated successfully.
[root@localhost limits.d]#
創建目錄
[root@localhost ~]# mkdir -p /u01/app/oraInventory
[root@localhost ~]# mkdir -p /u01/app/oracle/product/19.3.0/dbhome_1
[root@localhost ~]# chown -R oracle: /u01/app/oraInventory
[root@localhost ~]# chown -R oracle: /u01/app/oracle
[root@localhost ~]# su - oracle
[oracle@localhost db]$ unzip -q /stage/db/V982063-01.zip -d /u01/app/oracle/product/19.3.0/dbhome_1/
[oracle@localhost db]$
開始安裝,註意版本相容問題要先設置環境變數export CV_ASSUME_DISTID=RHEL7.6
[oracle@localhost ~]$ export CV_ASSUME_DISTID=RHEL7.6
[oracle@localhost ~]$ /u01/app/oracle/product/19.3.0/dbhome_1/runInstaller -ignorePrereq -waitforcompletion -silent \
>     -responseFile /u01/app/oracle/product/19.3.0/dbhome_1/install/response/db_install.rsp \
>     oracle.install.option=INSTALL_DB_SWONLY \
> .ORACLE_HOSTNAME=OL8.0_19C \
>     UNIX_GROUP_NAME=oinstall \
>     INVENTORY_LOCATION=/u01/app/oraInventory \
>     SELECTED_LANGUAGES=en,en_GB \
>     ORACLE_HOME=/u01/app/oracle/product/19.3.0/dbhome_1 \
>     ORACLE_BASE=/u01/app/oracle \
>     oracle.install.db.InstallEdition=EE \
>     oracle.install.db.OSDBA_GROUP=dba \
>     oracle.install.db.OSBACKUPDBA_GROUP=dba \
>     oracle.install.db.OSDGDBA_GROUP=dba \
>     oracle.install.db.OSKMDBA_GROUP=dba \
>     oracle.install.db.OSRACDBA_GROUP=dba \
>     SECURITY_UPDATES_VIA_MYORACLESUPPORT=false \
>     DECLINE_SECURITY_UPDATES=true
Launching Oracle Database Setup Wizard...

The response file for this session can be found at:
 /u01/app/oracle/product/19.3.0/dbhome_1/install/response/db_2019-08-17_12-41-50PM.rsp

You can find the log of this install session at:
 /tmp/InstallActions2019-08-17_12-41-50PM/installActions2019-08-17_12-41-50PM.log

As a root user, execute the following script(s):
        1. /u01/app/oraInventory/orainstRoot.sh
        2. /u01/app/oracle/product/19.3.0/dbhome_1/root.sh

Execute /u01/app/oraInventory/orainstRoot.sh on the following nodes:
[localhost]
Execute /u01/app/oracle/product/19.3.0/dbhome_1/root.sh on the following nodes:
[localhost]


Successfully Setup Software.
Moved the install session logs to:
 /u01/app/oraInventory/logs/InstallActions2019-08-17_12-41-50PM
[oracle@localhost ~]$ su - root
Password:
[root@localhost ~]# /u01/app/oraInventory/orainstRoot.sh
Changing permissions of /u01/app/oraInventory.
Adding read,write permissions for group.
Removing read,write,execute permissions for world.

Changing groupname of /u01/app/oraInventory to oinstall.
The execution of the script is complete.
[root@localhost ~]# /u01/app/oracle/product/19.3.0/dbhome_1/root.sh
Check /u01/app/oracle/product/19.3.0/dbhome_1/install/root_localhost.localdomain_2019-08-17_12-44-20-885851348.log for the output of root script
[root@localhost ~]#
代碼是
/u01/app/oracle/product/19.3.0/dbhome_1/runInstaller -ignorePrereq -waitforcompletion -silent \
    -responseFile /u01/app/oracle/product/19.3.0/dbhome_1/install/response/db_install.rsp \
    oracle.install.option=INSTALL_DB_SWONLY \
	ORACLE_HOSTNAME=OL8.0_19C \
    UNIX_GROUP_NAME=oinstall \
    INVENTORY_LOCATION=/u01/app/oraInventory \
    SELECTED_LANGUAGES=en,en_GB \
    ORACLE_HOME=/u01/app/oracle/product/19.3.0/dbhome_1 \
    ORACLE_BASE=/u01/app/oracle \
    oracle.install.db.InstallEdition=EE \
    oracle.install.db.OSDBA_GROUP=dba \
    oracle.install.db.OSBACKUPDBA_GROUP=dba \
    oracle.install.db.OSDGDBA_GROUP=dba \
    oracle.install.db.OSKMDBA_GROUP=dba \
    oracle.install.db.OSRACDBA_GROUP=dba \
    SECURITY_UPDATES_VIA_MYORACLESUPPORT=false \
    DECLINE_SECURITY_UPDATES=true
靜默安裝資料庫,df -h先看看記憶體夠不夠,不夠就調整參數大小或者mount -o remount,size=4G /dev/shm
[root@localhost ~]# mount -o remount,size=4G /dev/shm
[root@localhost ~]# su - oracle
[oracle@localhost ~]$ /u01/app/oracle/product/19.3.0/dbhome_1/bin/dbca -silent -createDatabase \
>      -templateName General_Purpose.dbc \
>      -gdbname cdb1 -sid  cdb1 -responseFile NO_VALUE \
>      -characterSet AL32UTF8 \
>      -sysPassword oracle \
>      -systemPassword oracle \
>      -createAsContainerDatabase true \
>      -numberOfPDBs 1 \
>      -pdbName pdb1 \
>      -pdbAdminPassword oracle \
>      -databaseType MULTIPURPOSE \
>      -automaticMemoryManagement false \
>      -totalMemory 2000 \
>      -storageType FS \
>      -datafileDestination "/u01/app/oracle/oradata" \
>      -redoLogFileSize 50 \
>      -emConfiguration NONE \
>      -ignorePreReqs
[WARNING] [DBT-11209] Current available memory is less than the required available memory (2,000MB) for creating the database.
   CAUSE: Following nodes do not have required available memory :
 Node:localhost         Available memory:1.8429GB (1932452.0KB)

[WARNING] [DBT-06208] The 'SYS' password entered does not conform to the Oracle recommended standards.
   CAUSE:
a. Oracle recommends that the password entered should be at least 8 characters in length, contain at least 1 uppercase character, 1 lower case character and 1 digit [0-9].
b.The password entered is a keyword that Oracle does not recommend to be used as password
   ACTION: Specify a strong password. If required refer Oracle documentation for guidelines.
[WARNING] [DBT-06208] The 'SYSTEM' password entered does not conform to the Oracle recommended standards.
   CAUSE:
a. Oracle recommends that the password entered should be at least 8 characters in length, contain at least 1 uppercase character, 1 lower case character and 1 digit [0-9].
b.The password entered is a keyword that Oracle does not recommend to be used as password
   ACTION: Specify a strong password. If required refer Oracle documentation for guidelines.
[WARNING] [DBT-06208] The 'PDBADMIN' password entered does not conform to the Oracle recommended standards.
   CAUSE:
a. Oracle recommends that the password entered should be at least 8 characters in length, contain at least 1 uppercase character, 1 lower case character and 1 digit [0-9].
b.The password entered is a keyword that Oracle does not recommend to be used as password
   ACTION: Specify a strong password. If required refer Oracle documentation for guidelines.
Prepare for db operation
8% complete
Copying database files
31% complete
Creating and starting Oracle instance
32% complete
36% complete
40% complete
43% complete
46% complete
Completing Database Creation
51% complete
53% complete
54% complete
Creating Pluggable Databases
58% complete
77% complete
Executing Post Configuration Actions
100% complete
Database creation complete. For details check the logfiles at:
 /u01/app/oracle/cfgtoollogs/dbca/cdb1.
Database Information:
Global Database Name:cdb1
System Identifier(SID):cdb1
Look at the log file "/u01/app/oracle/cfgtoollogs/dbca/cdb1/cdb1.log" for further details.
[oracle@localhost ~]$
代碼是
/u01/app/oracle/product/19.3.0/dbhome_1/bin/dbca -silent -createDatabase \
     -templateName General_Purpose.dbc \
     -gdbname cdb1 -sid  cdb1 -responseFile NO_VALUE \
     -characterSet AL32UTF8 \
     -sysPassword oracle \
     -systemPassword oracle \
     -createAsContainerDatabase true \
     -numberOfPDBs 1 \
     -pdbName pdb1 \
     -pdbAdminPassword oracle \
     -databaseType MULTIPURPOSE \
     -automaticMemoryManagement false \
     -totalMemory 2000 \
     -storageType FS \
     -datafileDestination "/u01/app/oracle/oradata" \
     -redoLogFileSize 50 \
     -emConfiguration NONE \
     -ignorePreReqs
修改/etc/oratab中預設的N為Y,以便讓資料庫隨系統的啟動一起啟動
[oracle@localhost ~]$ cat /etc/oratab |grep -v ^#|grep -v ^$
cdb1:/u01/app/oracle/product/19.3.0/dbhome_1:Y
[oracle@localhost ~]$
查看一下
[oracle@localhost ~]$ export ORACLE_SID=cdb1
[oracle@localhost ~]$ export ORACLE_HOME=/u01/app/oracle/product/19.3.0/dbhome_1
[oracle@localhost ~]$ export ORACLE_BASE=/u01/app/oracle/
[oracle@localhost ~]$ export PATH=$PATH:$ORACLE_HOME/bin
[oracle@localhost ~]$
[oracle@localhost ~]$ sqlplus / as sysdba

SQL*Plus: Release 19.0.0.0.0 - Production on Sat Aug 17 14:20:38 2019
Version 19.3.0.0.0

Copyright (c) 1982, 2019, Oracle.  All rights reserved.


Connected to:
Oracle Database 19c Enterprise Edition Release 19.0.0.0.0 - Production
Version 19.3.0.0.0

SQL> show pdbs;

    CON_ID CON_NAME                       OPEN MODE  RESTRICTED
---------- ------------------------------ ---------- ----------
         2 PDB$SEED                       READ ONLY  NO
         3 PDB1                           READ WRITE NO
SQL> alter system set db_create_file_dest='/u01/app/oracle/oradata';

System altered.

SQL> alter pluggable database pdb1 save state;

Pluggable database altered.

SQL> exit;
Disconnected from Oracle Database 19c Enterprise Edition Release 19.0.0.0.0 - Production
Version 19.3.0.0.0
[oracle@localhost ~]$
ojbk,have fun!


