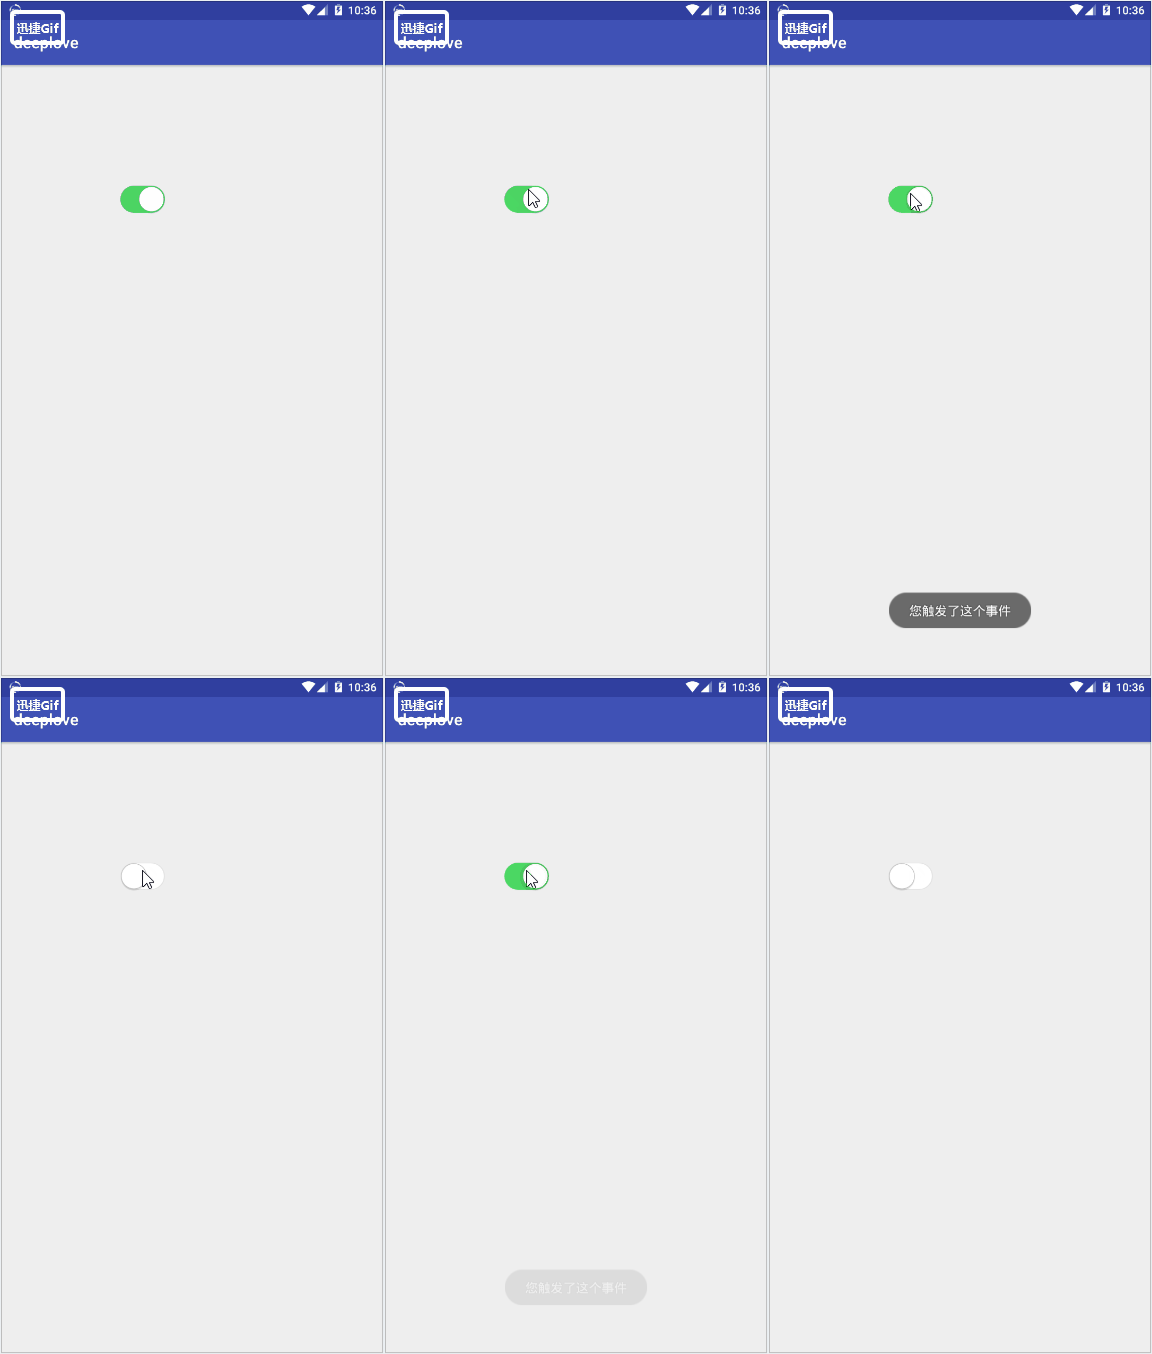
我們先來看看效果: 這裡我們主要使用了github上的一個開源項目,配置起來比較方便,下麵解釋一下該如何使用:首先是:Gradle文件當中進行配置: 當然如果是老版本的Android Studio則使用: 二.activity 其中的第一個監聽器是switch在選擇的時候,所觸發的事件。第二個監聽器 ...
我們先來看看效果:

這裡我們主要使用了github上的一個開源項目,配置起來比較方便,下麵解釋一下該如何使用:
首先是:
Gradle文件當中進行配置:
dependencies {

    implementation 'ch.ielse:switchbutton:1.0.1'

}
當然如果是老版本的Android Studio則使用:
dependencies {

    complie 'ch.ielse:switchbutton:1.0.1'

}
二.activity
import android.support.v7.app.AppCompatActivity;
import android.os.Bundle;
import android.widget.Toast;

import ch.ielse.view.SwitchView;

public class PrimaryColor extends AppCompatActivity {

    @Override
    protected void onCreate(Bundle savedInstanceState) {
        super.onCreate(savedInstanceState);
        setContentView(R.layout.primary_color);
        SwitchView switchView=(SwitchView)findViewById(R.id.button);
        switchView.setOnStateChangedListener(new SwitchView.OnStateChangedListener() {
            @Override
            public void toggleToOn(SwitchView view) {
                view.toggleSwitch(true); // or false
                Toast.makeText(PrimaryColor.this,"您觸發了這個事件",Toast.LENGTH_SHORT).show();
            }

            @Override
            public void toggleToOff(SwitchView view) {
                view.toggleSwitch(false); // or true
            }
        });


    }
}
其中的第一個監聽器是switch在選擇的時候,所觸發的事件。第二個監聽器是未在選擇的時候,所觸發的事件。這樣使用起來比較方便。
三.actvity.xml
<?xml version="1.0" encoding="utf-8"?>
<LinearLayout xmlns:android="http://schemas.android.com/apk/res/android"
    xmlns:app="http://schemas.android.com/apk/res-auto"
    xmlns:tools="http://schemas.android.com/tools"
    android:layout_width="match_parent"
    android:layout_height="match_parent"

    tools:context=".PrimaryColor">
    <ch.ielse.view.SwitchView
        android:layout_margin="150dp"
        android:id="@+id/button"
        android:layout_width="wrap_content"
        android:layout_height="wrap_content"/>
</LinearLayout>
得解,一共就只有這三個部分了,很容易的,如果自己去寫,不調用開源庫的話將會浪費很多時間。


