一、引言 有了自動配置,springboot使web開發變得簡單,這個在springboot之旅中的第一篇中就有體現,實際的開發中當然不會這麼簡單,很多時候我們都需要自己去定製一些東西。web開發的東西比較多, 我們先掌握一些必要知識點,剩下的就是CRUD開發。 快速的創建一個springboot ...
一、引言
有了自動配置,springboot使web開發變得簡單,這個在springboot之旅中的第一篇中就有體現,實際的開發中當然不會這麼簡單,很多時候我們都需要自己去定製一些東西。web開發的東西比較多, 我們先掌握一些必要知識點,剩下的就是CRUD開發。
快速的創建一個springboot web項目在第一篇總結中有講:https://www.cnblogs.com/yuanqinnan/p/10604761.html
二、
現在大部分公司都是前後端分離的開發模式,一般作為後臺開發不用關心前端,只需要提供相應介面,但是有關前端的知識我們最好還是能基本掌握一些。我們先了一套bootstrap框架,然後開始進行開發。
在之前的web開發中,在main目錄下麵會有webapp文件夾,我們將所有的靜態資源放在裡面,但是springboot的預設生成中並沒有這個文件夾,那麼springboot是怎麼映射靜態資源。
ctrl+N快捷鍵,找到WebMvcAutoConfiguration類,再找到裡面的addResourceHandlers 方法
public void addResourceHandlers(ResourceHandlerRegistry registry) {
   if (!this.resourceProperties.isAddMappings()) {
      logger.debug("Default resource handling disabled");
      return;
   }
   Duration cachePeriod = this.resourceProperties.getCache().getPeriod();
   CacheControl cacheControl = this.resourceProperties.getCache()
         .getCachecontrol().toHttpCacheControl();
   //webjar形式
   if (!registry.hasMappingForPattern("/webjars/**")) {
      customizeResourceHandlerRegistration(registry
            .addResourceHandler("/webjars/**")
            .addResourceLocations("classpath:/META-INF/resources/webjars/")
            .setCachePeriod(getSeconds(cachePeriod))
            .setCacheControl(cacheControl));
   }
    //匹配/**
   String staticPathPattern = this.mvcProperties.getStaticPathPattern();
   if (!registry.hasMappingForPattern(staticPathPattern)) {
      customizeResourceHandlerRegistration(
            registry.addResourceHandler(staticPathPattern)
                  .addResourceLocations(getResourceLocations(
                      //映射的資源文件夾
                        this.resourceProperties.getStaticLocations()))
                  .setCachePeriod(getSeconds(cachePeriod))
                  .setCacheControl(cacheControl));
   }
}
2.1
<dependency>
  <groupId>org.webjars</groupId>
  <artifactId>jquery</artifactId>
  <version>3.3.1-1</version>
</dependency>
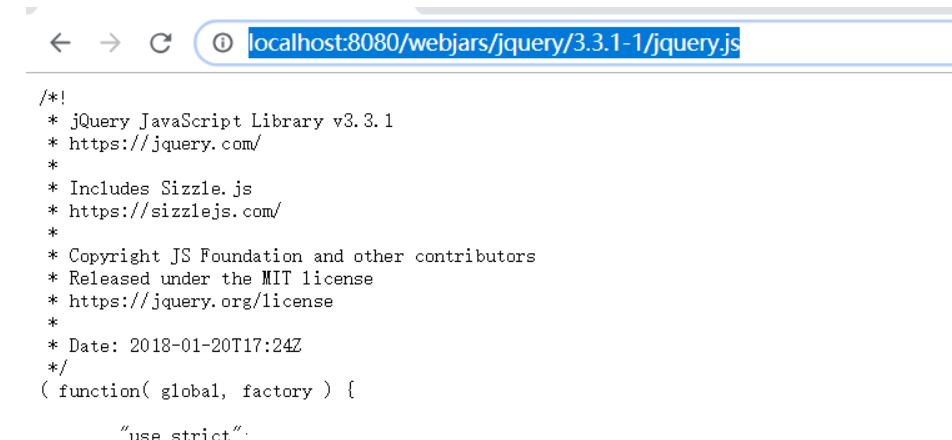
引入後可以看到jquer文件被引入了:

另外當訪問當前項目的任何資源,都去(靜態資源的文件夾)找映射,資源文件夾是一個數組,包括:
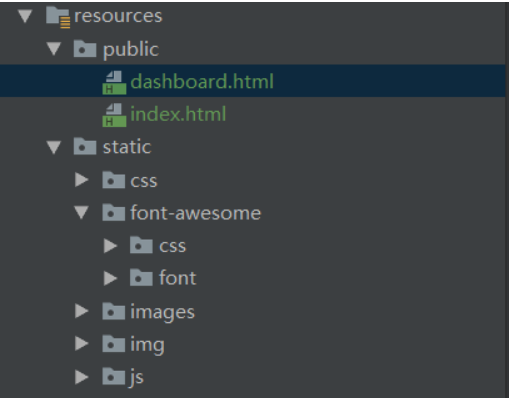
"classpath:/META-INF/resources/", "classpath:/resources/","classpath:/static/", "classpath:/public/" ,
"/":當前項目的根路徑。只要將靜態文件放入其中,那麼springboot就能找到。
三、
<dependency>
        <groupId>org.springframework.boot</groupId>
        <artifactId>spring-boot-starter-thymeleaf</artifactId>
</dependency>
進入之後可以看到預設版本,我們也可以改成自己需要的版本。
<thymeleaf.version>3.0.9.RELEASE</thymeleaf.version>
<!-- 佈局功能的支持程式  thymeleaf3主程式  layout2以上版本 -->
<!-- thymeleaf2   layout1-->
<thymeleaf-layout-dialect.version>2.2.2</thymeleaf-layout-dialect.version>
@ConfigurationProperties(prefix = "spring.thymeleaf")
public class ThymeleafProperties {
private static final Charset DEFAULT_ENCODING = Charset.forName("UTF-8");
private static final MimeType DEFAULT_CONTENT_TYPE = MimeType.valueOf("text/html");
public static final String DEFAULT_PREFIX = "classpath:/templates/";
public static final String DEFAULT_SUFFIX = ".html";
我們可以去官網查看教程,這裡只是簡單的進行介紹,主要步驟
第一步:導入命名空間,導入之後會有相應提示
<html lang="en" xmlns:th="http://www.thymeleaf.org">
第二步:使用語法
<!DOCTYPE html>
<html lang="en" xmlns:th="http://www.thymeleaf.org">
<head>
    <meta charset="UTF-8">
    <title>Title</title>
</head>
<body>
<h1>成功!</h1>
  <!--th:text 將div裡面的文本內容設置為 -->
<div><th th:text="${hello}"></th>這是顯示歡迎信息</div>
</body>
</html>
更具體的使用方法,可以去查看官網教程,這種如果沒有使用到的話不建議花太多時間去學,很多公司都是前後端分離,即使不是前後端分離,也有很多前端框架給我們使用。這些可以再我們使用的時候再去學習,速度也是很快的。
四、
springboot預設將為我們配置如下一些SpringMvc的必要組件:
-
必要的ViewResolver(視圖解析器:根據方法的返回值得到視圖對象(View)),如ContentNegotiatingViewResolver和
BeanNameViewResolver。 -
將必要的
Converter,GenericConverter,Formatter等bean註冊到ioc容器中。 -
添加了一系列的
HttpMessageConverters以便支持對web請求和相應的類型轉換。 -
自動配置和註冊
MessageCodesResolver
任何時候,我們對預設提供的組件設定不滿意,都可以註冊新的同類型的bean定義來替換,web的所有自動場景都在org.springframework.boot.autoconfigure.web包中,我們可以參照進行配置。
當然完全靠自動配置在實際開發時不夠的,我們經常需要自己配置一些東西,比如攔截器,視圖映射規則。
@Configuration
public class WebConfig implements WebMvcConfigurer {

    @Override
    public void addViewControllers(ViewControllerRegistry registry) {
        registry.addViewController("/yuan").setViewName("success");
    }
}
這段代碼就實現了自定義的視圖映射。上面這種寫法使SpringMVC的自動配置和我們的擴展配置都會起作用
我們甚至可以全面接管springmvc,只要在配置類中增加@EnableWebMv註解,這樣所有的SpringMVC的自動配置都失效了。當然,一般情況下我們不會這麼做。
五、登陸
web系統一般少不了登錄頁面,我們先設定預設頁面為登錄頁。
registry.addViewController("/").setViewName("login");
registry.addViewController("/index.html").setViewName("login");
@Controller
public class LoginController {

    @PostMapping(value = "/user/login")
    public String login(@RequestParam("username") String username,
                        @RequestParam("password") String password,
                        Map<String,Object> map, HttpSession httpSession){
        if(!StringUtils.isEmpty(username)&&
        "123456".equals(password)){
             //設置session
             httpSession.setAttribute("loginUser",username);
            //重定向到主頁
            return "redirect:/main.html";
        }else {
            map.put("msg","用戶名密碼錯誤");
            return "login";
        }
    }
}
@Component
public class LoginHandlerInterceptor implements HandlerInterceptor {

    public boolean preHandle(HttpServletRequest request, HttpServletResponse response, Object handler) throws Exception {
        Object user = request.getSession().getAttribute("loginUser");
        if(user == null){
            //未登陸,返回登陸頁面
            request.setAttribute("msg","沒有許可權請先登陸");
            request.getRequestDispatcher("/index.html").forward(request,response);
            return false;
        }else{
            //已登陸,放行請求
            return true;
        }
    }
}
然後再加入配置
@Configuration
public class WebConfig implements WebMvcConfigurer {
    @Autowired
    private LoginHandlerInterceptor loginHandlerInterceptor;

    public void addInterceptors(InterceptorRegistry registry) {
        registry.addInterceptor(loginHandlerInterceptor).addPathPatterns("/**")
                .excludePathPatterns("/index.html","/","/user/login");
    }
 }
這樣在訪問其他頁面時都會進行登錄攔截操作
六、
springboot有自身的預設錯誤處理機制,分為兩種
第一種:瀏覽器,瀏覽器會返回一個預設的錯誤頁面,如:

第二種:客戶端,客戶端預設返回的是一個響應一個json數據
如果我們用postman訪問,則返回:

如果我們想要展示更加詳細的信息,就將頁面放在模板引擎文件夾下,路徑名為 error/狀態碼,【將錯誤頁面命名為錯誤狀態碼.html 放在模板引擎文件夾裡面的 error文件夾下】,發生此狀態碼的錯誤就會來到 對應的頁面。在這個頁面我們可以獲取到一些錯誤信息,如:
-
timestamp:時間戳
-
-
error:錯誤提示
-
exception:異常對象
-
message:異常消息
-
errors:JSR303數據校驗的錯誤都在這裡
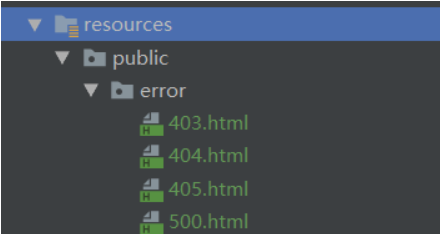
我們可以根據這些錯誤信息來展示錯誤,一般不需要這麼做,拋出的錯誤不應該讓用戶去分析,我們只需要返回靜態頁面即可,返回錯誤靜態頁面是做法也是一樣的,只是我們不用將文件放在模板引擎文件夾下。

6.2.2 定製錯誤的json數據
在實際的開發中我們會對我們的錯誤碼進行規範處理,根據錯誤會返回相應的錯誤碼,所以我們會自己進行json數據包裝處理。
@ControllerAdvice
public class GlobalDefaultExceptionHandler {

    @ExceptionHandler(value = RequestException.class)
    public String requestExceptionHandler(RequestException e,HttpServletRequest request){
        Map<String,Object> map = new HashMap<>();
        //傳入我們自己的錯誤狀態碼  4xx 5xx,否則就不會進入定製錯誤頁面的解析流程
        request.setAttribute("javax.servlet.error.status_code",500);
        map.put("code","user.notexist");
        map.put("message",e.getMessage());
        //轉發到/error
        return "forward:/error";
    }
}
以上是我們在web開發需要先掌握的一些基本技術,有了這些基本知識之後,我們就可以進行CRUD開發,當然在實際的開發中,不管是登錄攔截還是錯誤處理都比這個要複雜,我們以後再詳講。


