前言:本人在配置Hadoop的過程中,需要搭建Cent OS 64 環境,藉此,順便將Cent OS 64 的安裝在此記錄,方便自己,也方便大家學習。本次是在VM12虛擬機中實現Cent OS 64 的安裝以及配置,後續還會有Hadoop的安裝配置教程,我們先來進行第一步。 一、VMware 12 ...
前言:本人在配置Hadoop的過程中,需要搭建Cent OS 64 環境,藉此,順便將Cent OS 64 的安裝在此記錄,方便自己,也方便大家學習。本次是在VM12虛擬機中實現Cent OS 64 的安裝以及配置,後續還會有Hadoop的安裝配置教程,我們先來進行第一步。
一、VMware 12 Install CentOS 64(Linux)OS
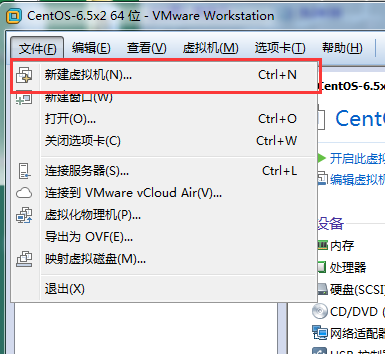
create a new vm->there I screenshot my settings in the next steps->

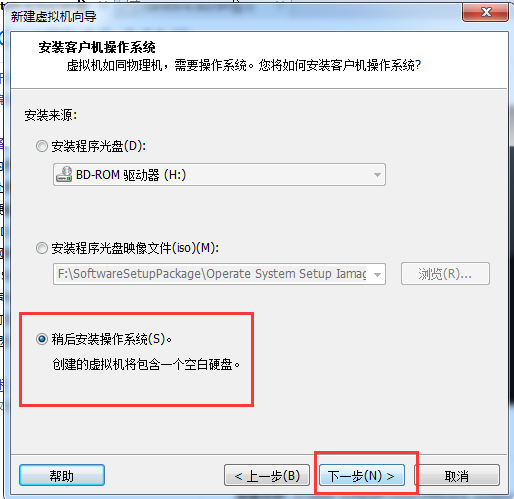
keep next step->

the os name at will,if you understand it->the position choose a folder that you like->next->

next as deault,my computer`s RAM is 8G so i choose 1G that default>next
the net mode choose NAT,then we set IP address to connect the internet->

steps the default->
there I remove the audio card and the printer that impossible use them->accomplish!

the the vm will apper in the left list->

click the centOS 64 hadoop-master,we set the os install cd/DVD Path->
in the position we set the install cd/DVD ,choose the install source that we have upload CentOS64(CentOS6.5)
you can get the centos in the internet->

then we power start the vm cent os 64->
choose the first option install or upgrade an existing system->

OK

default ok that can show the step of check disks->

if check complete choose OK->

OK->Continue

if have a problem below we can learn from internet that we should reboot the vm , then choose skip->

next we reboot the system->
wait a minute show a confirm we choose skip;then it`s can found the install resource,auto install !->
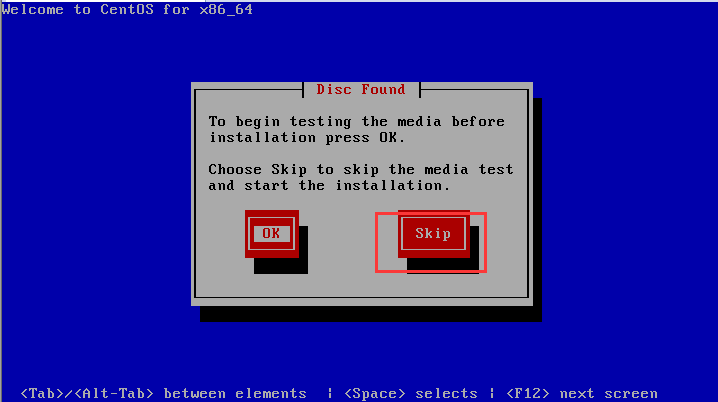
into the view settings->

Choose language, there we choose English(English)->next


choose much next step we get there->
we choose Yes,discard any data->next->

input HostName,i set the master as HostName->next->

next->
The position we choose ShangHai->next

there we must confirm the window that tell us input the password and confirm(Don`t forget that pwd)->next->
there we choose Replace Existing Linux System->next

then choose Write Changes to disk->

next->

The System will progress the install progress->
OK->we Reboot the system

oh welcom view->forward

Yes,I agree to the license Agreement(you known)->
then input your Username and password as will you like and dont`t forget them->

forward

if you get error in the Kdump step neglect it and click finish->

Then Reboot -> wait a minute we can input the password into the system CentOS->

OK The CentOS64`s Install is complete ! Congratulation To you !
Then we set the net to the VM ->
choose the vpn connections -> Configure VPN->
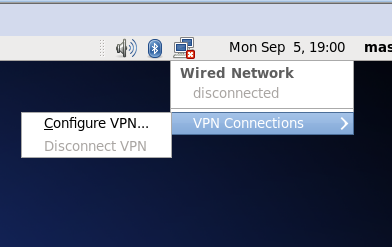
Add->

Create->

RName the connection name we named master ->

let find the settings options there->

Then choose VMnet8->'NAT設置'->
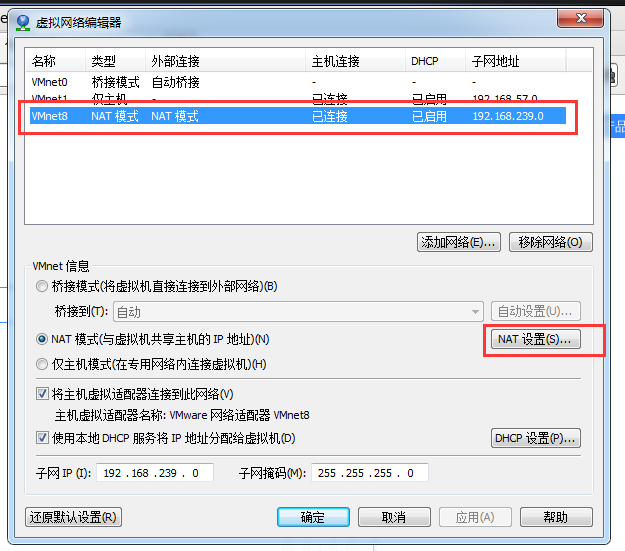

We can get the Net GateWay and NetMask etc...
then we set the net work->

The Address input as will but cant repeat with other !
if we don`t known the DNS servers we input the chorm`s DNS 8.8.8.8;
then we into the vm-> set the IPv4 Settings:
Method:Manual(static address);
Address:192.168.239.128;
NetMask:255.255.255.0;
GateWay:192.168.239.2;
DNS server:8.8.8.8
Apply ->
You should start your VMware NAT Service if you want VM to connection the internet via conputer !

Then we find the network ico is have not the error ico ;

We can ping the host 192.168.239.1

you can see it`s successful !
let we test->start the Firfox explorer->input the url www.baidu.com->enter->

That you can see the vm CentOS can surf the internet !
Then let we configurate the Hadoop install and configuration !


