目錄 Spring簡介 Spring項目 Bean管理 基於xml的Bean管理 創建對象 屬性註入 基於xml+註解的Bean管理 創建對象 屬性註入 基於純註解的Bean管理 內容 Spring簡介 Spring是什麼 Spring是於2003 年興起的一個輕量級的Java的開放源代碼的設計層面 ...
目錄
內容
Spring簡介
-
Spring是什麼
Spring是於2003 年興起的一個輕量級的Java的開放源代碼的設計層面框架。Spring解決的是業務邏輯層和其他各層的松耦合問題,因此它將面向介面的編程思想貫穿整個系統應用。
-
Spring核心是什麼
Spring的核心是控制反轉(IOC)和麵向切麵(AOP)。
-
IOC:控制反轉,將創建對象的過程交給spring進行管理。
-
AOP:面向切麵,在不修改源代碼的情況之下進行代碼功能的增強。
-
-
Spring優勢是什麼
Spring是為瞭解決企業應用開發的複雜性而創建的。Spring框架的主要優勢之一就是其分層架構,分層架構允許使用者選擇使用哪一個組件,同時為 JavaEE 應用程式開發提供集成的框架。總結下來分以下幾點:
-
方便解耦,簡化開發,Spring就是一個大工廠,可以將所有對象創建和依賴關係維護,交給Spring管理,這也是IOC的作用。
-
AOP編程的支持,Spring提供面向切麵編程,可以方便的實現對程式進行許可權攔截、運行監控等功能。
-
聲明式事務的支持,只需要通過配置就可以完成對事務的管理,而無需手動編程。
-
方便程式的測試,Spring對Junit4支持,可以通過註解方便的測試Spring程式。
-
方便集成各種優秀框架,Spring不排斥各種優秀的開源框架,其內部提供了對各種優秀框架(如:Struts2、Hibernate、MyBatis等)的直接支持。
-
降低JavaEE API的使用難度,Spring 對JavaEE開發中非常難用的一些API(JDBC、JavaMail等),都提供了封裝,使這些API應用難度大大降低。
-
-
Bean是什麼
Bean是Spring容器管理的對象。
-
Spring容器是什麼
Spring容器是創建以及管理Bean對象的。
Spring項目
-
IDEA創建項目

-
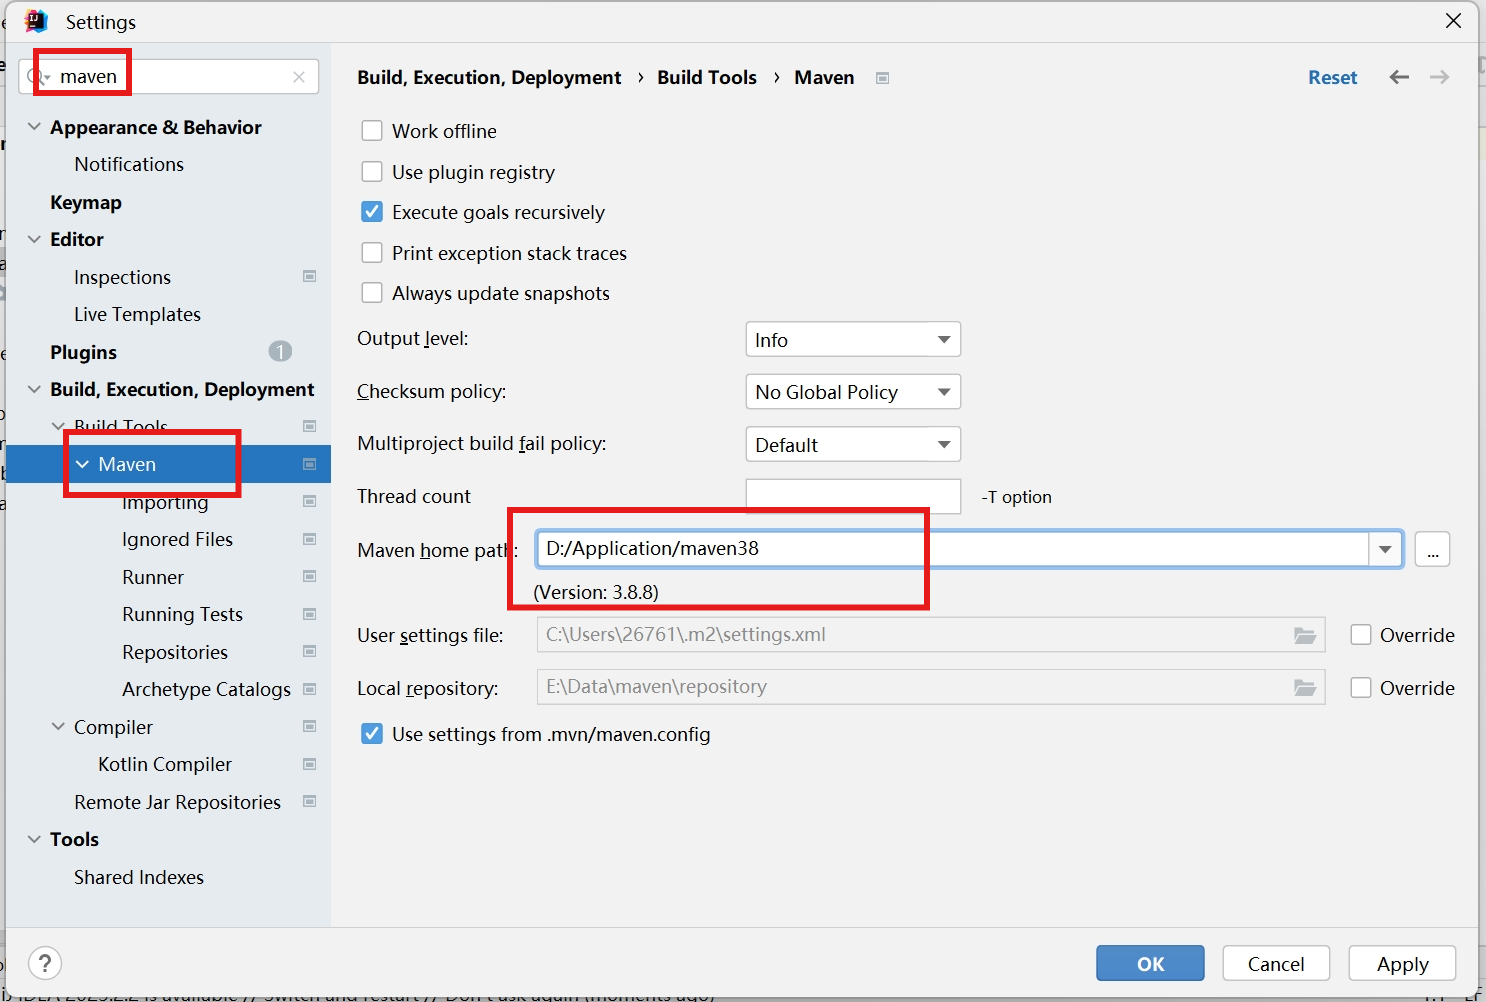
配置Maven,使用預設版本也可以
-
導入spring和單元測試junit依賴
    <dependency>
        <groupId>org.springframework</groupId>
        <artifactId>spring-core</artifactId>
        <version>5.2.12.RELEASE</version>
    </dependency>
    <dependency>
        <groupId>org.springframework</groupId>
        <artifactId>spring-context</artifactId>
        <version>5.2.12.RELEASE</version>
    </dependency>
    <dependency>
        <groupId>org.springframework</groupId>
        <artifactId>spring-test</artifactId>
        <version>5.2.12.RELEASE</version>
    </dependency>
    <dependency>
        <groupId>junit</groupId>
        <artifactId>junit</artifactId>
        <version>4.12</version>
        <scope>test</scope>
    </dependency>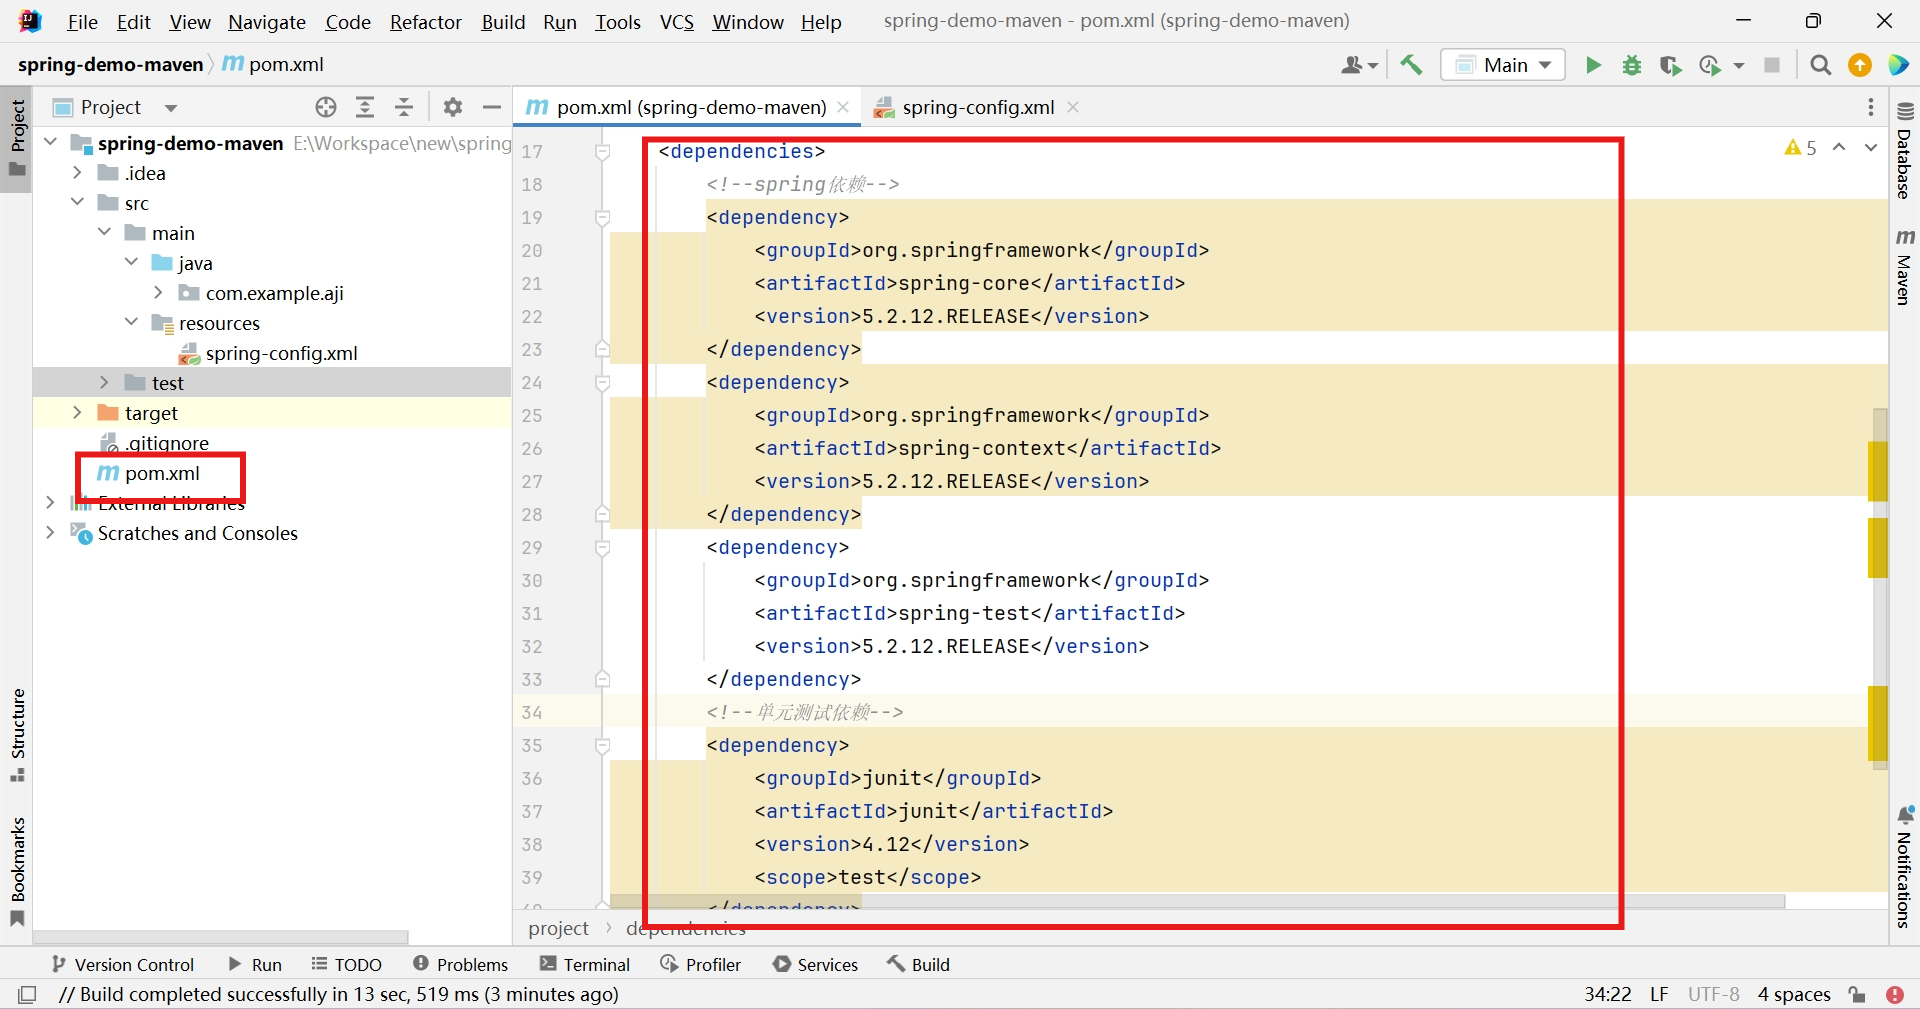
-
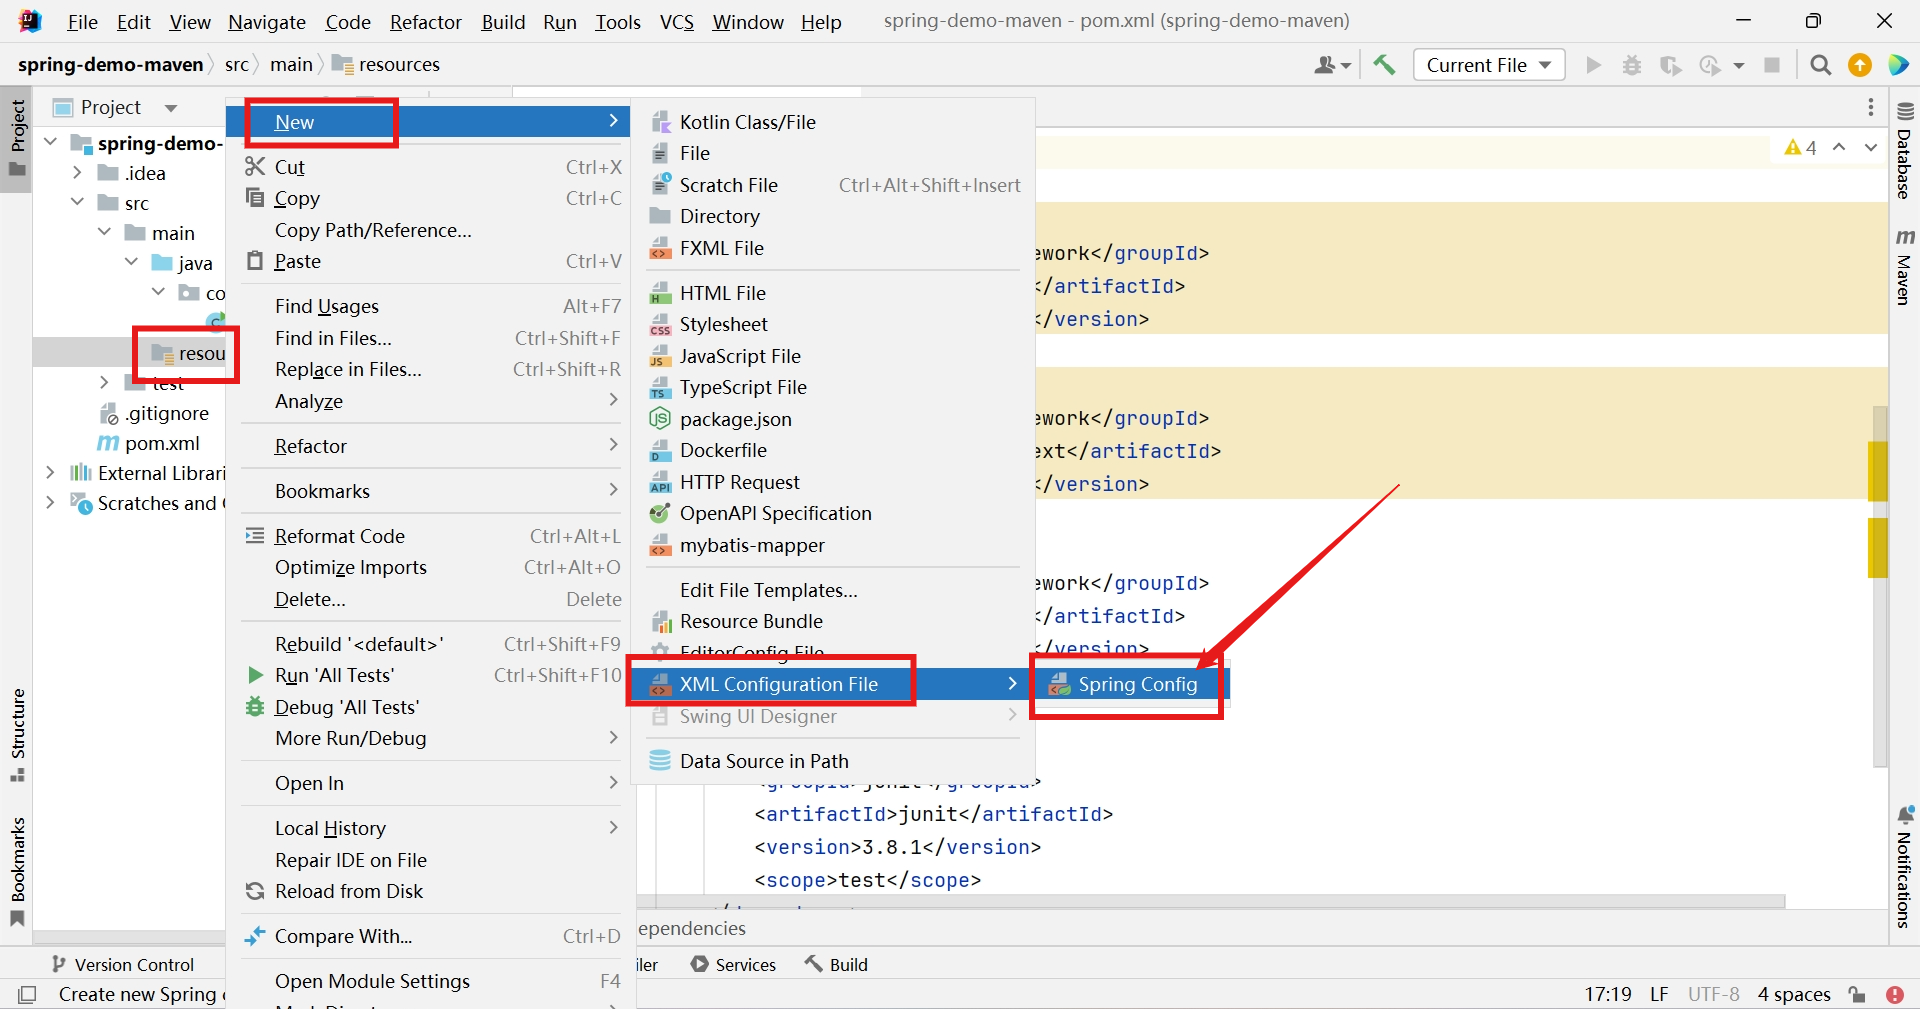
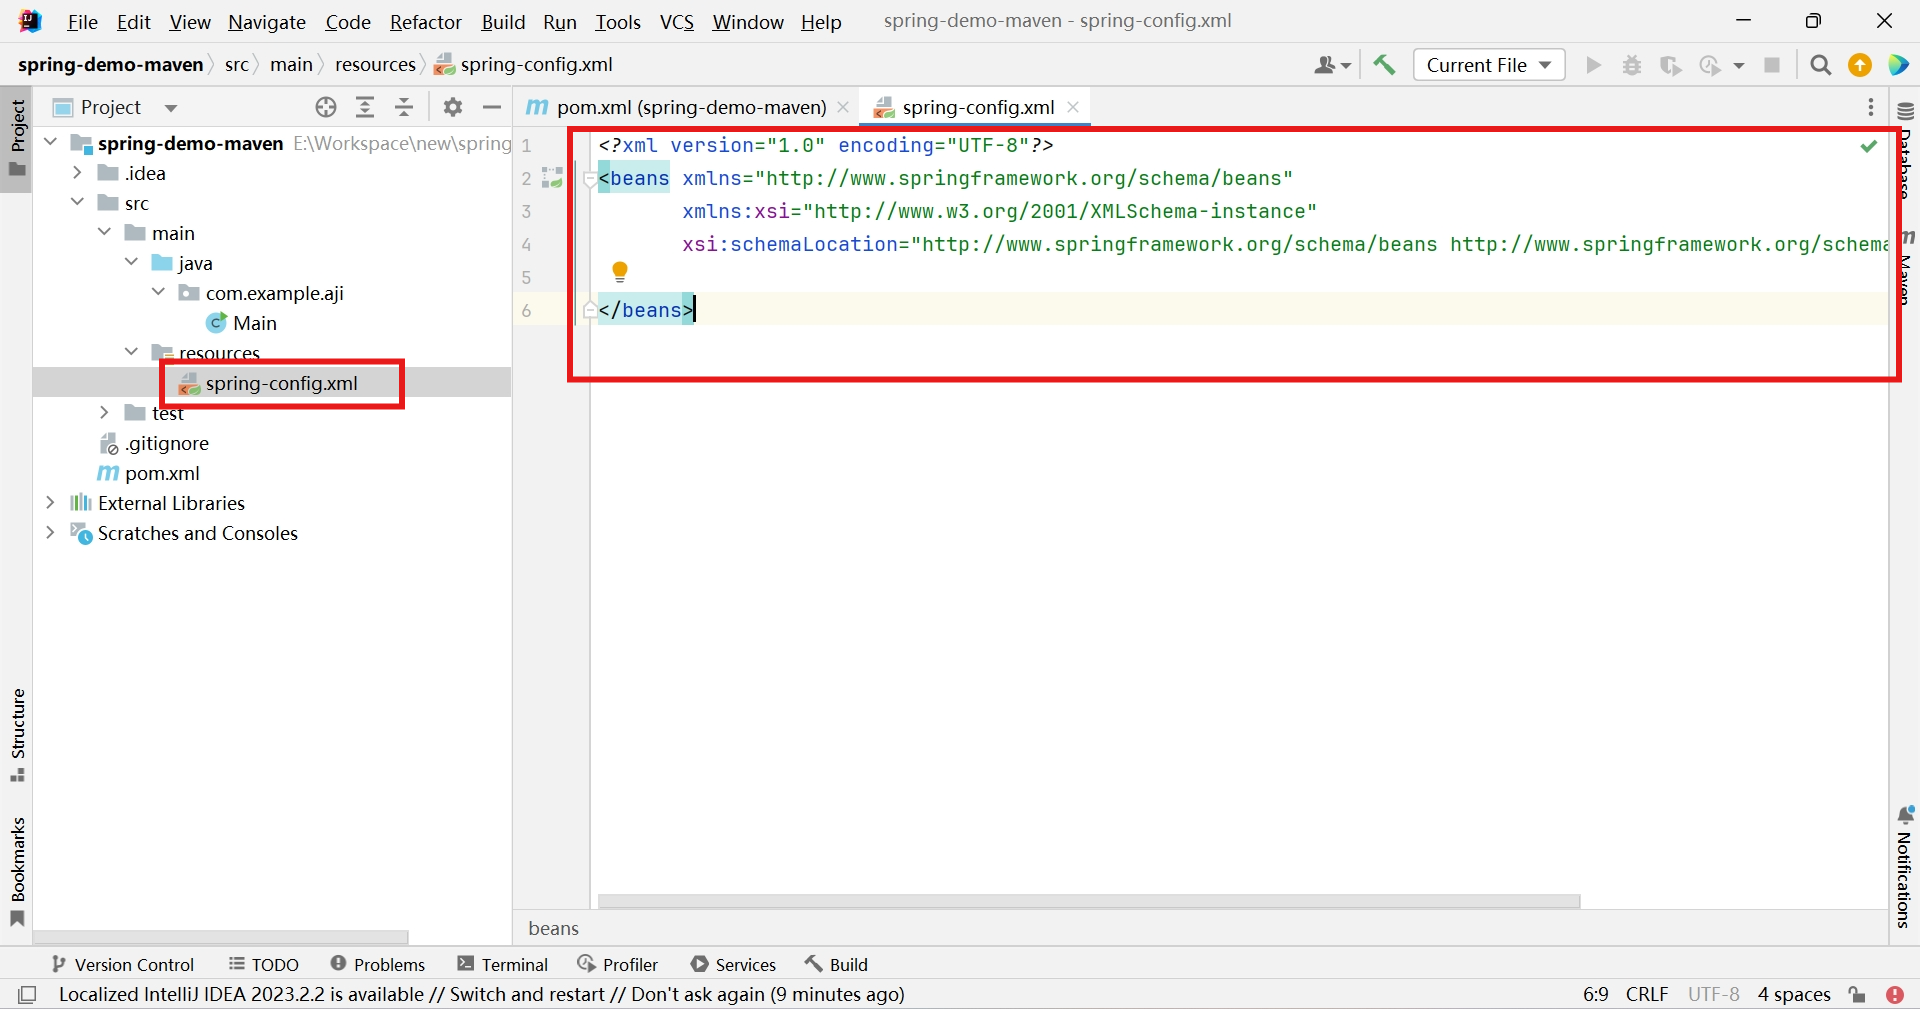
創建spring-config.xml(文件名隨便取)
Bean管理
-
創建Demo類
public class Demo {
    private String name;
    private Integer age;
    public Demo(){}
    public Demo(String name, Integer age) {
        this.name = name;
        this.age = age;
    }
    public void setName(String name) {this.name = name;}
    public void setAge(Integer age) {this.age = age;}
    @Override
    public String toString() {
        return "Demo{" +
                "name='" + name + '\'' +
                ", age=" + age +
                '}';
    }
}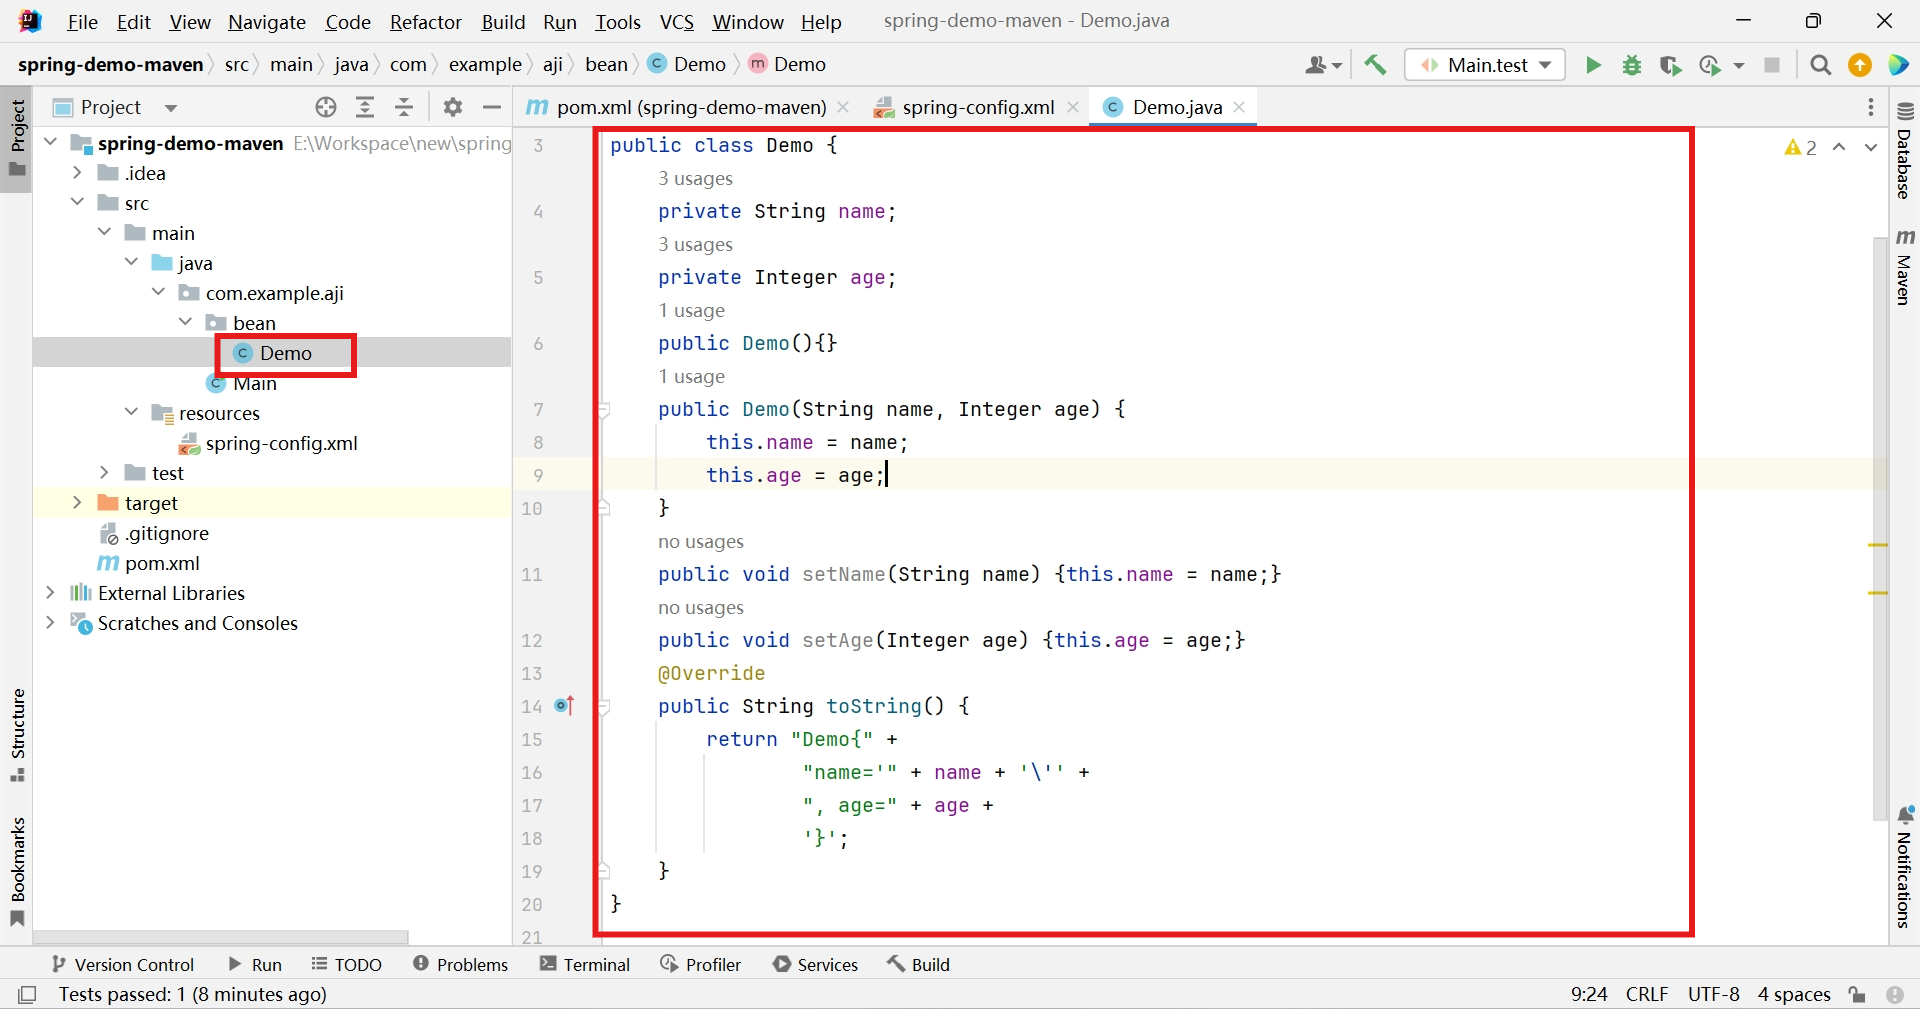
-
創建測試類
import org.junit.Test;

public class Main {
    @Test
    public void test(){

    }
}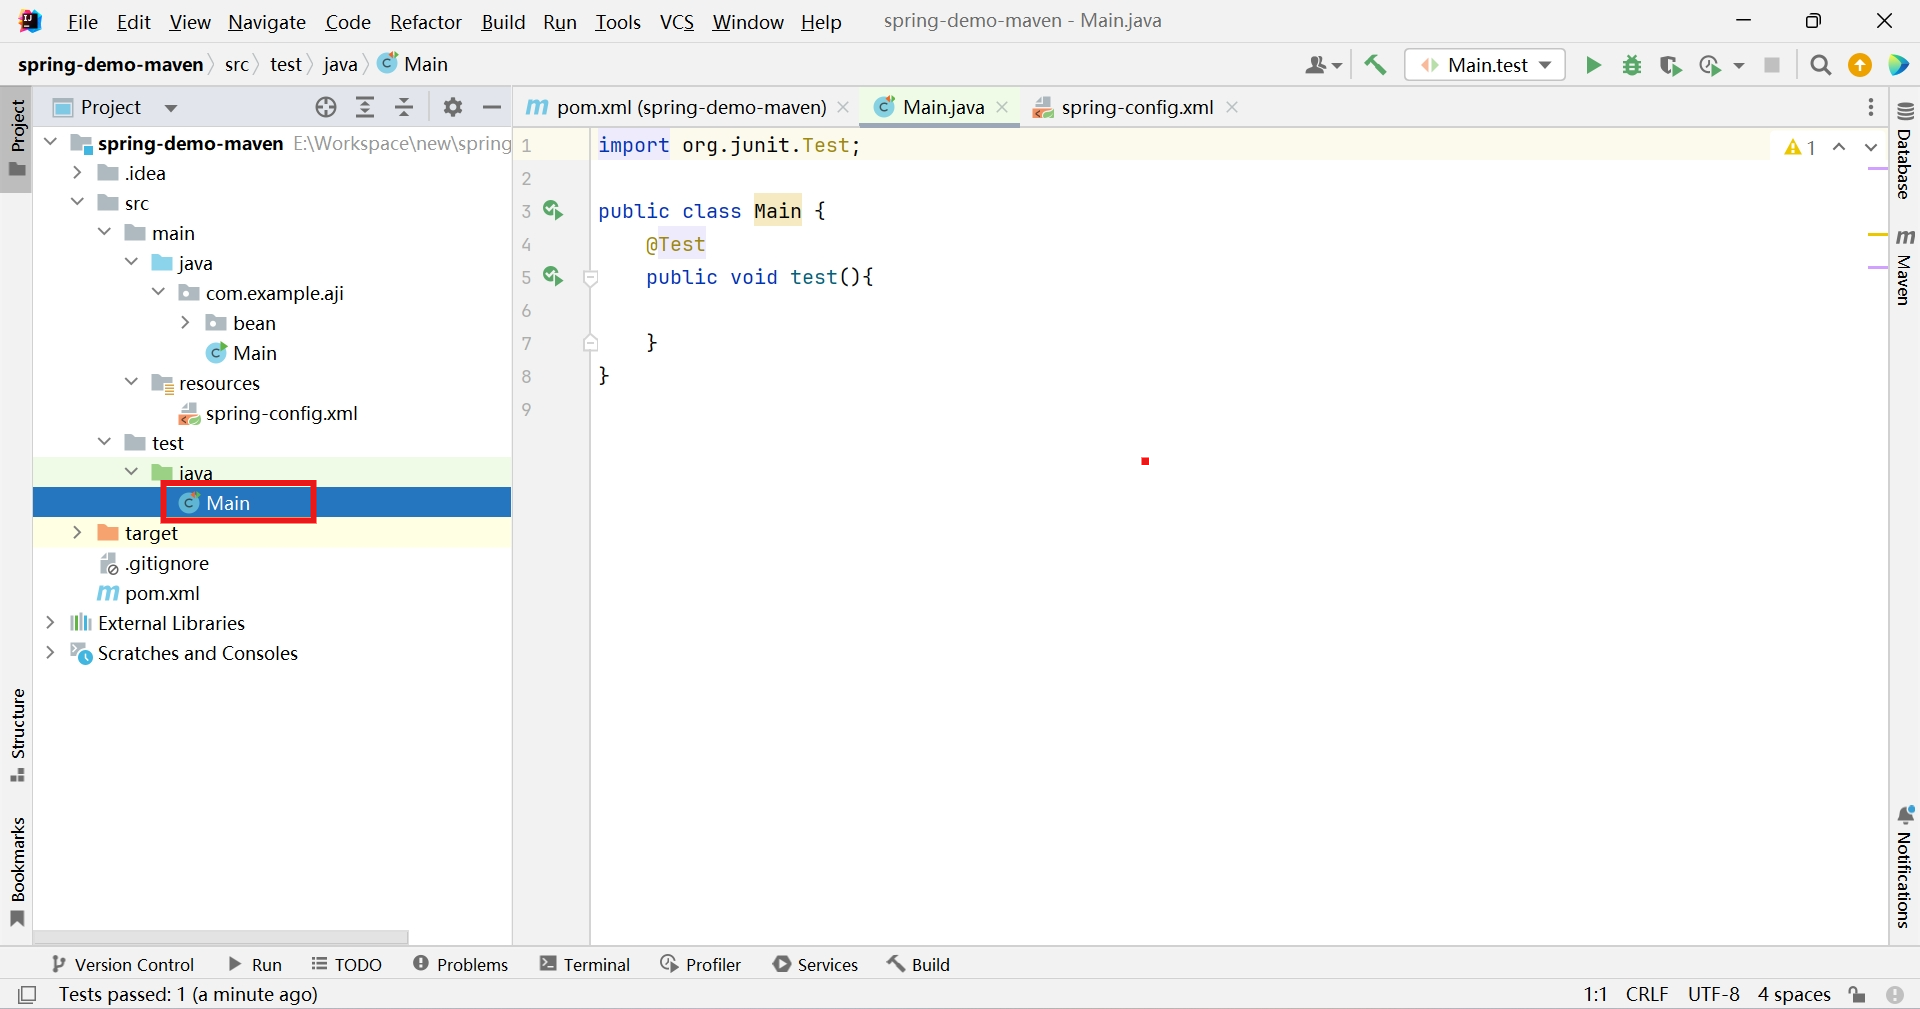
基於xml的Bean管理
創建對象
-
spring配置文件(spring-config.xml)添加配置,註冊Demo類為Bean對象
<bean class="com.example.aji.bean.Demo" id="demo">

</bean>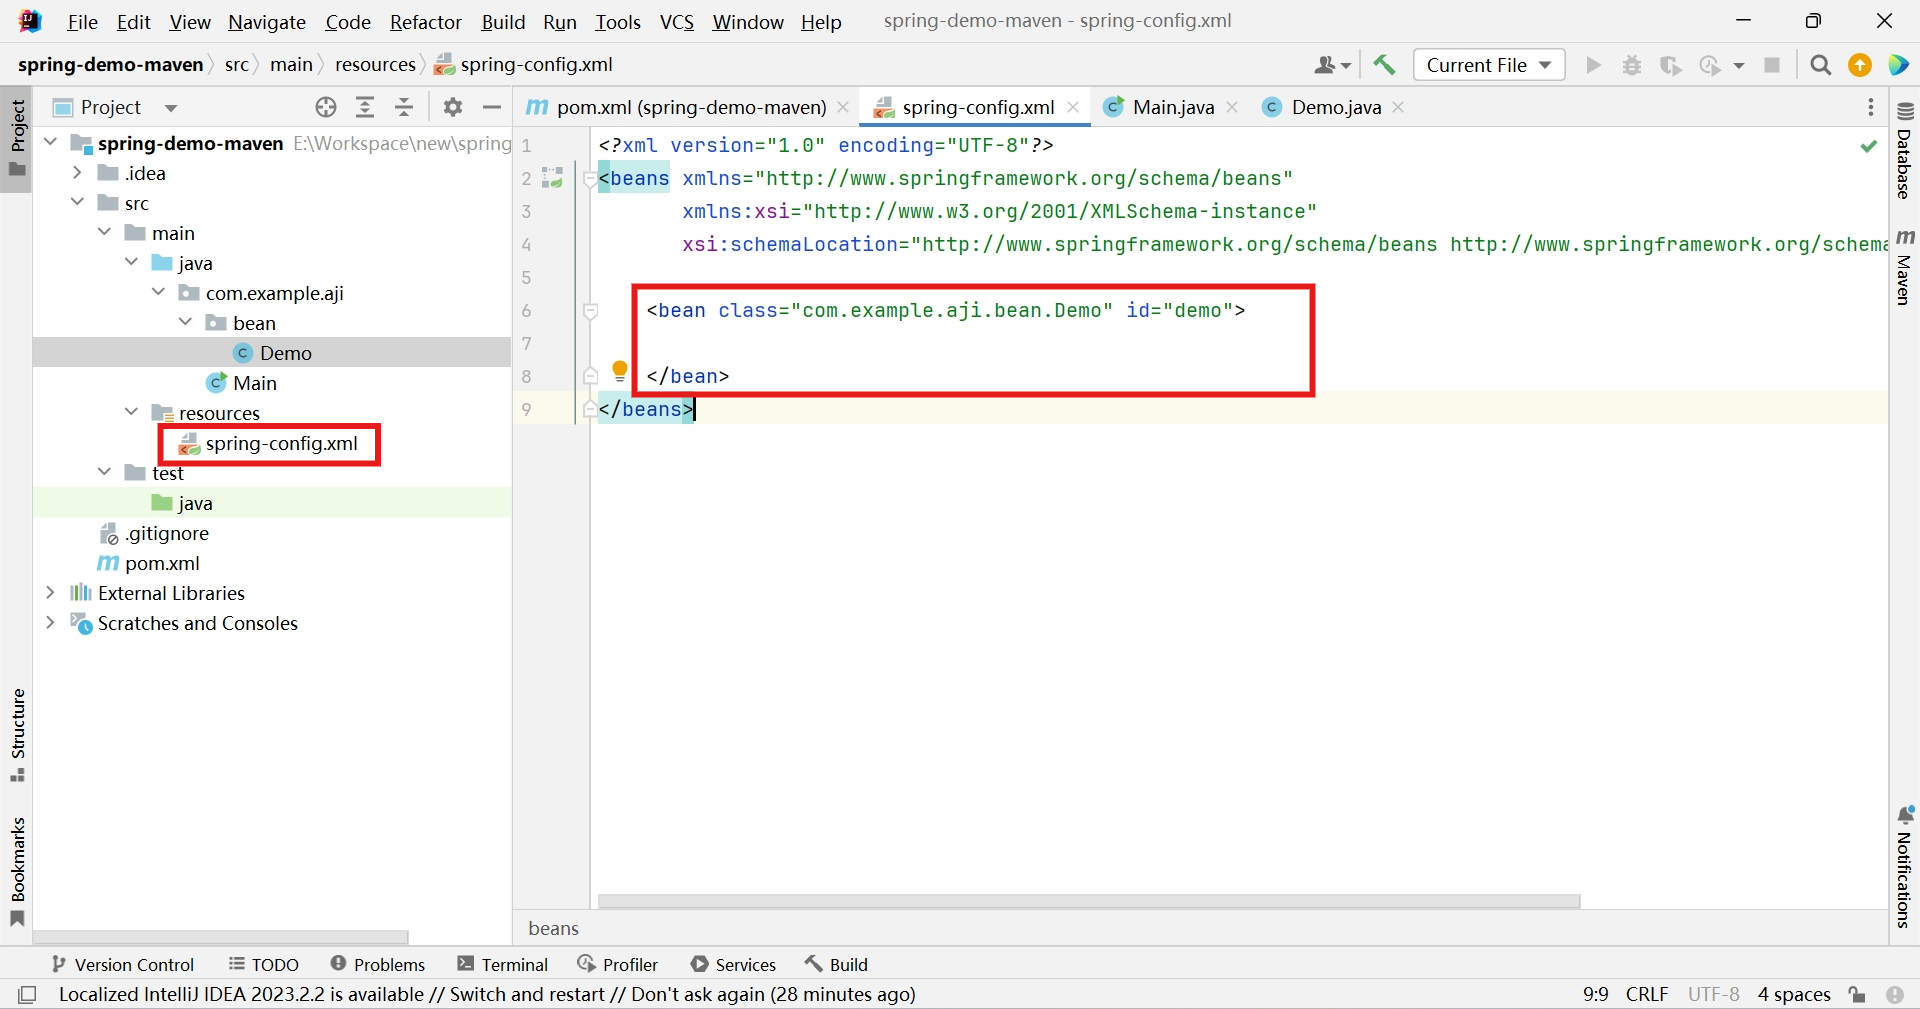
-
從容器中取出Demo對象
-
ApplicationContext spring上下文
-
ClassPathXmlApplicationContext 以xml配置文件方式創建上下文
-
.getBean(beanName) 跟據beanName從上下文中獲取Bean對象
-
.getBean(class) 跟據class從上下文中獲取Bean對象
@Test
public void test(){
    ApplicationContext context = new ClassPathXmlApplicationContext("spring-config.xml");
    Demo demo = (Demo)context.getBean("demo");
    System.out.println(demo);
}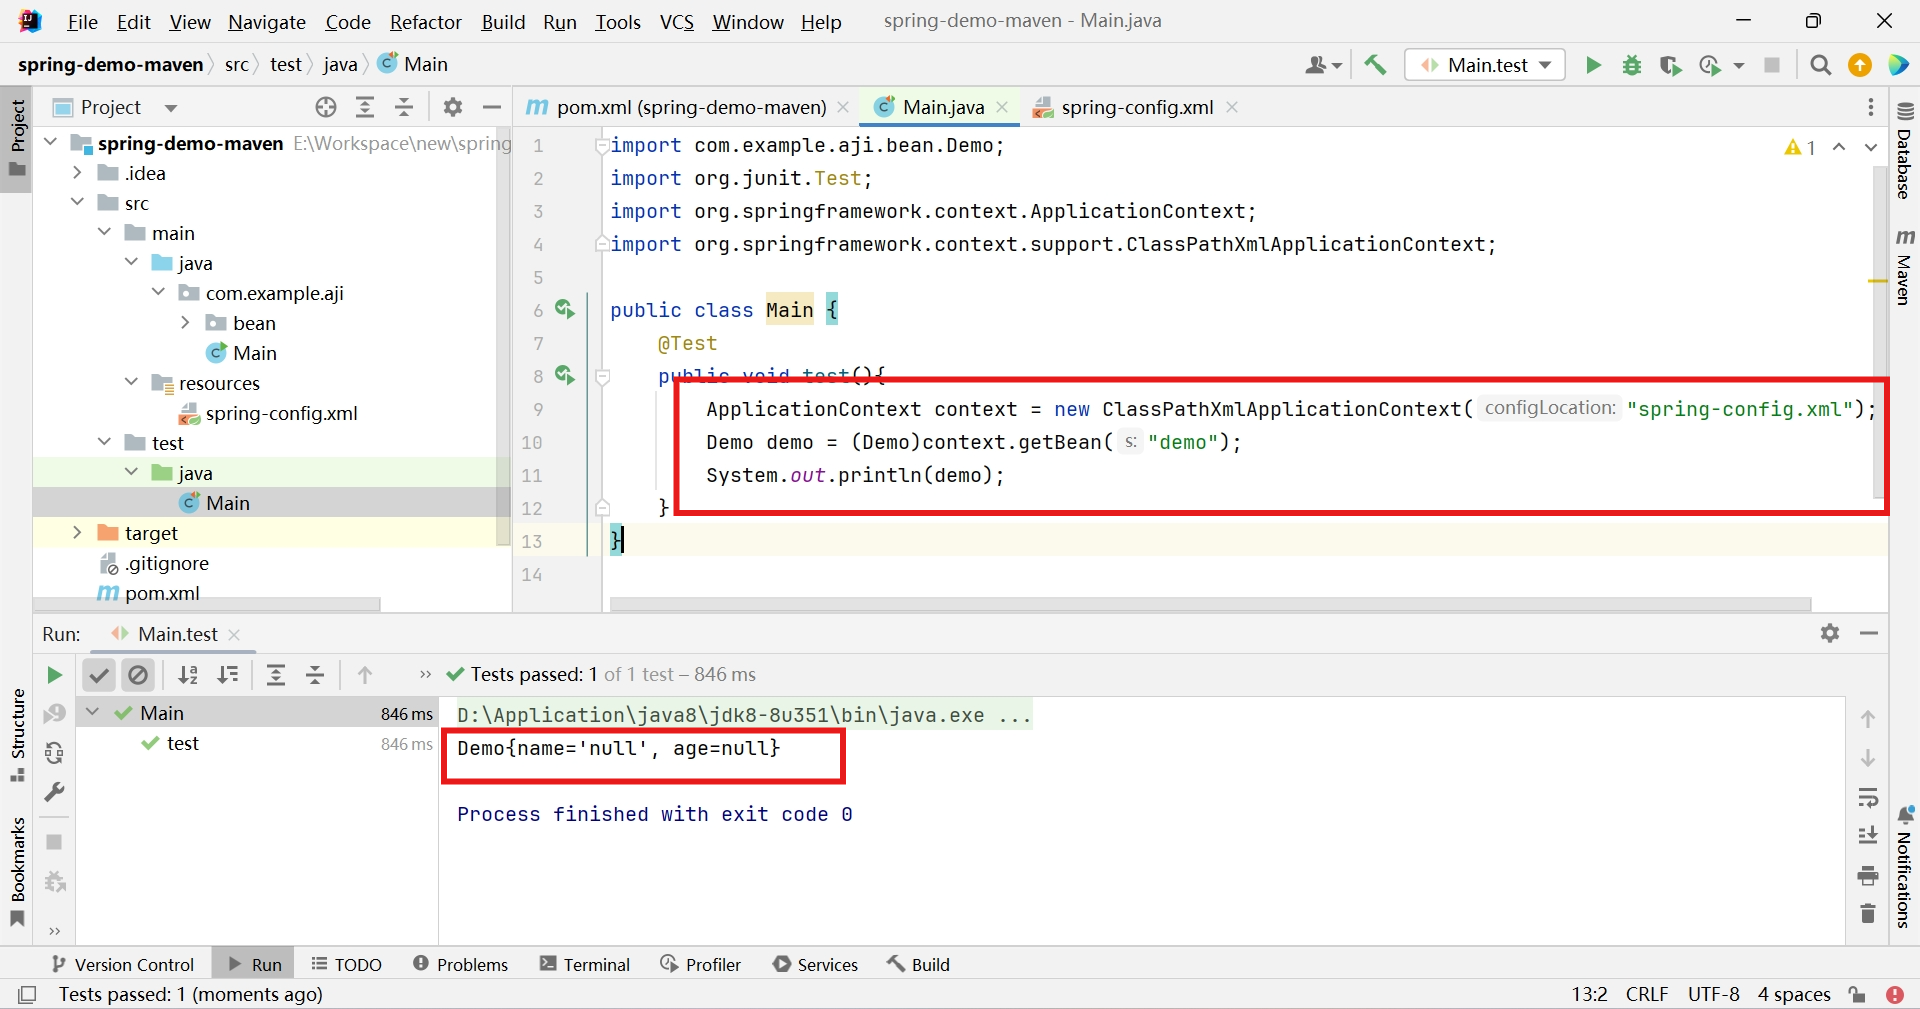
-
屬性註入
-
構造器註入
- constructor-arg 通過構造器註入屬性
<bean class="com.example.aji.bean.Demo" id="demo">
    <constructor-arg name="name" value="aji"/>
    <constructor-arg name="age" value="20"/>
</bean>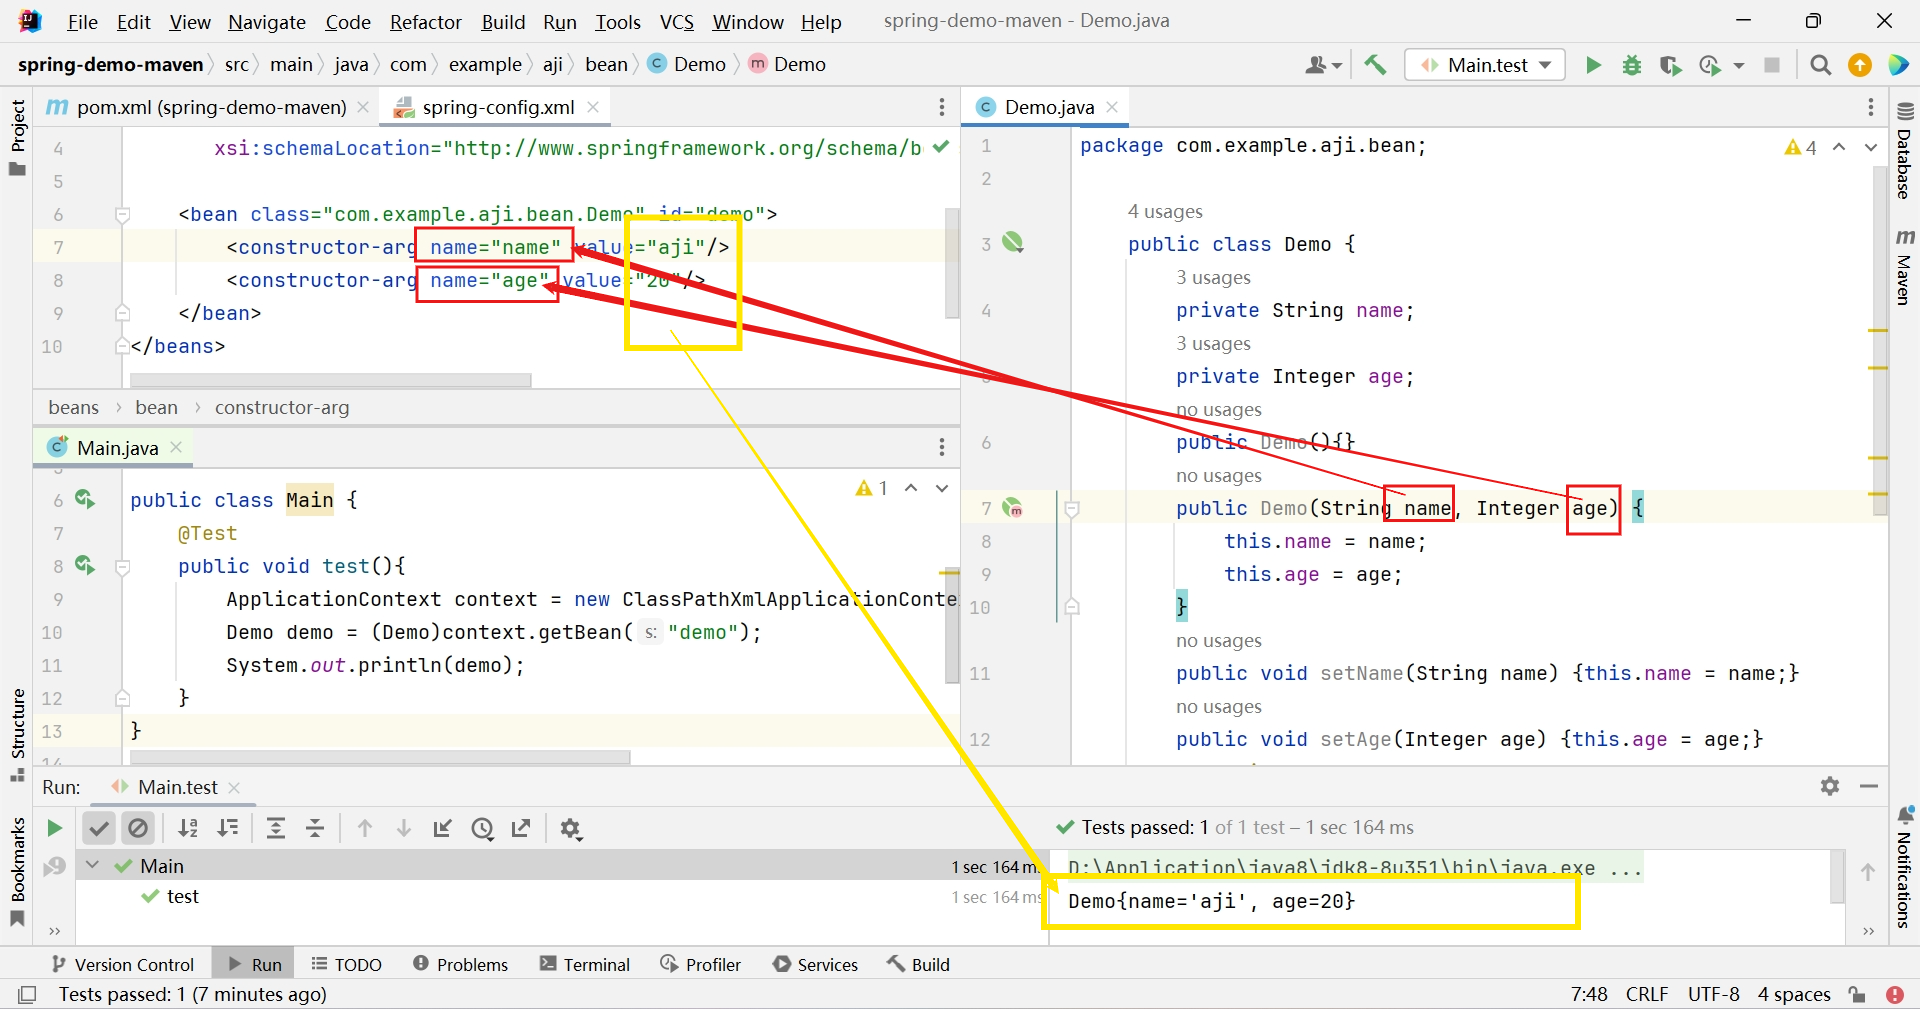
-
set方法註入
- property 通過set方法註入屬性
<bean class="com.example.aji.bean.Demo" id="demo">
    <property name="name" value="aji"/>
    <property name="age" value="21"/>
</bean>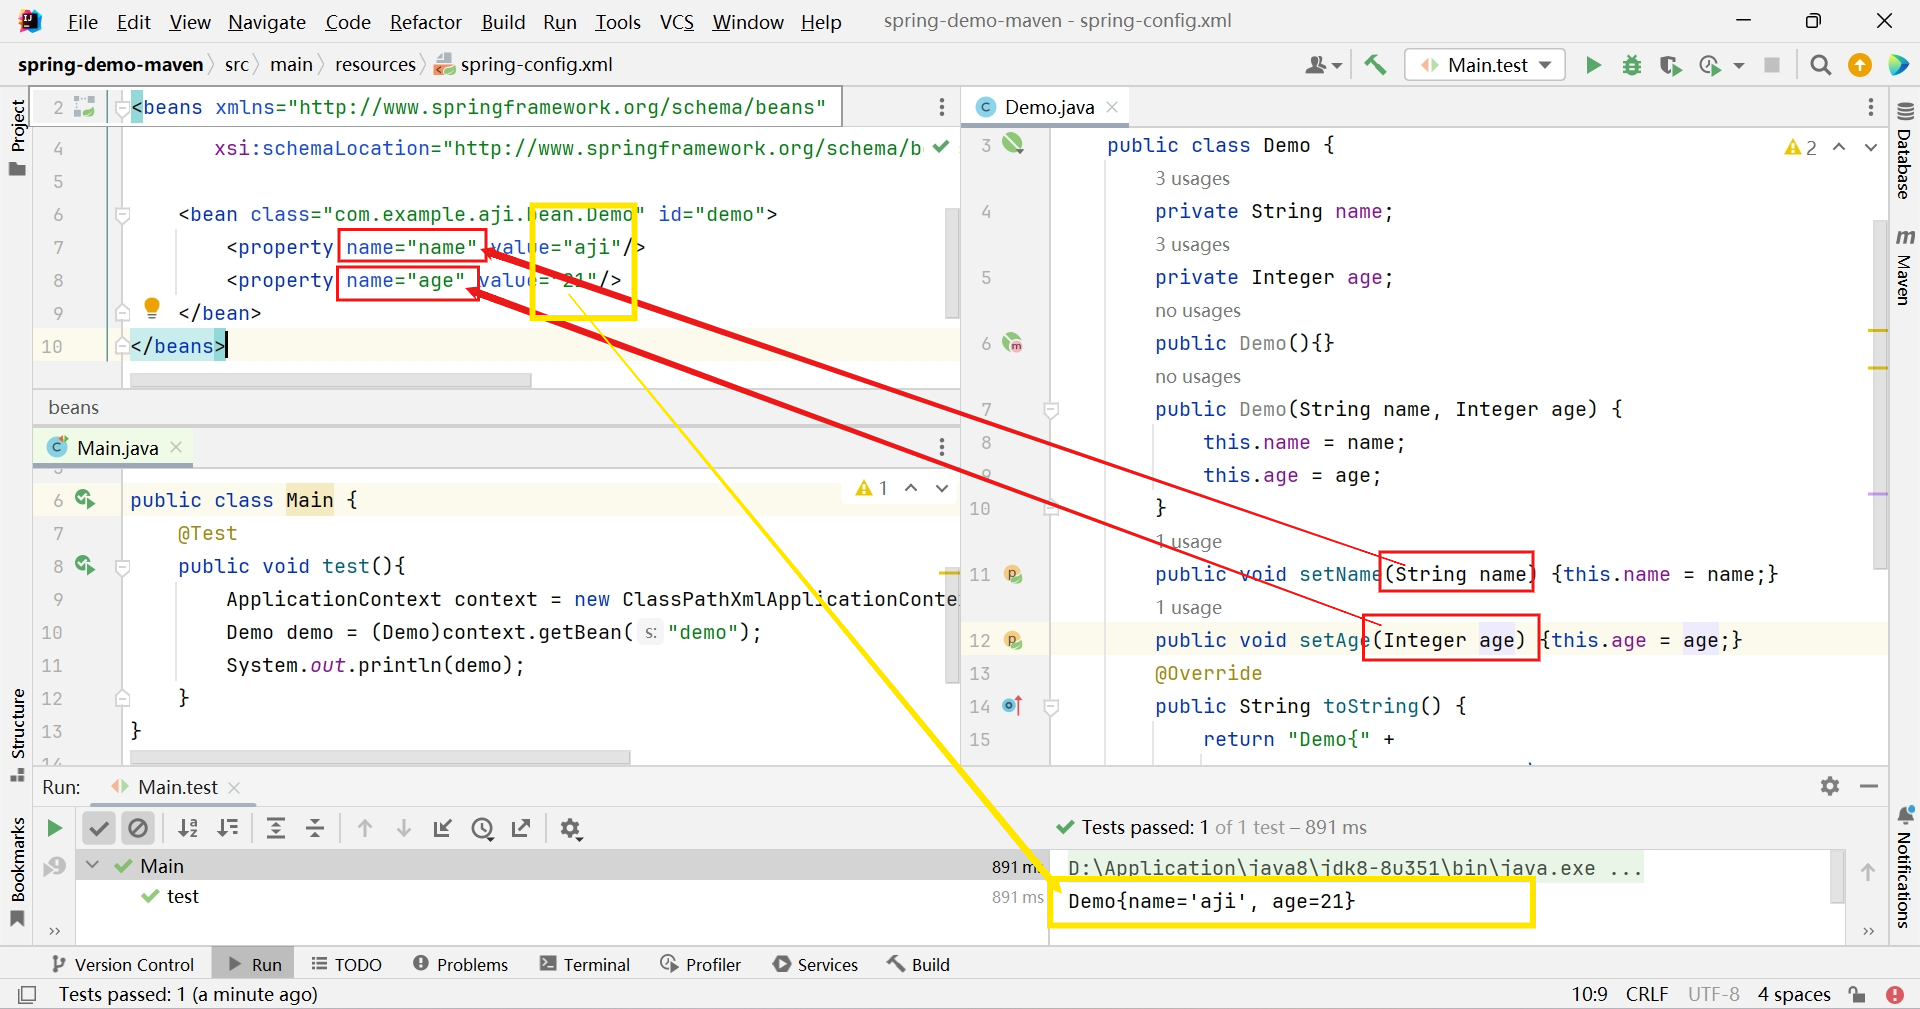
基於xml+註解的Bean管理
-
註解
-
註解是代碼特殊標記,格式:@註解名稱(屬性名稱=屬性值,屬性名稱=屬性值...)
-
使用註解,註解作用在類上面,方法上面,屬性上邊
-
使用註解的目的:簡化XML配置
-
-
編輯Spring配置文件添加註解掃描功能
<!--開啟註解掃描 com.example.aji 所有的包中的所有的類-->
<context:component-scan base-package="com.example.aji"/>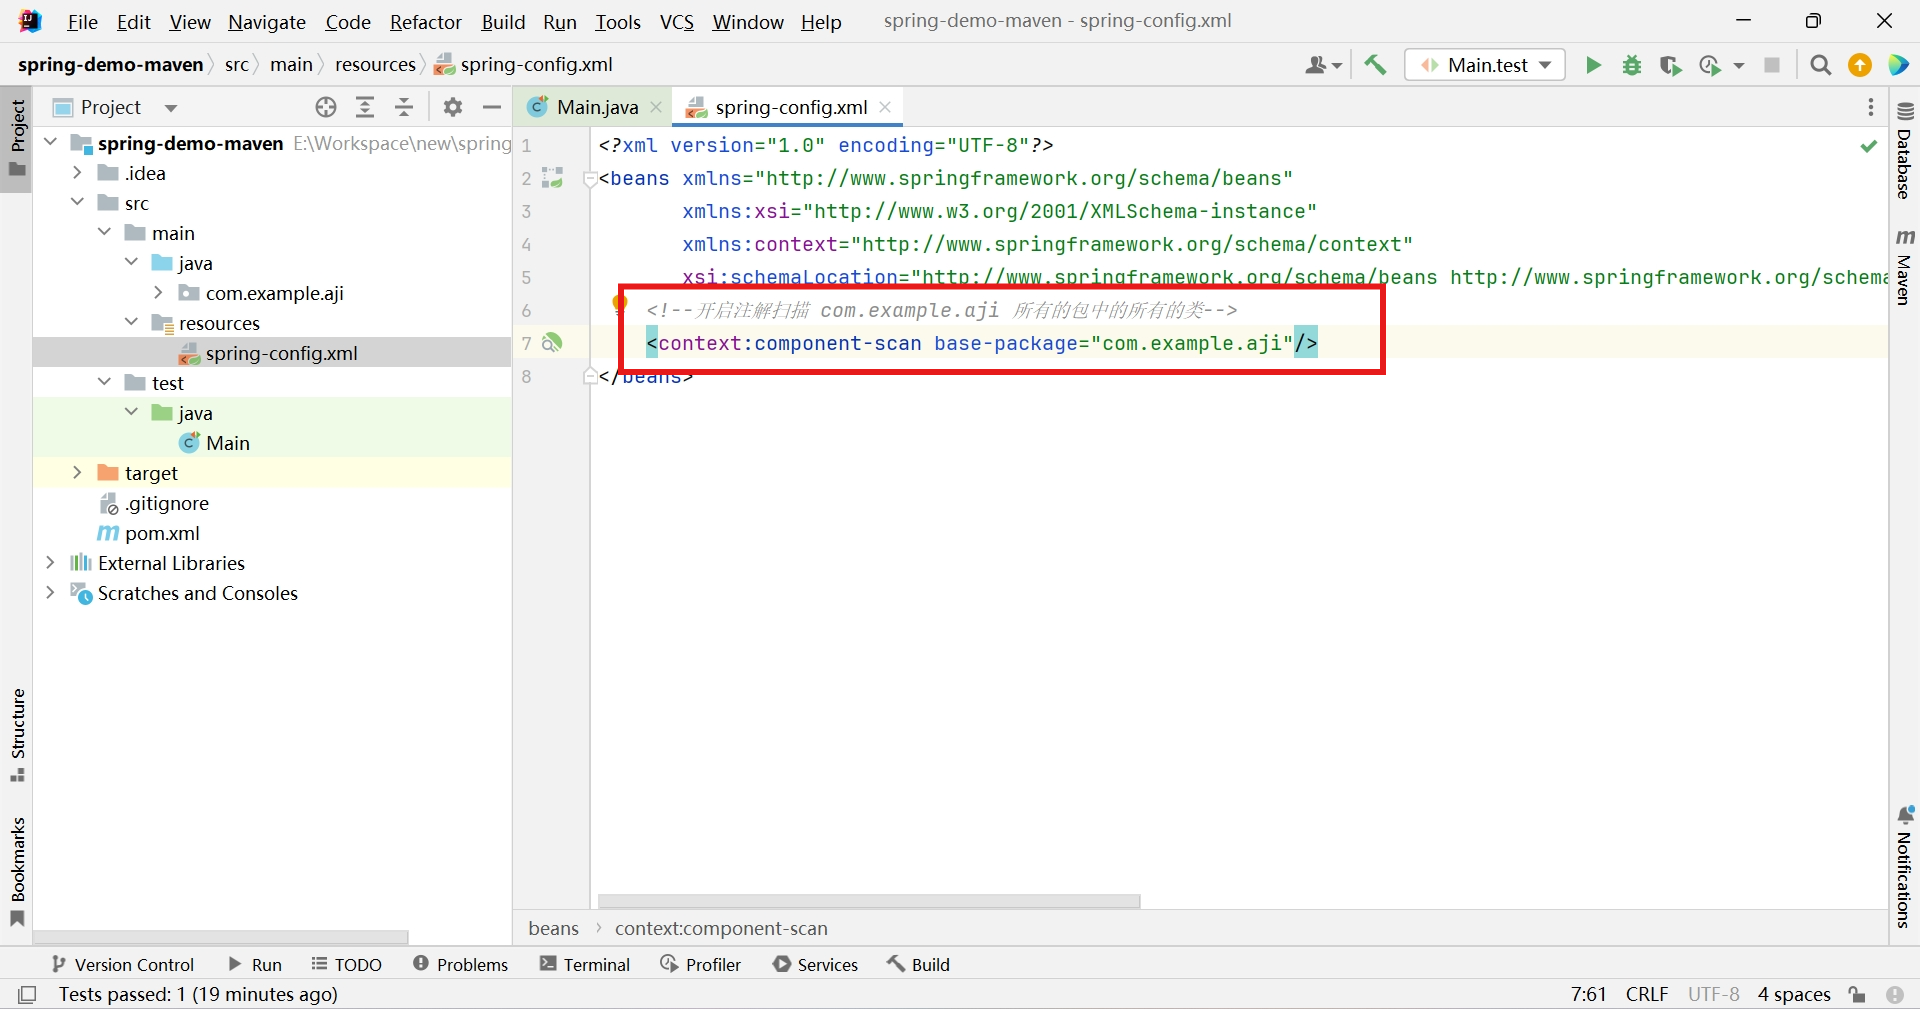
創建對象
-
Spring針對Bean管理中創建對象提供的註解
-
@Component 普通的類
-
@Controller 表現層
-
@Service 業務層
-
@Repository 持久層
-
-
創建普通對象
import org.springframework.stereotype.Component;
@Component
public class Demo {
    private String name;
    private Integer age;
    public Demo(){}
    public Demo(String name, Integer age) {
        this.name = name;
        this.age = age;
    }
    @Override
    public String toString() {
        return "Demo{" +
                "name='" + name + '\'' +
                ", age=" + age +
                '}';
    }
}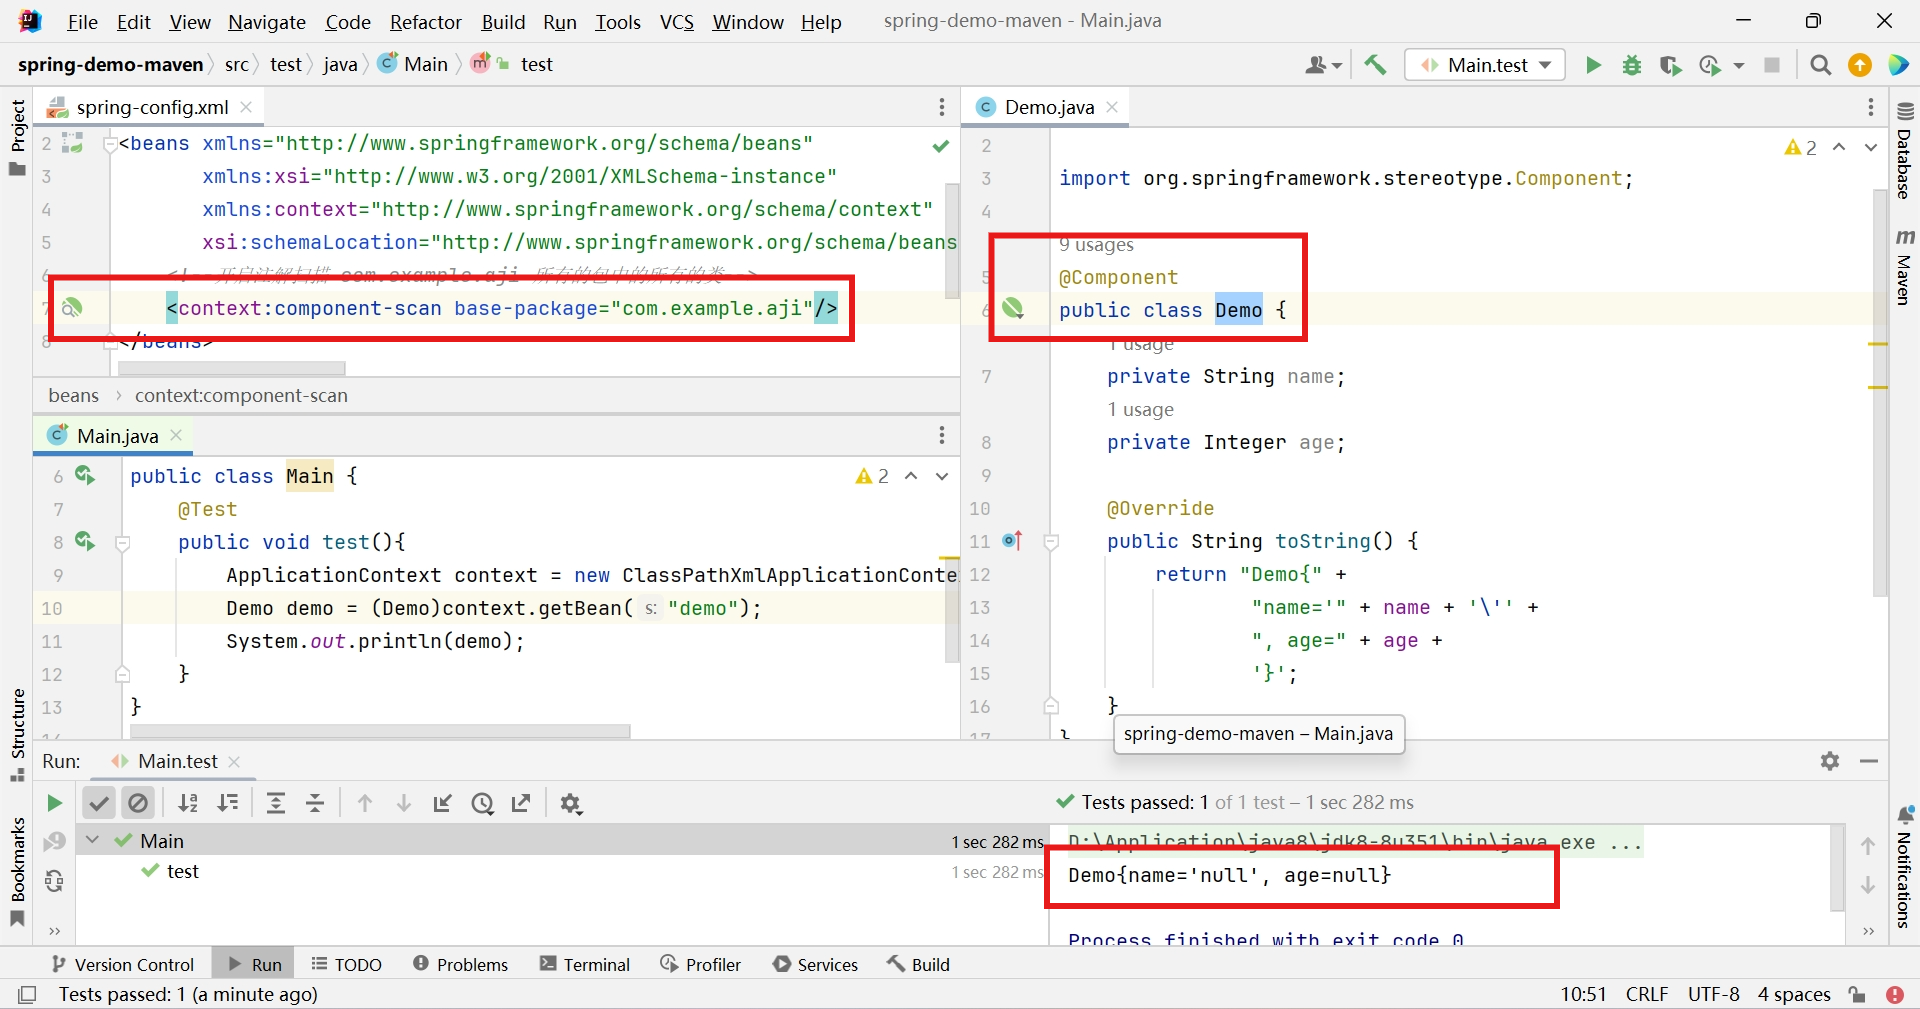
-
創建業務層對象
-
創建DemoService介面
public interface DemoService { Demo getDemo(); } -
創建DemoServiceImpl實現DemoService介面變更添加
import com.example.aji.bean.Demo;
import com.example.aji.service.DemoService;
import org.springframework.stereotype.Service;

@Service(value = "demoService")
public class DemoServiceImpl implements DemoService {
    @Override
    public Demo getDemo() {
        return new Demo("aji",20);
    }
}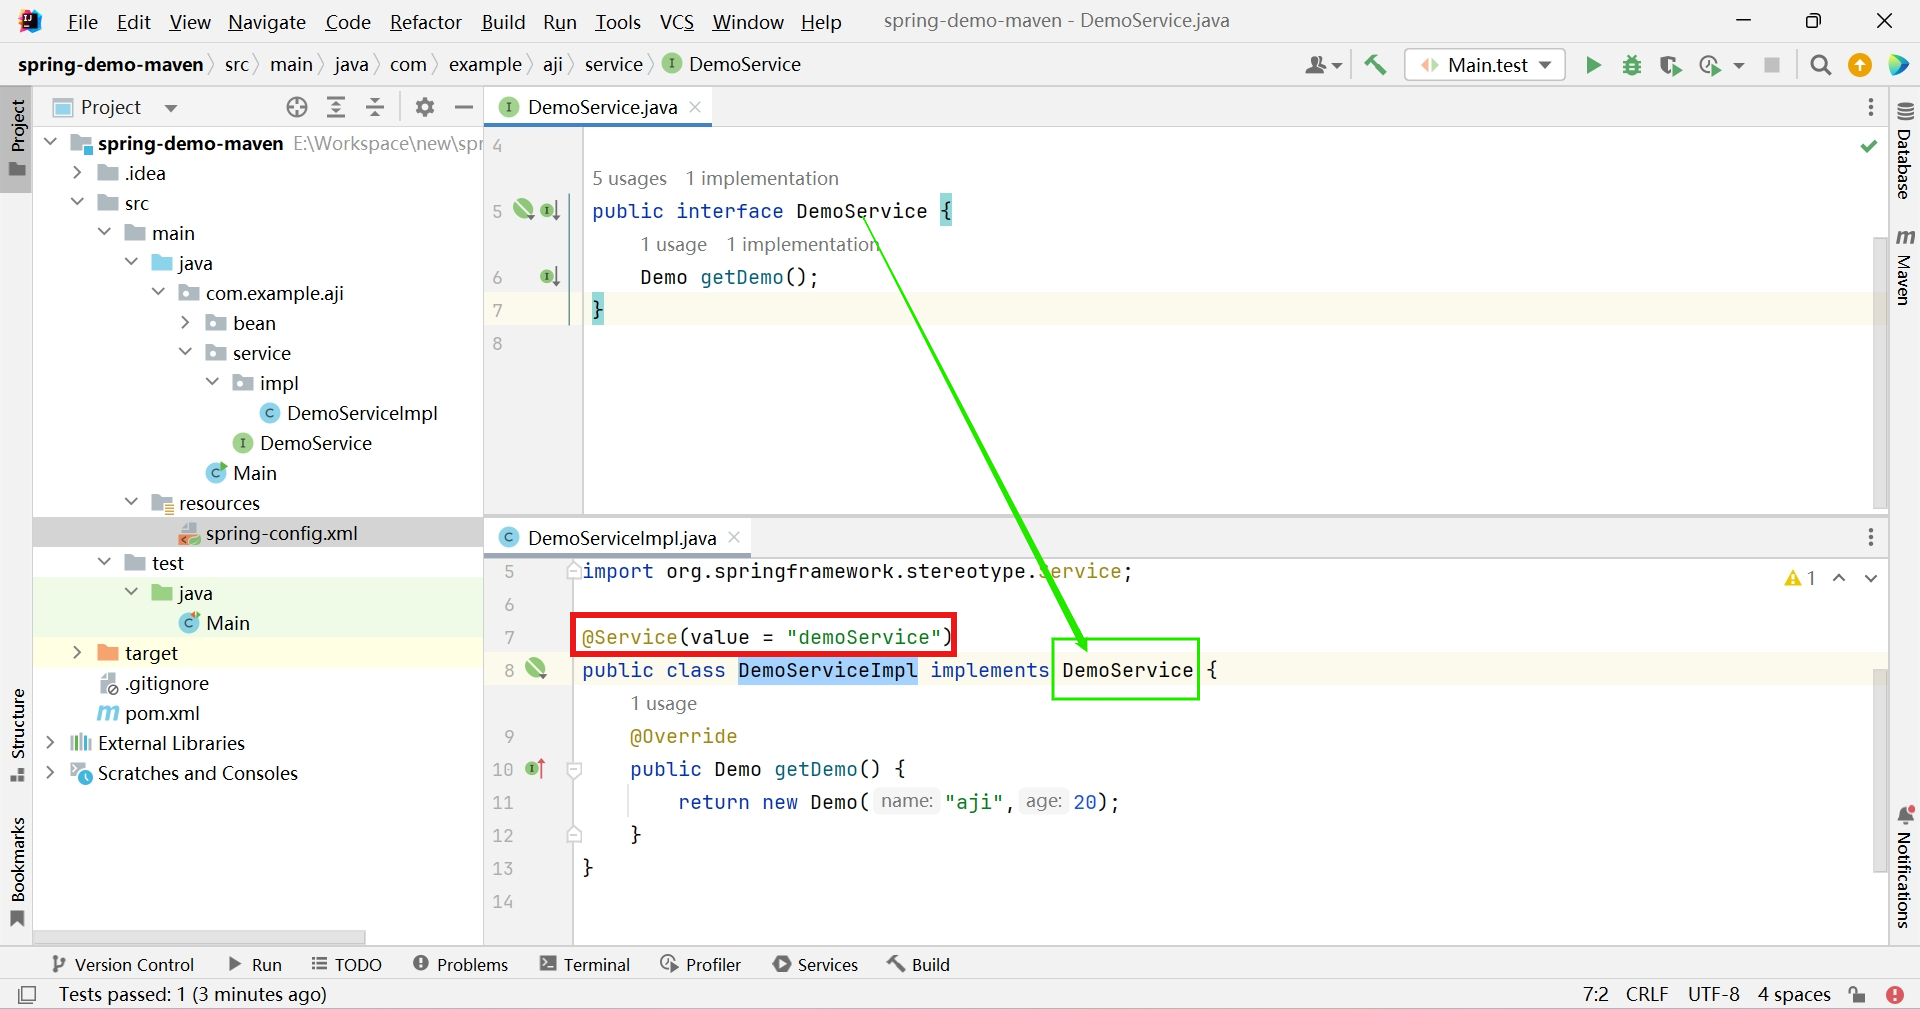

-
-
其他對象也類似,添加相應註解即可
屬性註入
-
屬性註入註解
-
@Value 用於註入普通類型(String,int,double等類型)
-
@Autowired 預設按類型進行自動裝配(引用類型)
-
@Qualifier 不能單獨使用必須和@Autowired一起使用,強制使用名稱註入
-
@Resource Java提供的註解,也被支持。使用name屬性,按名稱註入
-
-
@Value
@Component
public class Demo {
    @Value("aji")
    private String name;
    @Value(value = "21")
    private Integer age;

    @Override
    public String toString() {
        return "Demo{" +
                "name='" + name + '\'' +
                ", age=" + age +
                '}';
    }
}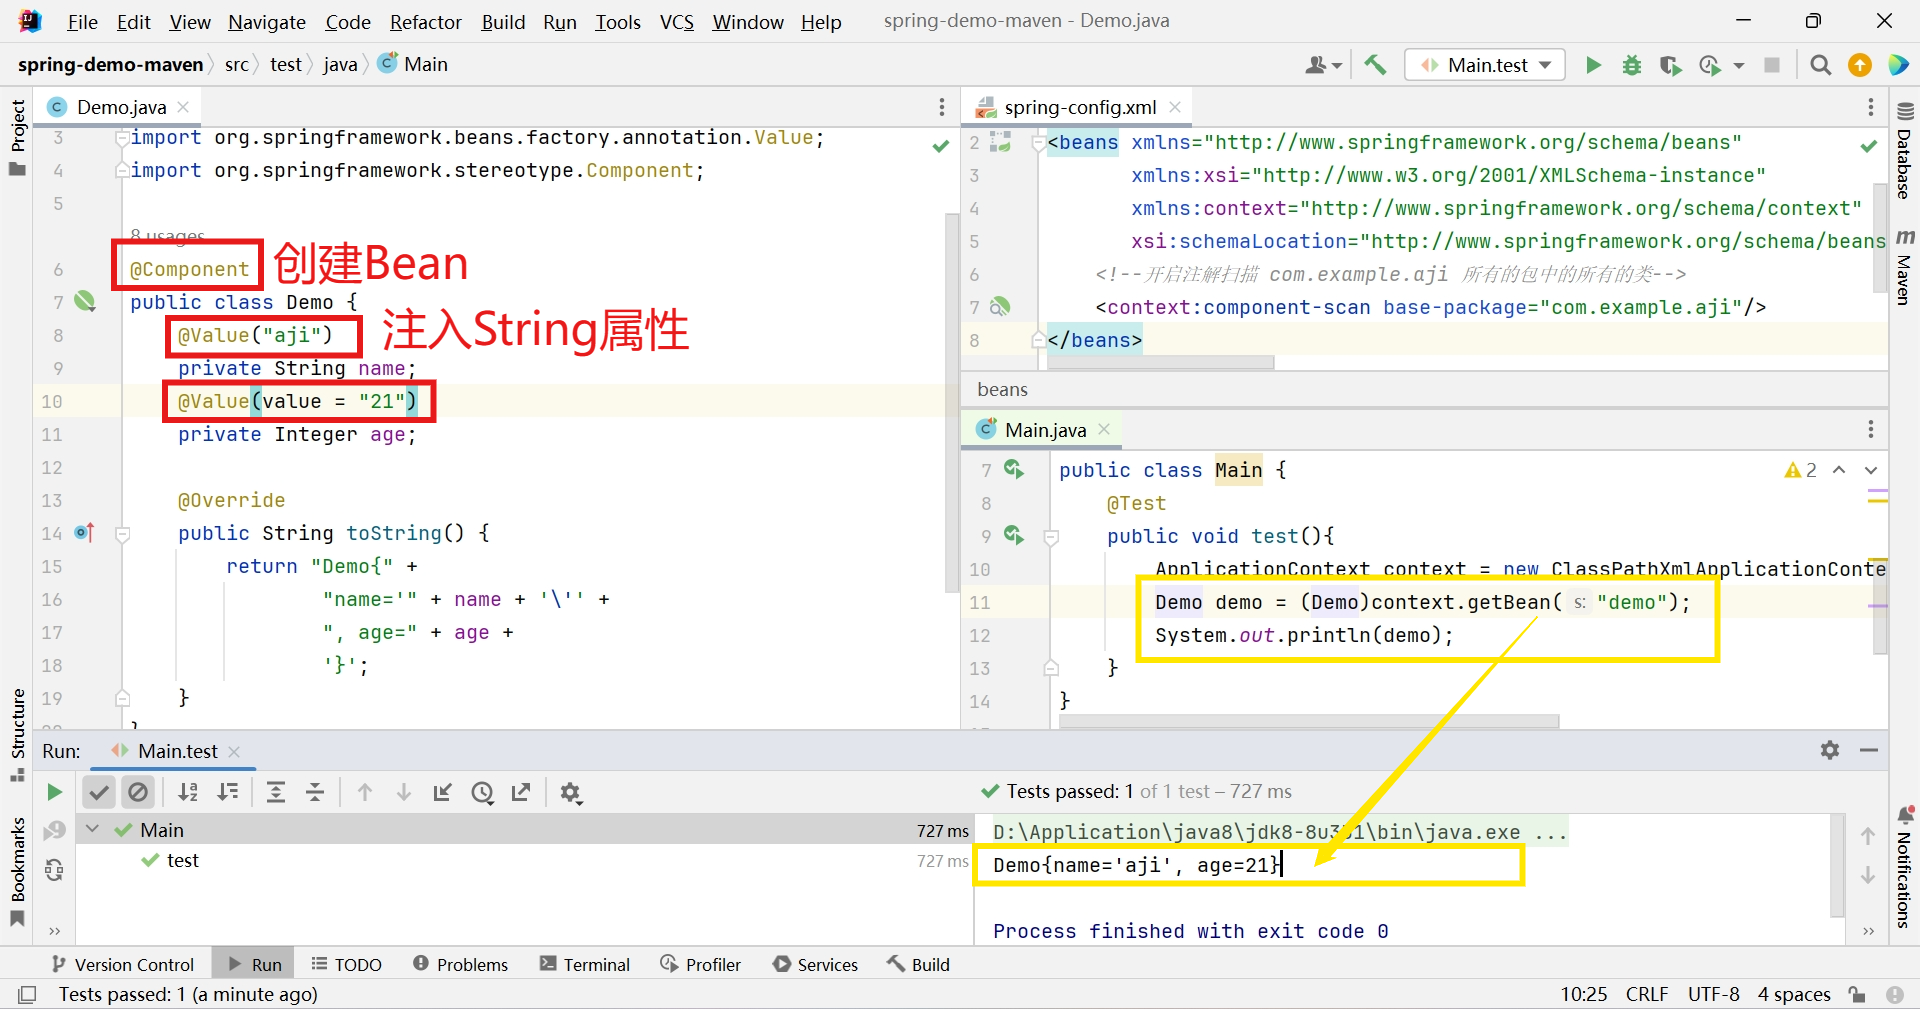
-
@Autowired
import com.example.aji.bean.Demo;
import com.example.aji.service.DemoService;
import org.springframework.beans.factory.annotation.Autowired;
import org.springframework.stereotype.Service;

@Service(value = "demoService")
public class DemoServiceImpl implements DemoService {
    @Autowired
    private Demo demo;

    @Override
    public Demo getDemo() {
        return demo;
    }
}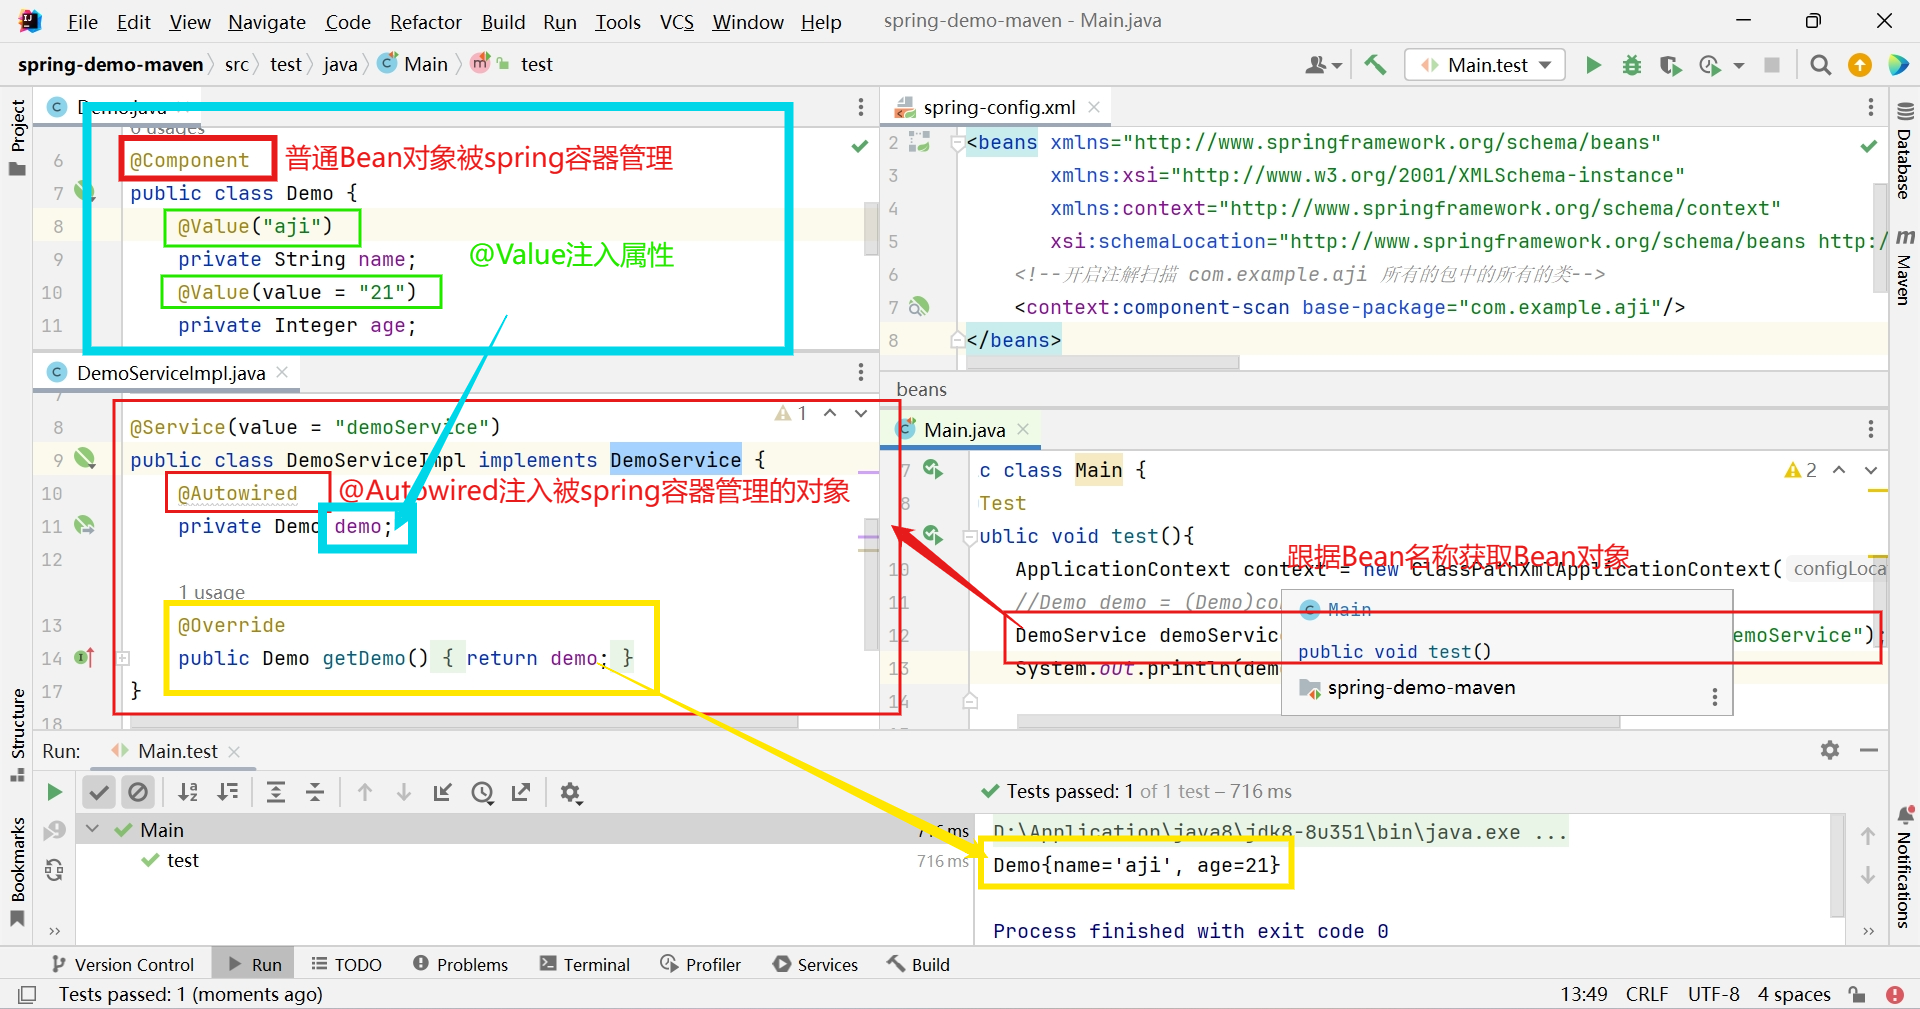
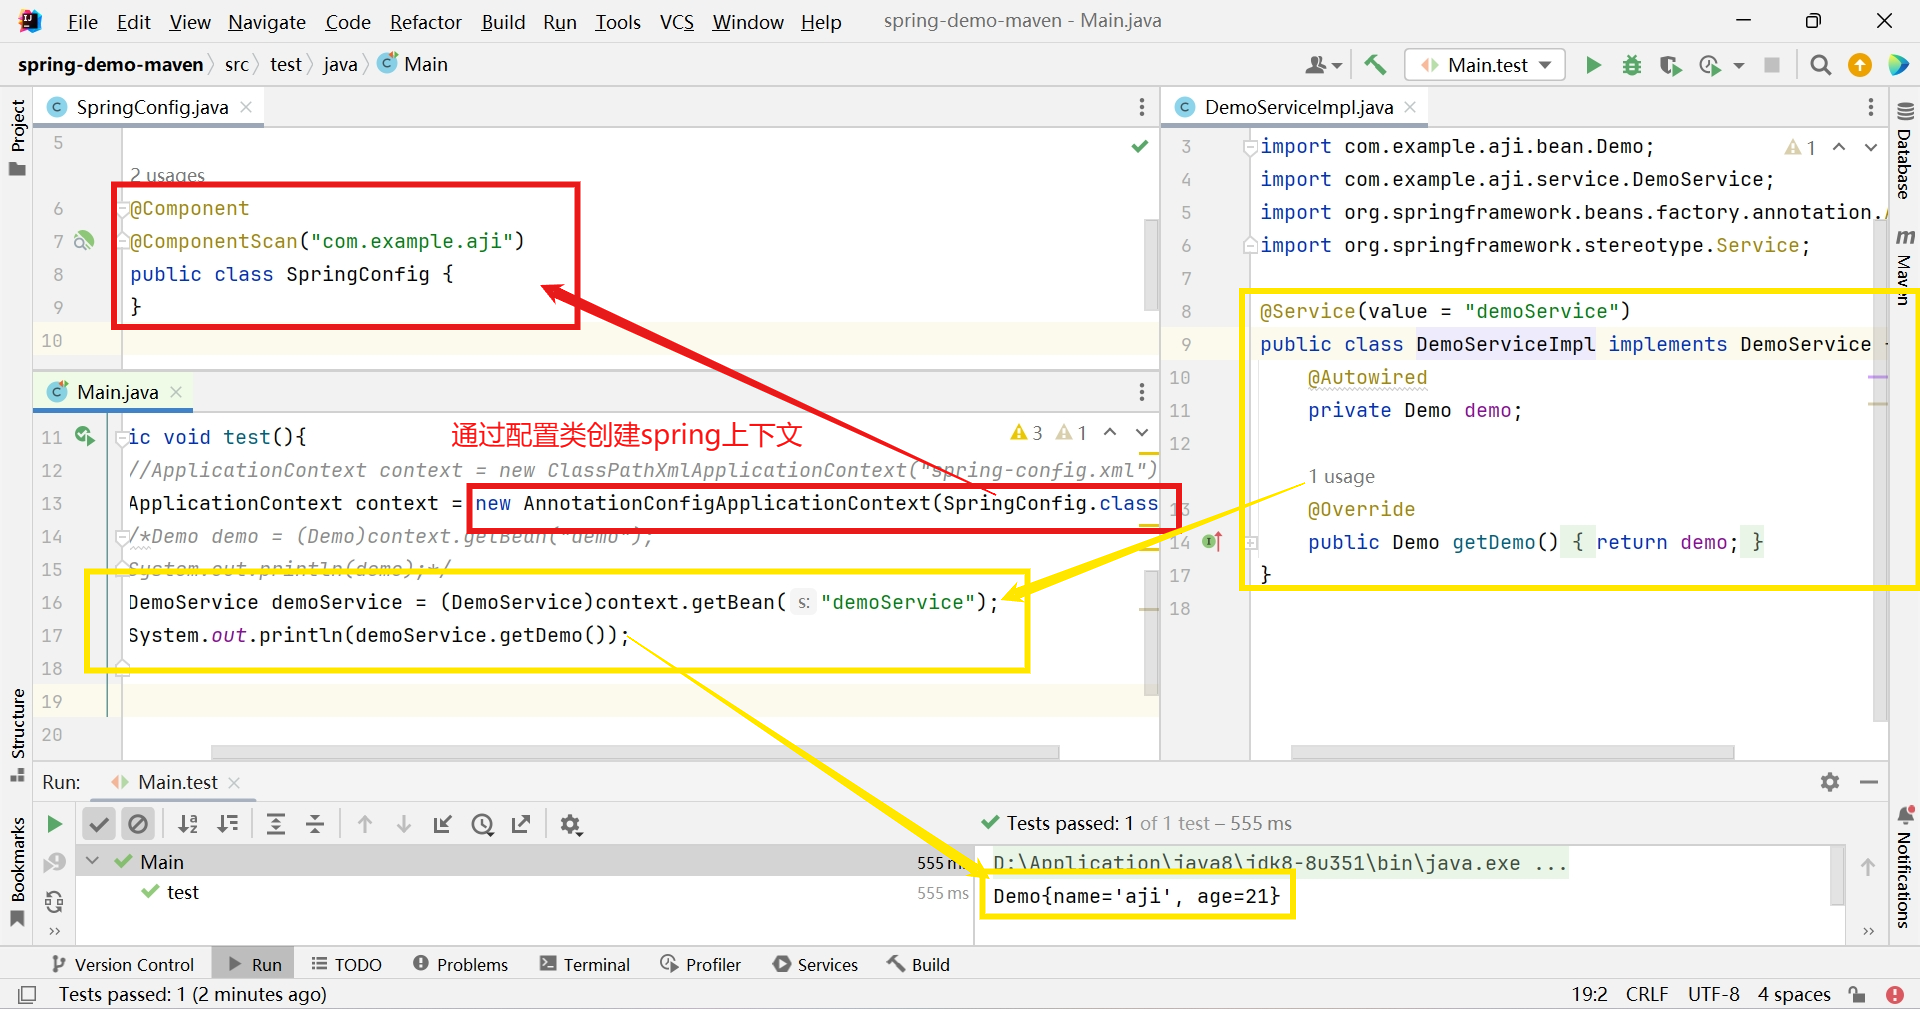
基於純註解的Bean管理
-
刪除spring-config.xml文件,並創建SpringConfig類,添加@Component註解把該類交給spring處理,添加@ComponentScan註解指定spring掃描的包路徑
@Component
@ComponentScan("com.example.aji")
public class SpringConfig {
}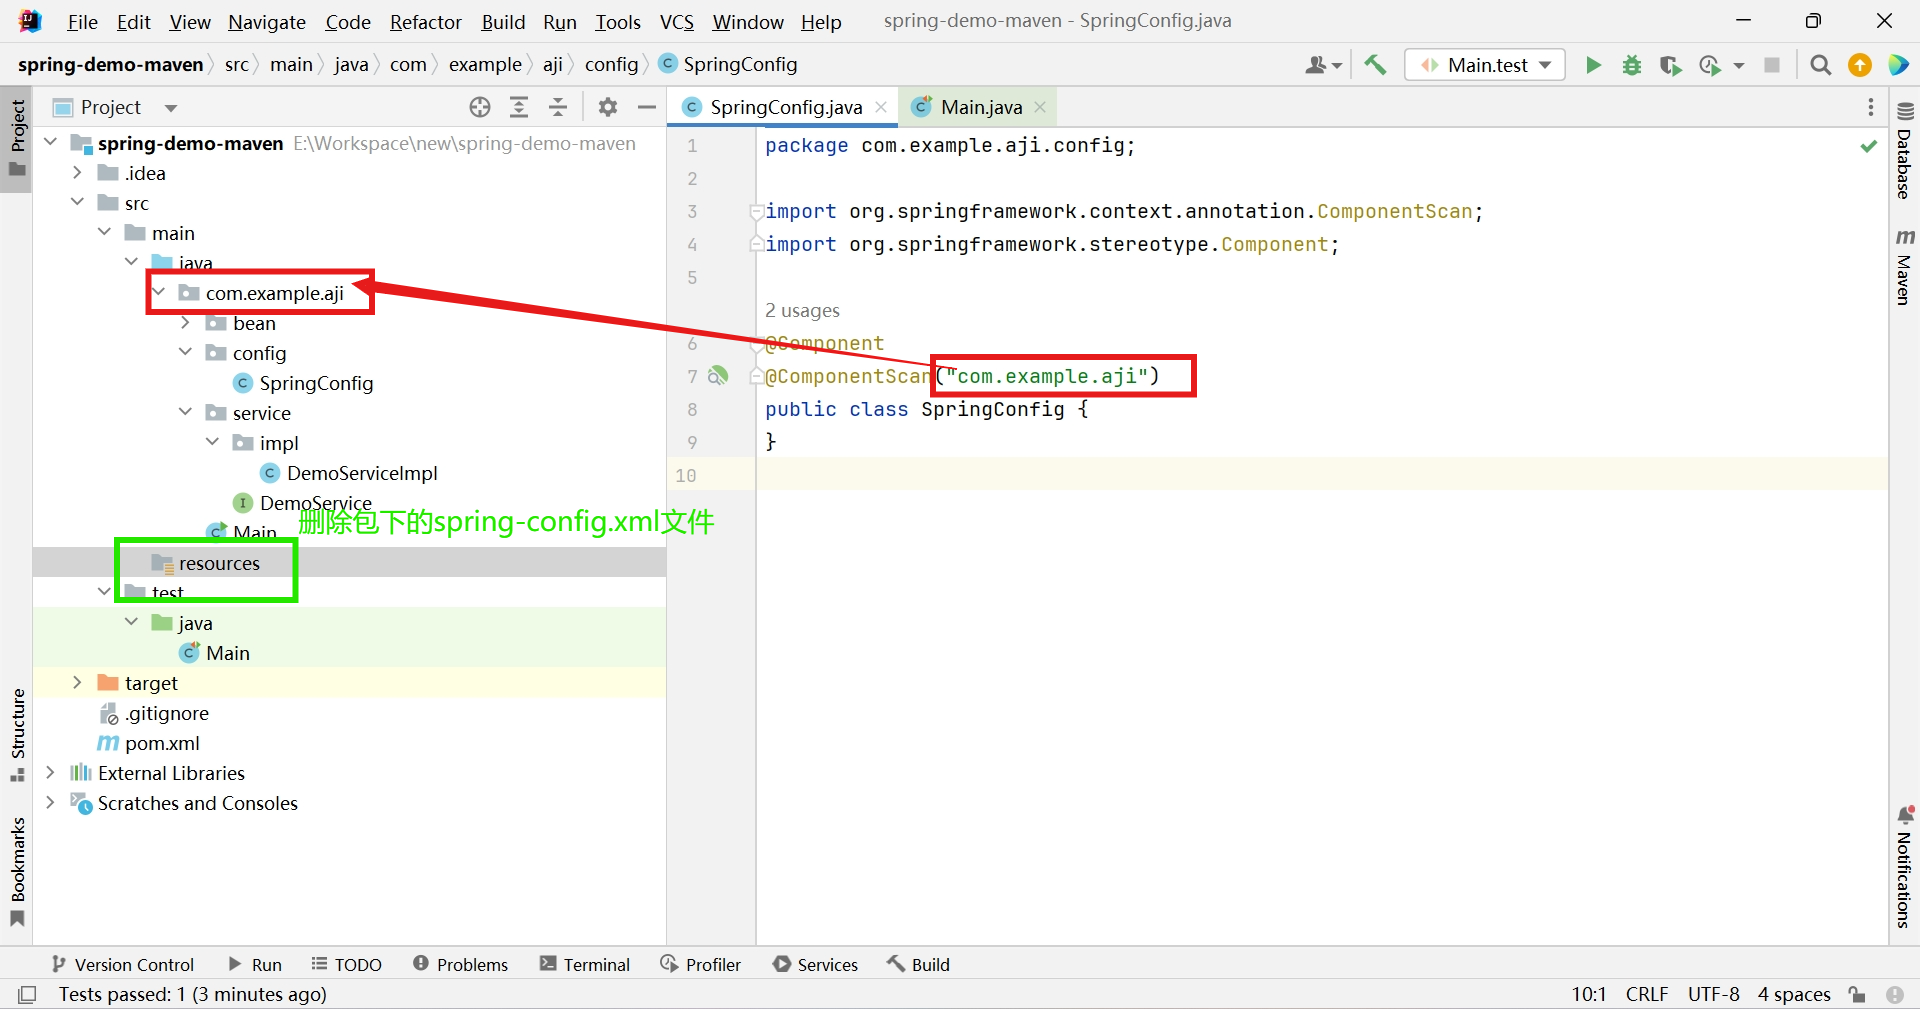
-
測試(其餘部分與xml+註解方式一致)
@Test
public void test(){
    //ApplicationContext context = new ClassPathXmlApplicationContext("spring-config.xml");
    ApplicationContext context = new AnnotationConfigApplicationContext(SpringConfig.class);
    /*Demo demo = (Demo)context.getBean("demo");
    System.out.println(demo);*/
    DemoService demoService = (DemoService)context.getBean("demoService");
    System.out.println(demoService.getDemo());
}