
CentOS 7.9 環境的安裝不再贅述,不清楚可以參看之前的文章:https://www.cnblogs.com/iflytek/p/14403664.html 1、準備GBase 8a的安裝包:GBase8a-NoLicense-Free-8.6.2_build43-R7-redhat7.3-x ...
CentOS 7.9 環境的安裝不再贅述,不清楚可以參看之前的文章:https://www.cnblogs.com/iflytek/p/14403664.html
1、準備GBase 8a的安裝包:GBase8a-NoLicense-Free-8.6.2_build43-R7-redhat7.3-x86_64.tar.bz2
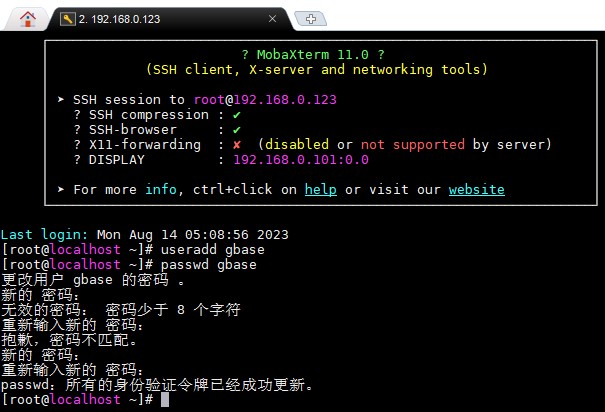
2、創建gbase用戶、並設置密碼(密碼規則:長度多於8位的字母+數字)
useradd gbase
passwd gbase
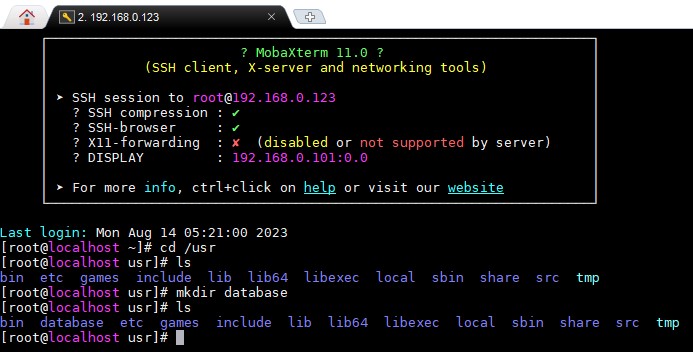
3、在usr目錄下創建database目錄,並修改許可權給gbase用戶
cd /usr
mkdir database
chown gbase database
chgrp gbase database

4、將gbase 8a安裝包上傳到/usr/database目錄
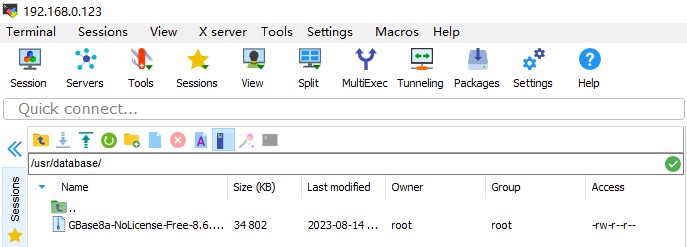
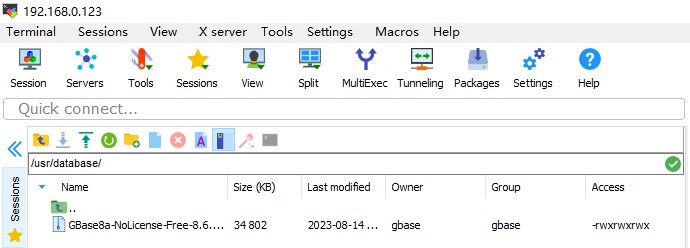
5、修改安裝包文件所有者和所在組
chown gbase GBase8a-NoLicense-Free-8.6.2_build43-R7-redhat7.3-x86_64.tar.bz2
chgrp gbase GBase8a-NoLicense-Free-8.6.2_build43-R7-redhat7.3-x86_64.tar.bz2
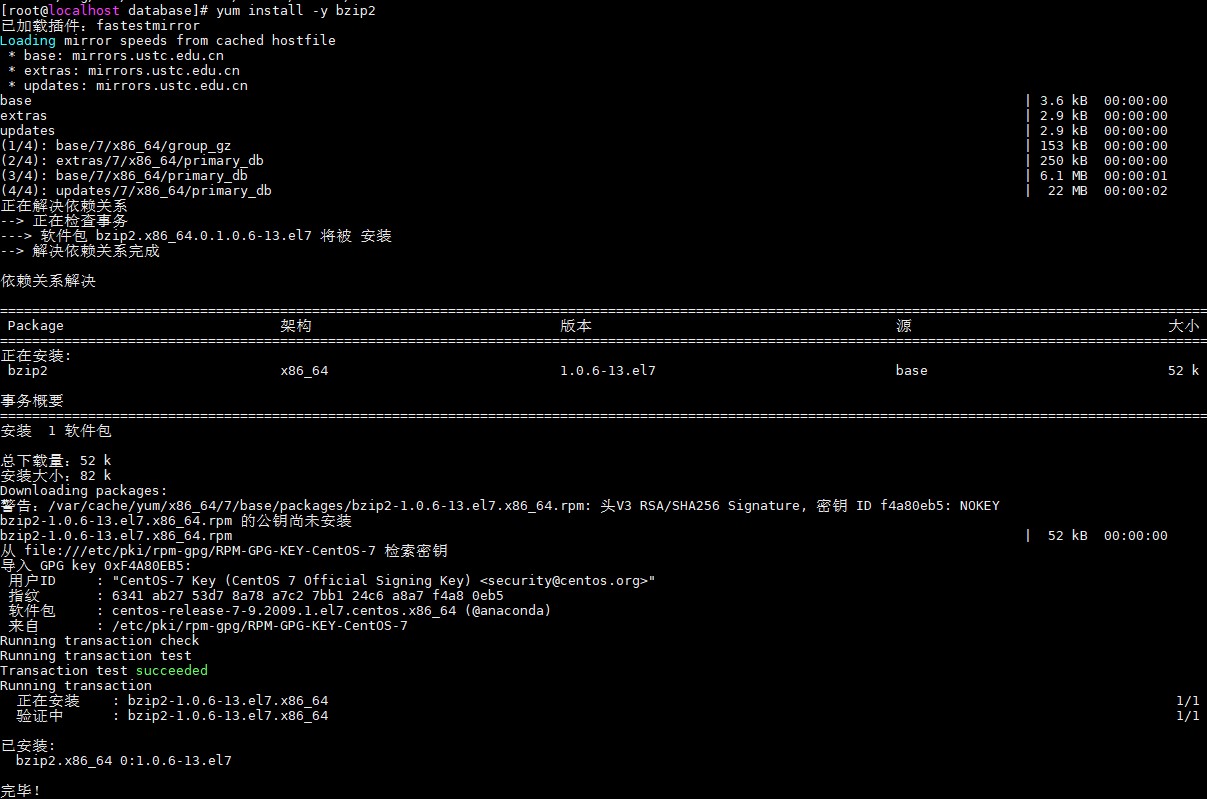
6、如果使用的是CentOS最小化安裝,需要先安裝bzip2
yum install -y bzip2
7、切換用戶gbase,並解壓,解壓後會在安裝包同一目錄出現GBaseInstall目錄
su gbase
tar xfj GBase8a-NoLicense-Free-8.6.2_build43-R7-redhat7.3-x86_64.tar.bz2


8、進入GBaseInstall目錄,並執行安裝
cd GBaseInstall
sh ./Install_lin.sh
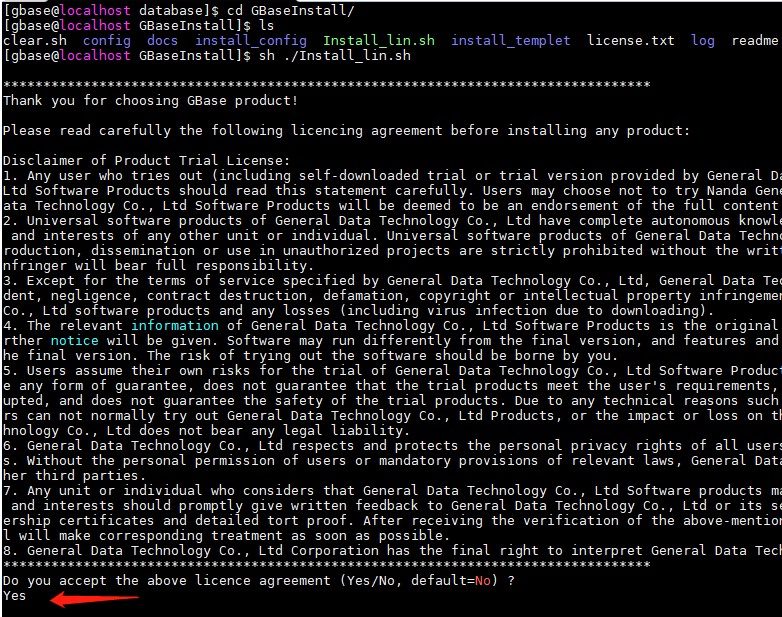
後面幾個都回車預設安裝即可

9、從安裝過程可知,資料庫安裝在/home/gbase/GBase下,前往啟動
cd /home/gbase/GBase
ls
cd server/bin
./gbase.server start
這時會提示出錯

10、切換會root用戶,將GBase的路徑添加到環境變數中
su root
vi /etc/profile
在profile文件的末尾添加
export GBASE_BASH=/home/gbase/GBase
export GBASE_HOME=/home/gbase/GBase/server
export GBASE_SID=gbase8a
export PATH=$JAVA_HOME/bin:$GBASH_HOME/bin:$PATH
保存後,再使之生效,並切換會gbase用戶,再次啟動
source /etc/profile
su gbase
./gbase.server start

11、登錄gbase,預設無密碼,直接回車即可
gbase -uroot -p

使用PASSWORD函數,修改密碼為sa
SET PASSWORD = PASSWORD('sa');

使用exit,退出資料庫
12、需要查看防火牆狀態,並關閉CentOS的防火牆
service iptables status
systemctl status firewalld

service iptables stop
service firewalld stop
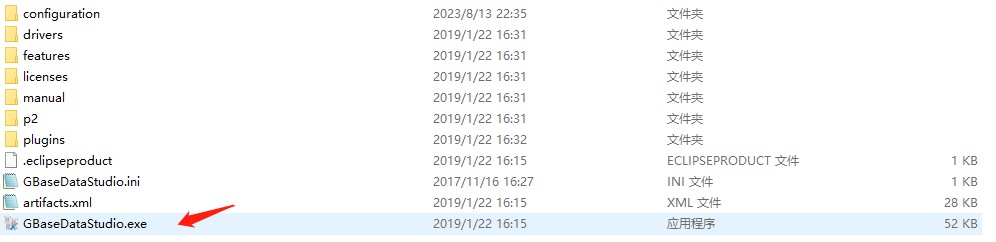
13、準備GBase客戶端軟體GBaseDataStudio_8.5.16.0_x86,直接雙擊打開使用
提示:在連接資料庫前,先要關閉centos7的防火牆

新建連接


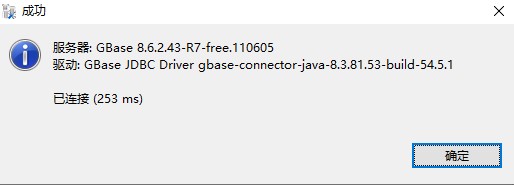


一路下一步,最後點完成


