ABP框架 ABP是用於創建現代化Web應用程式的完整體繫結構和強大的基礎架構,以模塊化的方式進行開發,所有模塊以nuget包的方式提供,開箱即用,遵循最佳實踐和約定,提供SOLID開發經驗。 | 縮寫 | 英文 | 中文 | |--|--|--| | SRP | The Single Respon ...
WPF入門教程系列目錄
WPF技術的主要特點是數據驅動UI,所以在使用WPF技術開發的過程中是以數據為核心的,WPF提供了數據綁定機制,當數據發生變化時,WPF會自動發出通知去更新UI。
今天我們來學習.NET 7中的WPF裡面的DataGrid的有關知識。數據表格DataGrid是一個使用非常廣泛的控制項,不管是在Asp.Net中的網頁開發還是WinForm(WPF)應用程式開發都會頻繁使用。通過數據表格DataGrid可以靈活、方便、有效的顯示各種數據。自己翻看之前寫的DataGrid的示例,這個示例寫的有些簡單,沒有使用Command指令,沒有使用MVVM模式,現在看來有些欠缺。準備將這個DataGrid示例進行完善一下,併在示例中應用Command指令與MVVM模式。
WPF控制項DataGrid 提供了一種靈活的方法,用於在行和列中顯示數據集合。 DataGrid包括用於托管自定義內容的內置列類型和模板列。內置行類型包括一個下拉詳細信息部分,可用於在單元格值下方顯示其他內容。
一、創建項目
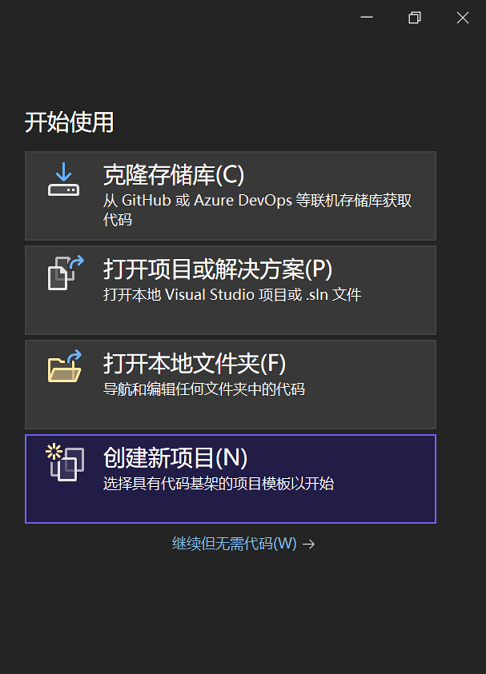
1. 在Visual Studio 2022啟動界面中選擇“創建新項目”,如下圖。
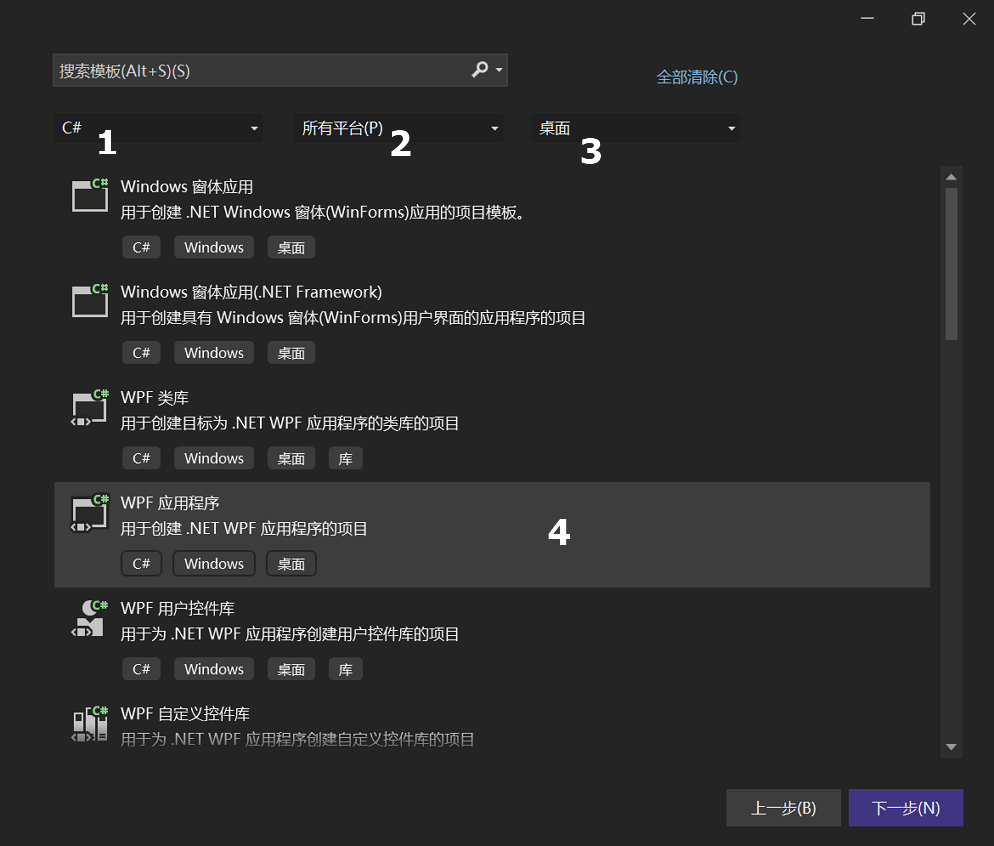
2. Visual Studio 2022彈出的“創建新項目”的對話框中做如下選擇。如下圖。
- 在最左邊的下拉框中,選擇 “C# ,如下圖中1處
- 在中間的下拉框中,選擇 “所有平臺”,如下圖2處。
- 在最右邊的下拉框中,選擇“桌面”,如下圖3處。
- 在下圖中4處,選擇“WPF應用程式”模板,點擊“下一步”按鈕。
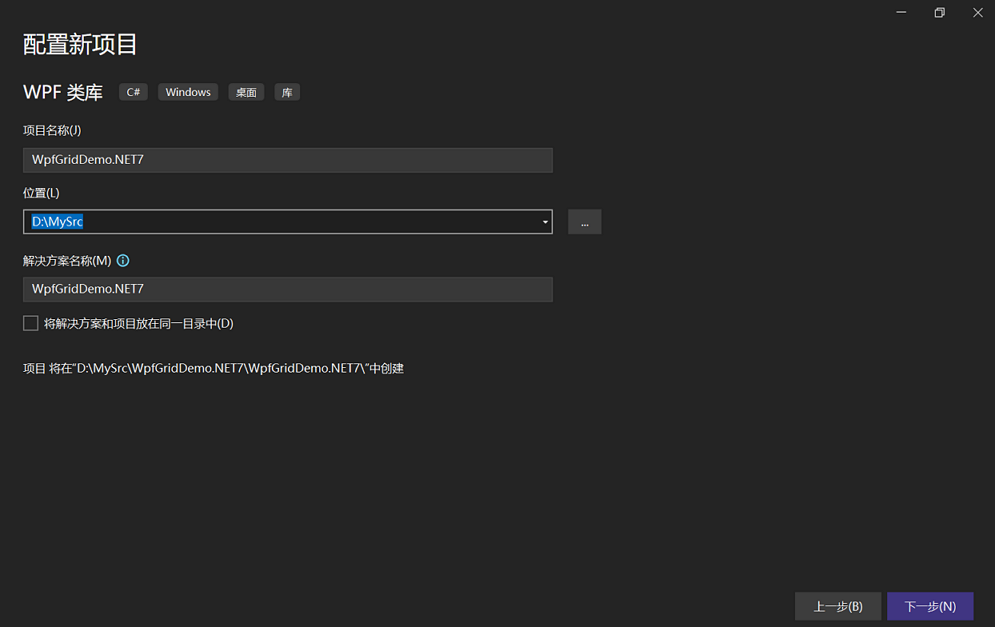
4.在彈出的“配置新項目”的對話框中,如下圖,在“項目名稱”輸入框中,輸入“WpfGridDemo.NET7”。然後使用滑鼠點擊“下一步”按鈕。
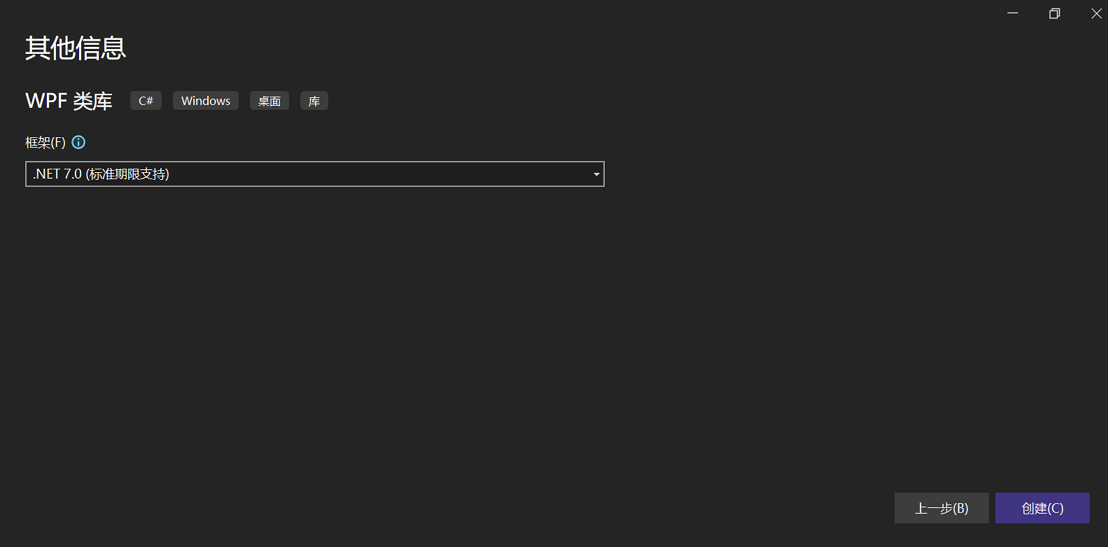
5. 在彈出的“其他信息”的對話框,如下圖。在“框架”下拉框中,選擇“NET 7.0(標準期限支持)”。其他值選擇預設值即可。然後使用滑鼠點擊“創建”按鈕。
二、創建實體
首先進行準備工作,先創建實體,我們使用的是省市縣區的示例數據,這個數據網上比較豐富,可以方便找到。
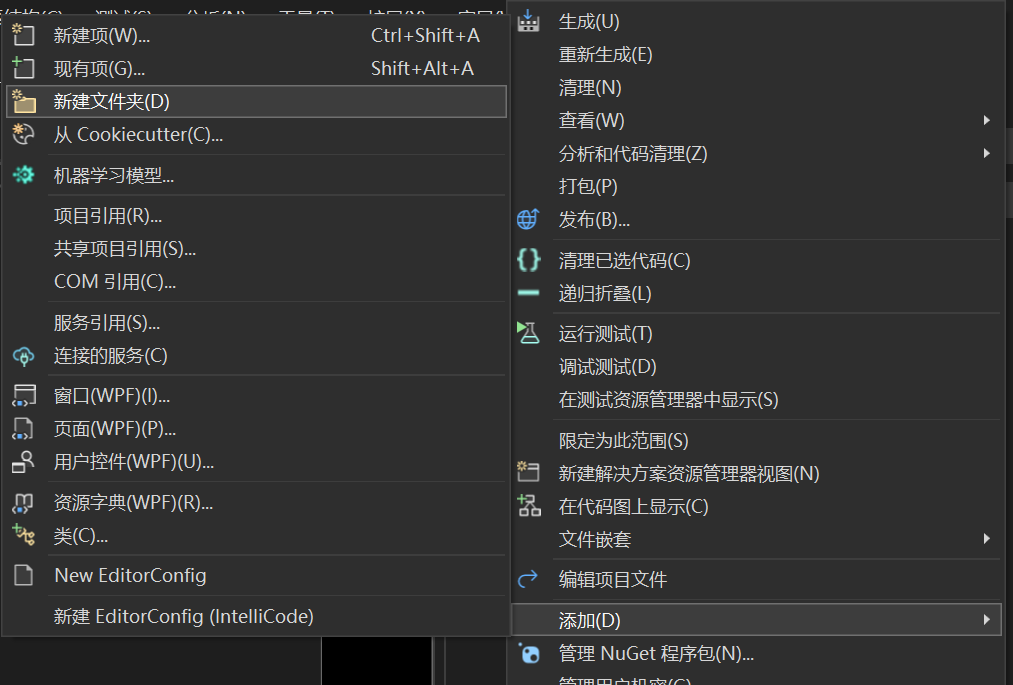
1. 在Visual Studio 2022的“解決方案資源管理器”中,使用滑鼠右鍵單擊“WpfGridDemo.NET7”項目,在彈出菜單中選擇“添加-->新建文件夾”。如下圖。
2. 在Visual Studio 2022的“解決方案資源管理器”中,將“新文件夾”改名為 “Entitys”,然後使用滑鼠右鍵單擊“Entitys”文件夾,在彈出菜單中選擇“添加--> 類”。 在“添加新項”對話框中將類命名為 Area,然後選擇“添加”。
3. 在Visual Studio 2022的“解決方案資源管理器”中,使用滑鼠雙擊打開剛纔創建的Area.cs文件,添加如下代碼:
using System;
using System.Collections.Generic;
using System.ComponentModel.DataAnnotations;
using System.Linq;
using System.Text;
using System.Threading.Tasks;

namespace WpfGridDemo.NET7.Entitys
{
    public class Area
    {
        public int Id { get; set; }

        [StringLength(10)]
        public string Code { get; set; }

        [StringLength(30)]
       public string Name { get; set; }


        [StringLength(10)]

        public string CityCode { get; set; }
        public DateTime Created { get; set; }
        public DateTime Updated { get; set; }

    }
}
4.重得執行第2,3步,在Visual Studio 2022創建City與Province類,這兩個類的代碼如下:
using System;
using System.Collections.Generic;
using System.ComponentModel.DataAnnotations;
using System.Linq;
using System.Text;
using System.Threading.Tasks;

namespace WpfGridDemo.NET7.Entitys
{
    public class City
    {
        public int Id { get; set; }
        [StringLength(10)]
        public string Code { get; set; }

        [StringLength(30)]
        public string Name { get; set; }

        [StringLength(10)]
        public string ProvinceCode { get; set; }
    }
}


using System;
using System.Collections.Generic;
using System.ComponentModel.DataAnnotations;
using System.Linq;
using System.Text;
using System.Threading.Tasks;

namespace WpfGridDemo.NET7.Entitys
{
    public class Province
    {
        public int Id { get; set; }
        [StringLength(10)]
        public string Code { get; set; }

        [StringLength(30)]
        public string Name { get; set; }

    }

}
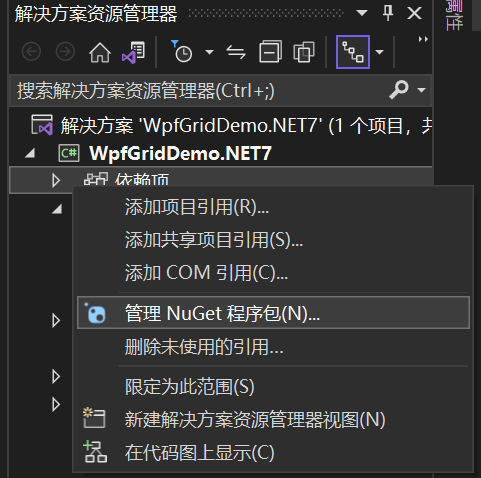
5 使用NuGet下載最新版的Entity Framework Core 7。在解決方案資源管理器中——>在項目WpfGridDemo.NET7中的依賴項上滑鼠右鍵單擊——>彈出一個菜單,選中“管理NuGet程式包”,如下圖。
6. 在打開的NuGet包管理界面的中選擇“瀏覽”標簽頁,在搜索框中輸入“Entity”,找到最新版本Entity Framework Core,點擊安裝。如下圖。 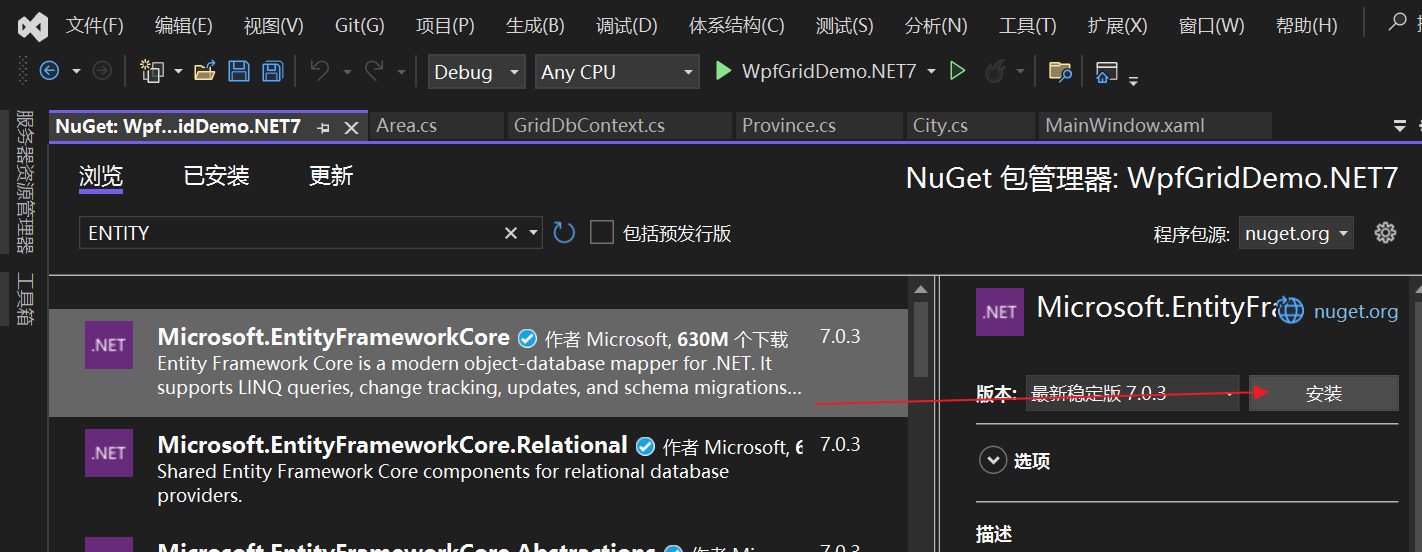
7. Visual Studio 2022 開始安裝 EntityFrameworkCore 7.0.3,會彈出安裝確認界面,點擊“OK”按鈕。如下圖。
Microsoft.EntityFrameworkCore
Microsoft.EntityFrameworkCore.SqlServer

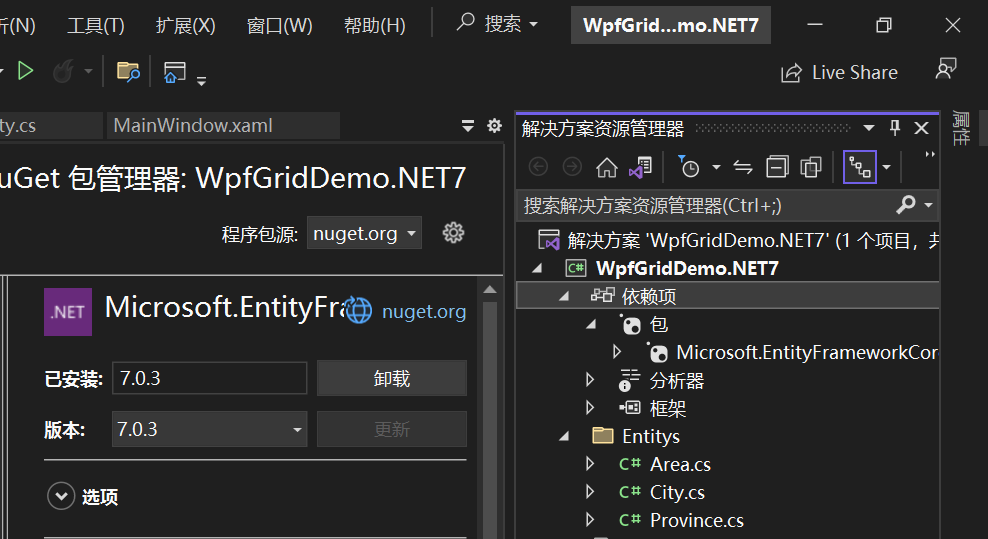
8.安裝完成之後,如下圖。
9. 在Visual Studio 2022的解決方案資源管理器中,使用滑鼠右鍵點擊“WpfGridDemo.NET7”項目,在彈出菜單中選擇“添加-->類”,在彈出的“添加新項”對話框中,選擇添加 “GridDbContext”類,併在中定義實體對應的DbSet,以應用Code First 數據遷移。添加以下代碼
using Microsoft.EntityFrameworkCore;
using System.Collections.Generic;
using System.Data;
using System.Reflection;
using WpfGridDemo.NET7.Entitys;


namespace WpfGridDemo.NET7
{
    public class GridDbContext : DbContext
    {
        public GridDbContext(DbContextOptions<GridDbContext> options)

               : base(options)
        {

        }

        public DbSet<Area> Area { get; set; }
        public DbSet<City> City { get; set; }
        public DbSet<Province> Province { get; set; }

    }
}
10.在Visual Studio 2017中的資源管理器中找到appsettings.json文件,用滑鼠雙擊打開,在文件中添加一個連接字元串,代碼如下。
<?xml version="1.0" encoding="utf-8" ?>
<configuration>
    <appSettings>
        <add></add>
    </appSettings>
    <connectionStrings>

        <add name="GridDbContext" connectionString="Server=.;Database=EFCoreDemo;Trusted_Connection=True;
Encrypt=False;TrustServerCertificate=True;MultipleActiveResultSets=true" />

    </connectionStrings>
</configuration>
11.從Visual Studio 2022的菜單中選擇“工具->NuGet包管理器器—>程式包管理器控制台”菜單。
12. 在PMC中,預設項目選擇EntityframeworkCore對應的項目後。輸入以下命令:Add-Migration AddEntityCitys,創建遷移。
13. 在上面的命令執行完畢之後,創建成功後,會在Migrations文件夾下創建時間_AddEntityCitys格式的類文件,這些代碼是基於DbContext指定的模型。
14.在程式包管理器控制台,輸入Update-Database,回車執行遷移。執行成功後,以上三個步驟,我在前面的文章中已經多次寫過了,這裡就簡單寫一下。
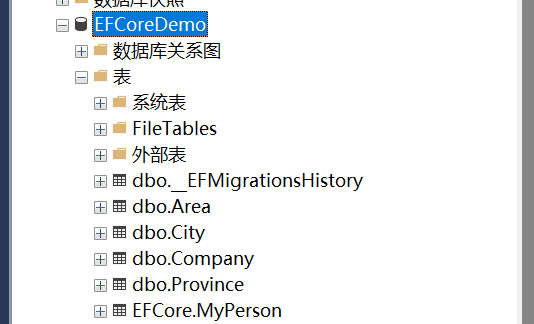
15. 在SQL Server Management Studio中查看資料庫,Province、Area、City三個表創建成功。至於具體的數據,請在網上查找。