ChatGPT 最近在互聯網掀起了一陣熱潮,其高度智能化的功能能夠給我們現實生活帶來諸多的便利,可以幫助你寫文章、寫報告、寫周報、做表格、做策劃甚至還會寫代碼。只要與文字相關的工作,它幾乎都能給出一份滿意的答卷。 一、註冊OpenAI 首先需要註冊OpenAI,這樣就可以使用ChatGPT 二、搭建 ...
ChatGPT 最近在互聯網掀起了一陣熱潮,其高度智能化的功能能夠給我們現實生活帶來諸多的便利,可以幫助你寫文章、寫報告、寫周報、做表格、做策劃甚至還會寫代碼。只要與文字相關的工作,它幾乎都能給出一份滿意的答卷。
一、註冊OpenAI
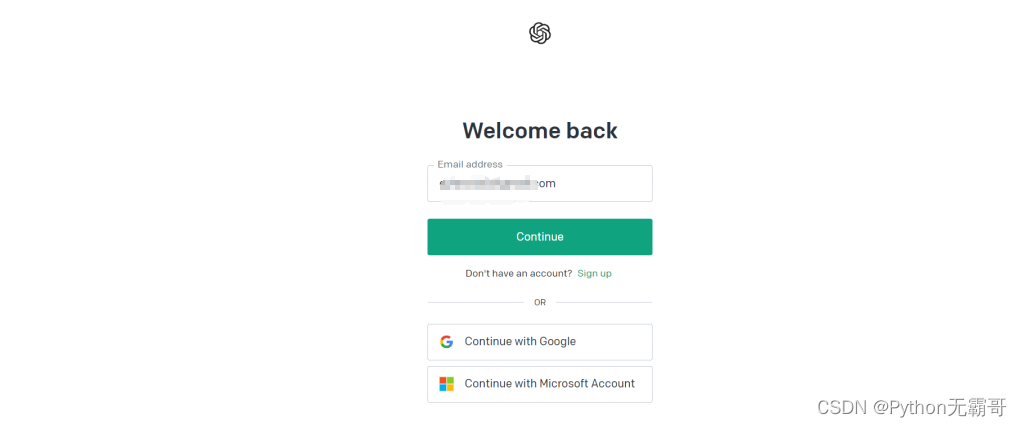
首先需要註冊OpenAI,這樣就可以使用ChatGPT

二、搭建網站及其框架
那麼這裡我們需要用到這幾個庫,用pip命令來下載
# 安裝streamlit和openai
pip install -i https://pypi.tuna.tsinghua.edu.cn/simple streamlit
pip install -i https://pypi.tuna.tsinghua.edu.cn/simple streamlit_option_menu
pip install -i https://pypi.tuna.tsinghua.edu.cn/simple openai
那麼首先網頁的左側有一個工具欄,其中羅列了一系列的功能,我們這裡簡單的囊括了幾個,包括了“簡介”、“AI聊天”、“AI繪畫”,大家感興趣的後期可以繼續往裡面添加,例如“AI配音”,代碼如下
with st.sidebar:
    choose = option_menu("工具欄", ["簡介","AI聊天", "AI繪畫"],
                         icons=['house', 'person lines fill', 'app-indicator'],
                         menu_icon="list", default_index=0,
                         styles={
                             "container": {"padding": "5!important", "background-color": "#fafafa"},
                             "icon": {"color": "orange", "font-size": "25px"},
                             "nav-link": {"font-size": "16px", "text-align": "left", "margin": "0px",
                                          "--hover-color": "#eee"},
                             "nav-link-selected": {"background-color": "#24A608"},
                         }
                         )
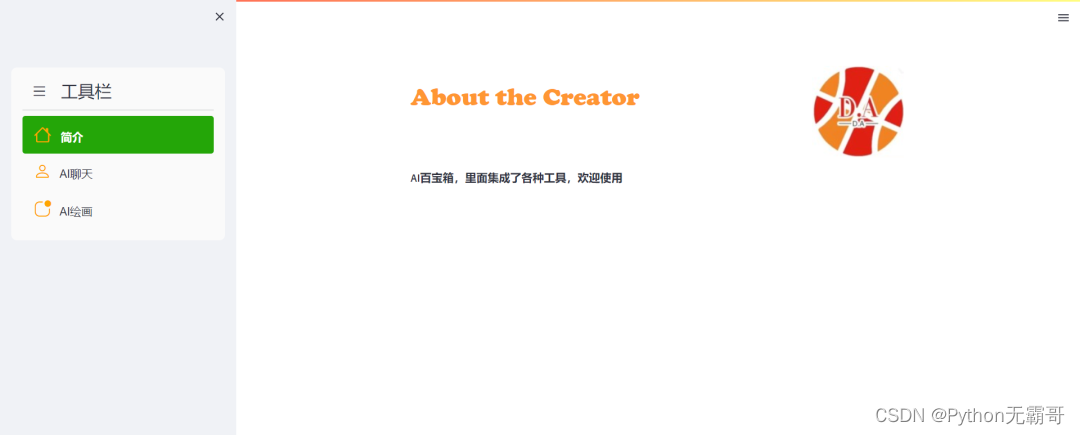
那麼在“簡介”這一欄當中,顧名思義就是對該網頁簡單的介紹,我們簡單的寫一些介紹,代碼如下
if choose == "簡介":
    col1, col2 = st.columns([0.8, 0.2])
    with col1:  # To display the header text using css style
        st.markdown(""" <style> .font {
            font-size:35px ; font-family: 'Cooper Black'; color: #FF9633;}
            </style> """, unsafe_allow_html=True)
        st.markdown('<p class="font">About the Creator</p>', unsafe_allow_html=True)
    with col2:  # To display brand log
        logo = Image.open("wechat_logo.jpg")
        st.image(logo, width=130)

    st.markdown('**AI百寶箱,裡面集成了各種工具,歡迎使用**')
展示出來的效果如下

三、AI聊天機器人
那麼首先我們需要在個人設置裡面去獲取一個秘鑰,
然後選擇一個模型,這裡我們選擇text-davinci-003模型,相比其他而言,性能更好,然後我們調用OpenAI裡面的方法來生成回答
def ChatGPT(user_query):
    completion = openai.Completion.create(
        engine=model_engine,
        prompt=user_query,
        max_tokens=1024,
        n=1,
        temperature=0.5,
    )
    response = completion.choices[0].text
    return response
然後我們調用該函數結合streamlit當中的輸入框,代碼如下
elif choose == "AI聊天":
    st.title("AI聊天機器人")
    # 設置密匙
    model_engine = "text-davinci-003"

    def ChatGPT(user_query):
        completion = openai.Completion.create(
            engine=model_engine,
            prompt=user_query,
            max_tokens=1024,
            n=1,
            temperature=0.5,
        )
        response = completion.choices[0].text
        return response

    user_query = st.text_input("在這裡輸入問題,回車查詢", "Python是什麼?")
    if user_query != ":q" or user_query != "":
        # 將問題提交給ChatGPT, 返回結果
        response = ChatGPT(user_query)
        st.write(f"{response}")
四、AI繪畫機器人
而在“AI繪畫”的模塊中,代碼邏輯也是相類似的,這邊需要調用與繪畫相關的API,代碼如下
def image_generate(user_demand):
    completion = openai.Image.create(
        prompt=user_demand,
        n=2,
        size="1024x1024"
    )
    response = completion.get("data")
    return response[0].get("url")
最後就可以在終端運行下麵的代碼了,
streamlit run example.py
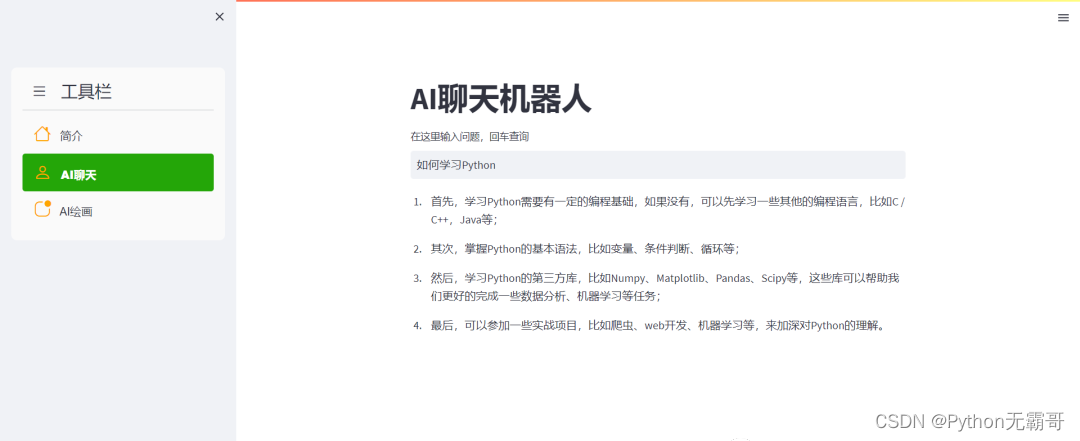
我們在瀏覽器中打開頁面,例如我們點擊進入“AI聊天”這個模塊,我們可以看到右上角處於RUNNING的狀態,表示正在運行中,等會兒之後就能看到結果

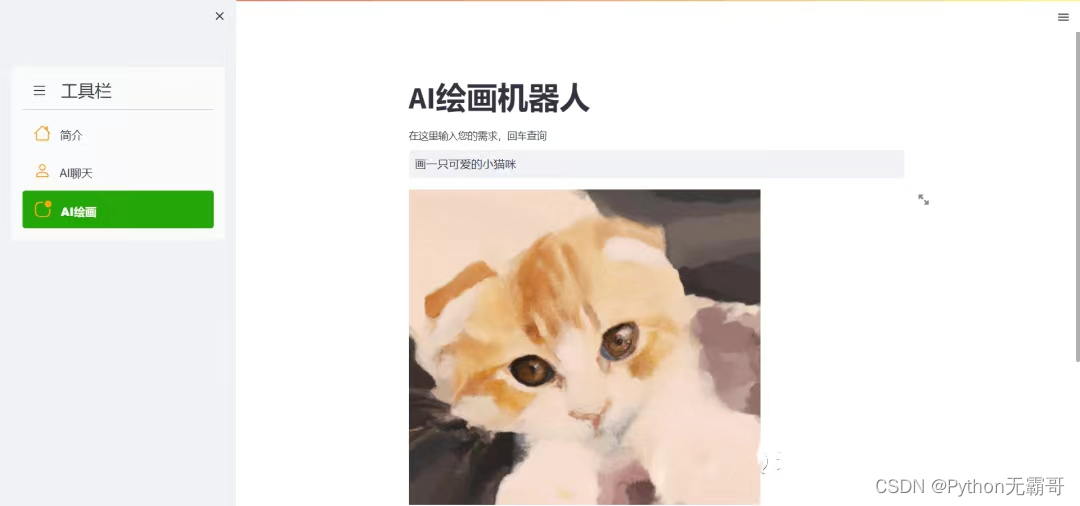
而點擊進入“AI繪畫”這個模塊,例如想要繪製可愛的貓咪,我們也能看到如下的結果


