TP6框架--CRMEB學習筆記:佈置後臺管理框架+配置路由

来源:https://www.cnblogs.com/smileZAZ/archive/2022/09/20/16711622.html
-Advertisement-
Play Games

這裡給大家分享我在網上總結出來的一些知識,希望對大家有所幫助 最近在研究一個基於TP6的框架CRMEB,這裡分享下我的開發心得 首先在上篇文章中,我們安裝了CRMEBphp介面項目,需要可以看這一篇 TP6框架--CRMEB學習筆記:項目初始化+環境配置 1.獲取項目 這裡是git地址 https: ...


這裡給大家分享我在網上總結出來的一些知識,希望對大家有所幫助

最近在研究一個基於TP6的框架CRMEB,這裡分享下我的開發心得

首先在上篇文章中,我們安裝了CRMEBphp介面項目,需要可以看這一篇

TP6框架--CRMEB學習筆記:項目初始化+環境配置

1.獲取項目

這裡是git地址

https://gitee.com/ZhongBangKeJi/CRMEB-Min.git

下載後用WebStorm打開

 2.依賴安裝+項目運行

先打開終端,運行

npm install

全局安裝依賴

然後在代碼上修改後臺介面地址,改為上篇中安裝好的後臺介面地址

然後根據運行文件
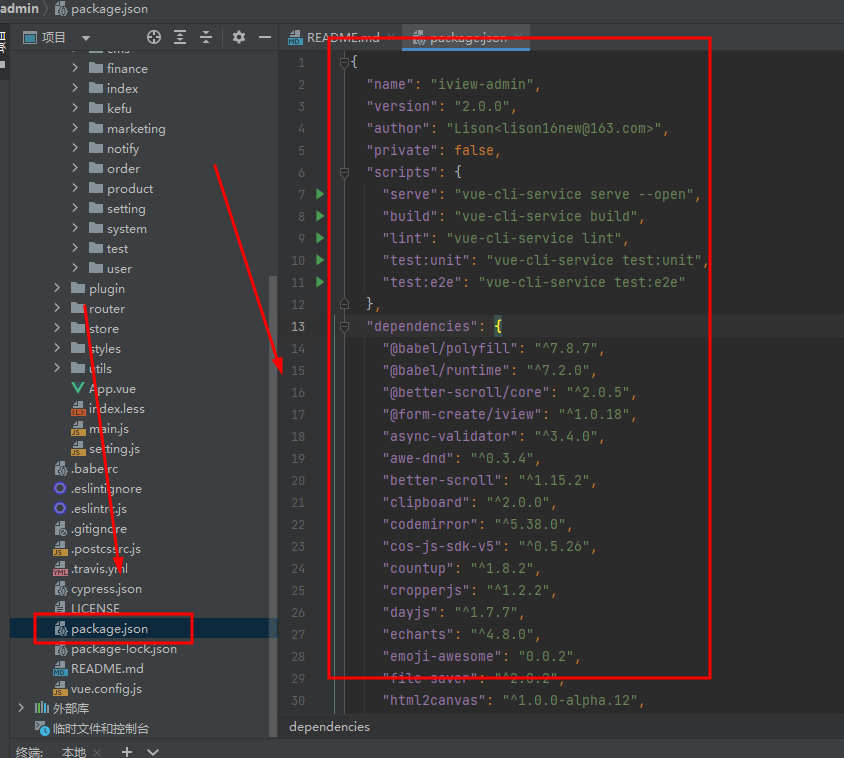
 運行以下代碼運行項目

npm run serve
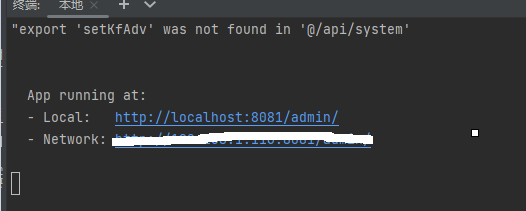
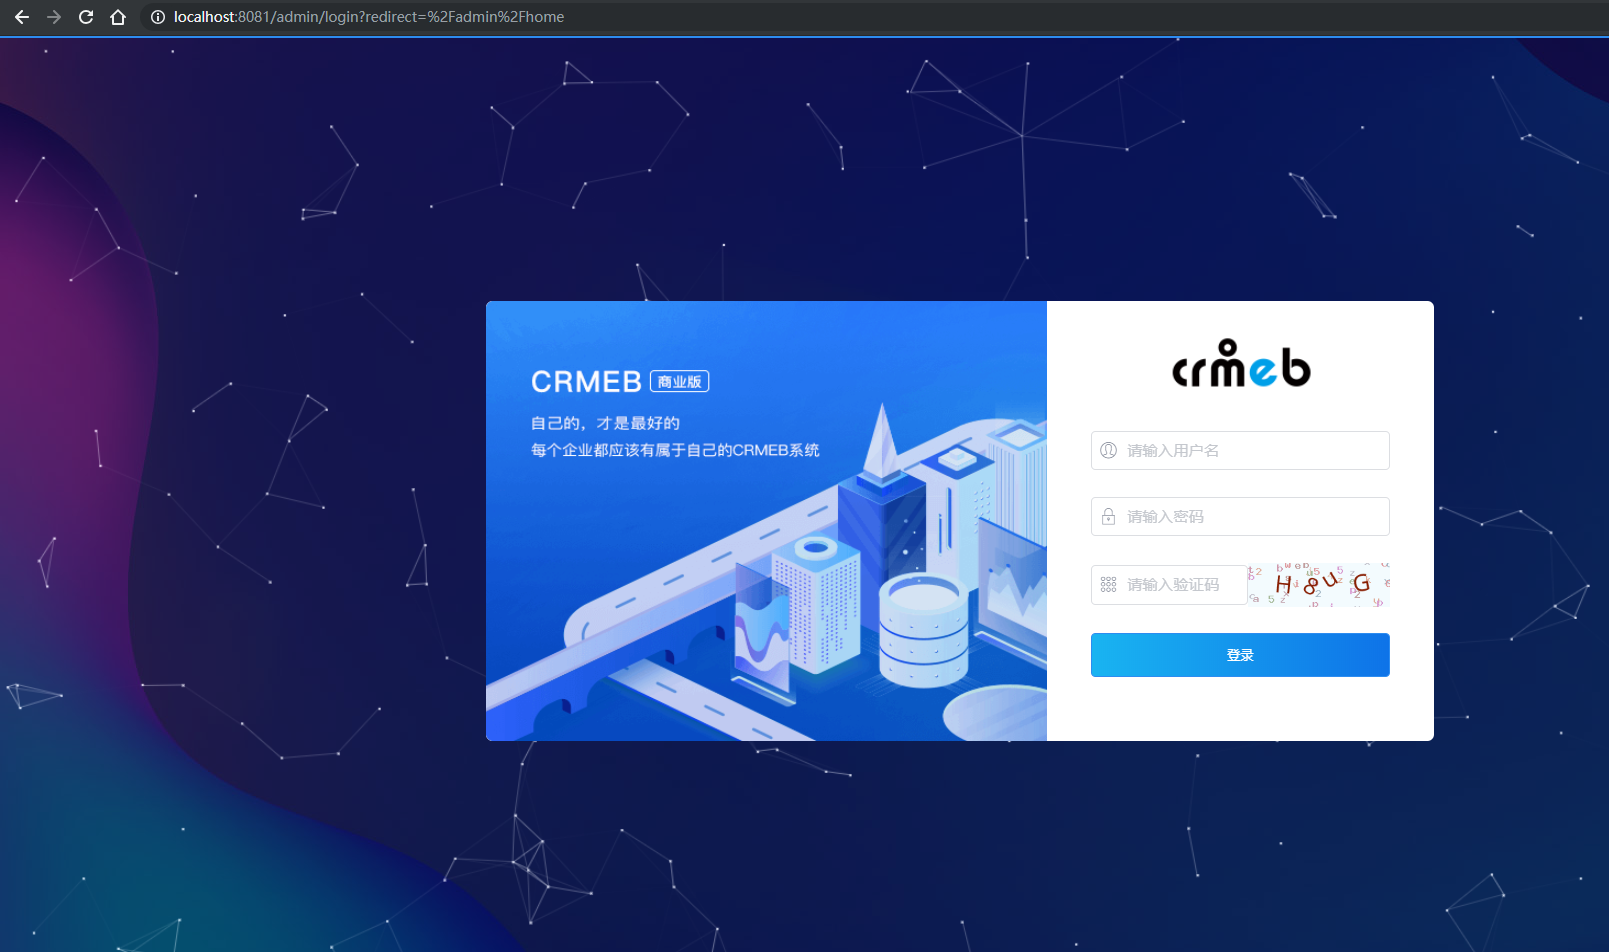
 打開網站看效果
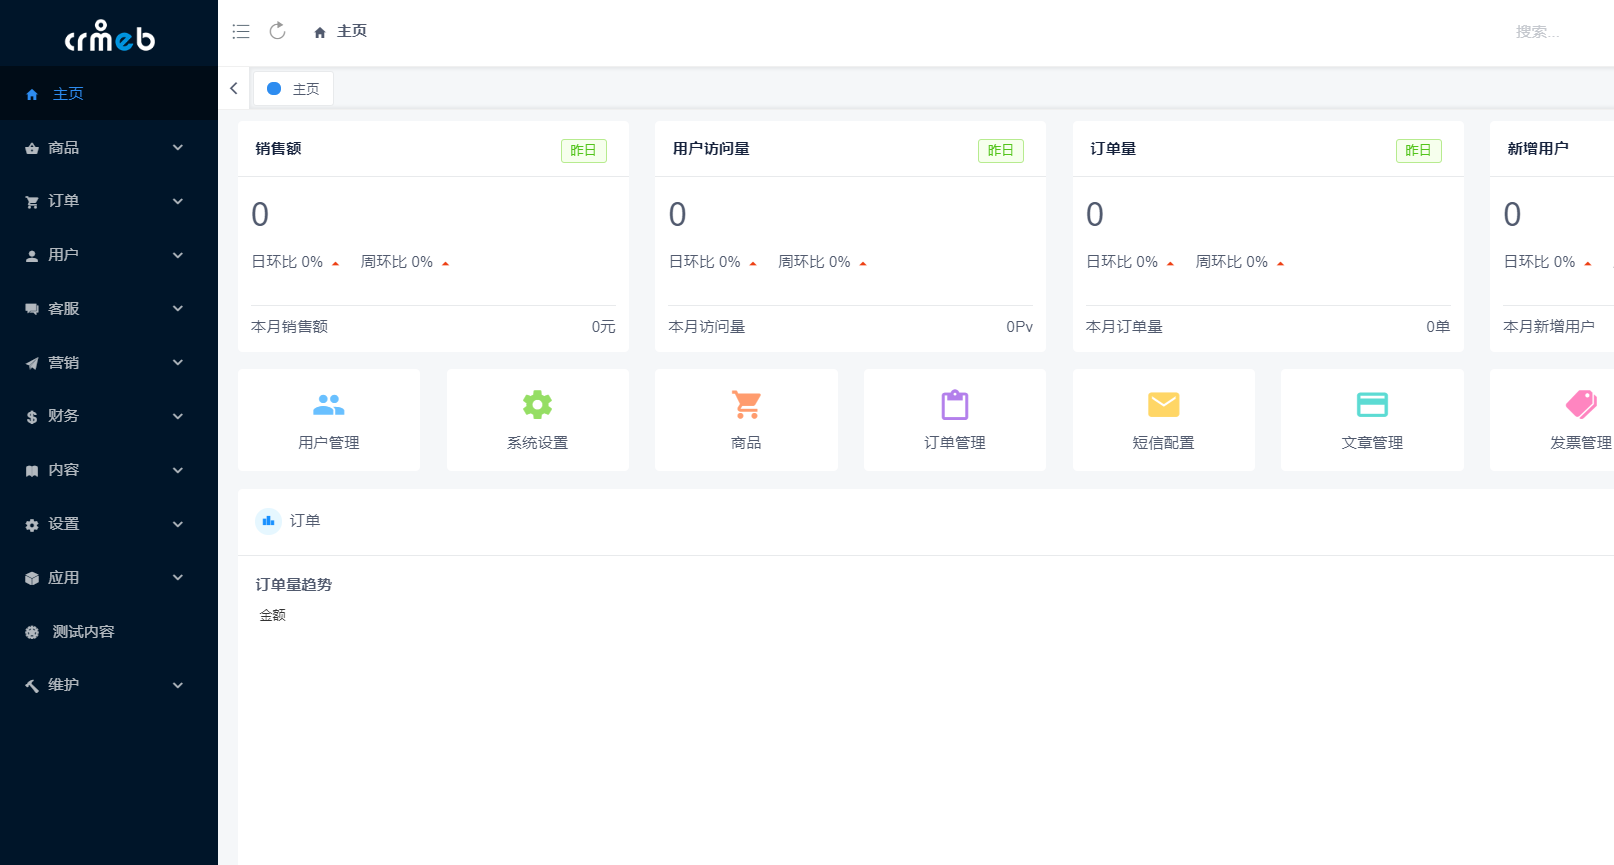
 登錄成功後的效果
 3.創建路由

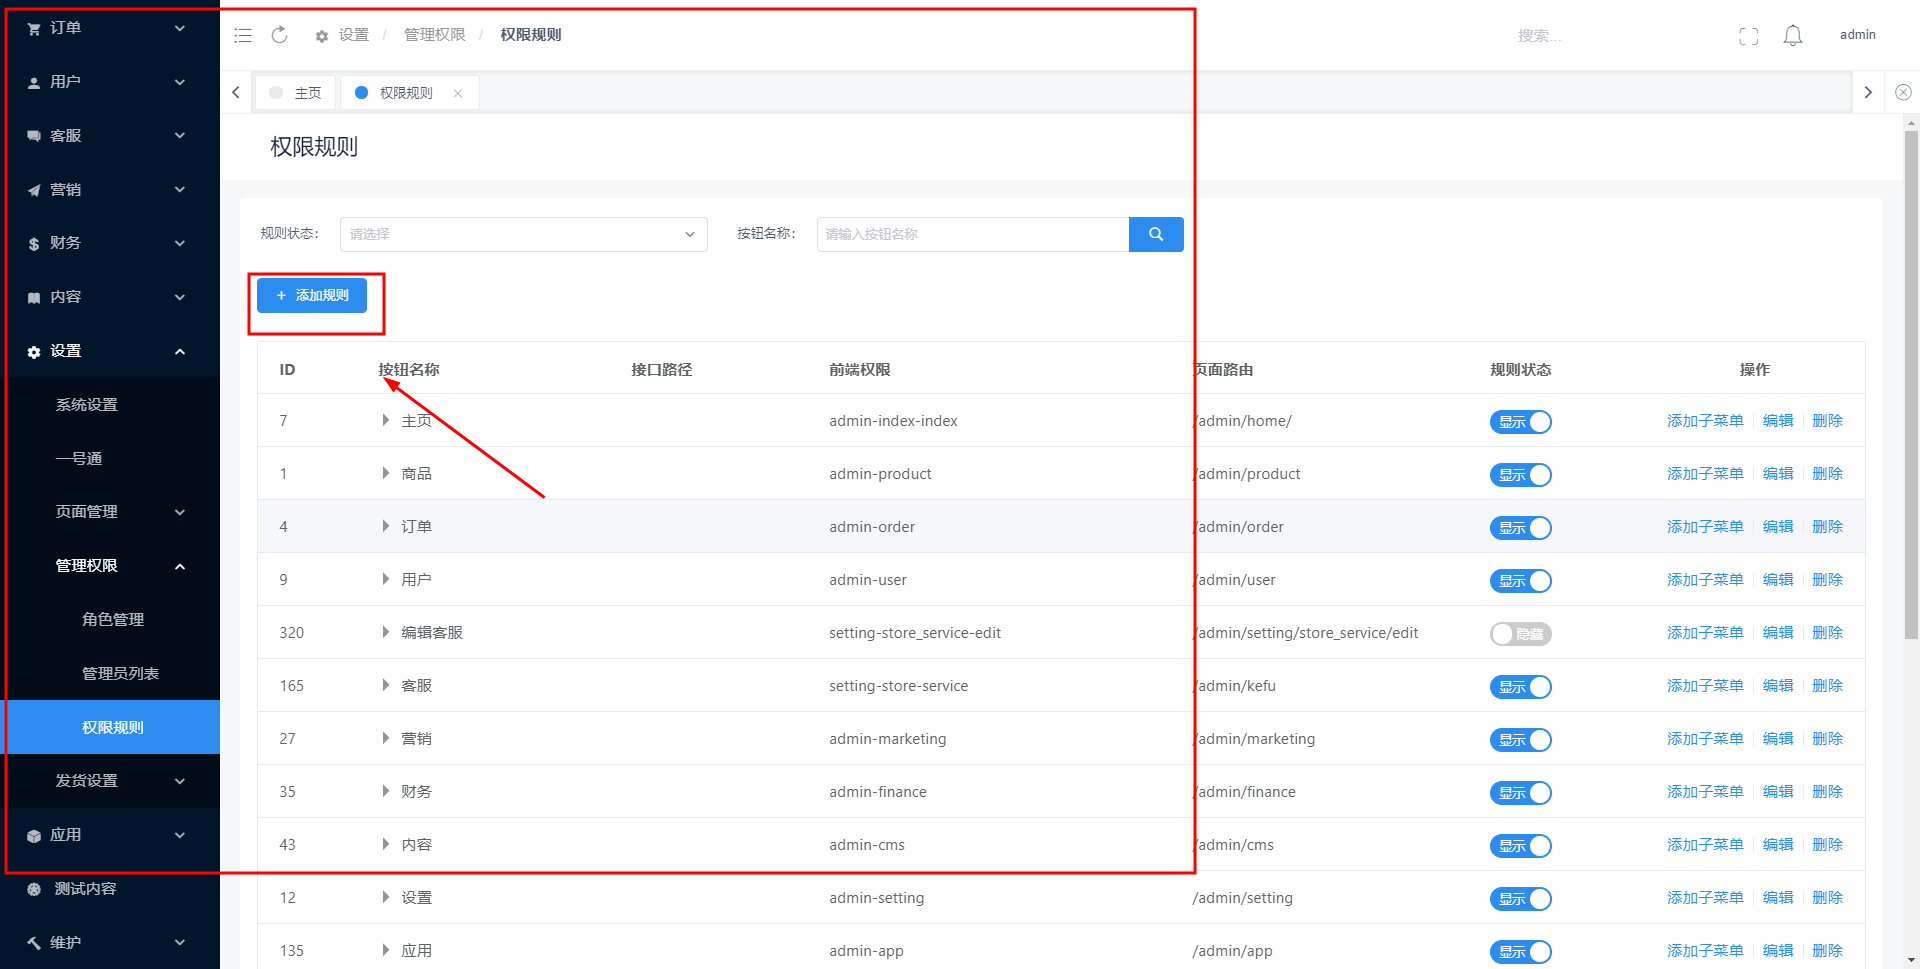
現在,給大家說說創建新頁面,新路由的過程,首先,打開設置,點擊管理許可權,打開許可權規則,我們要先新建一個規則
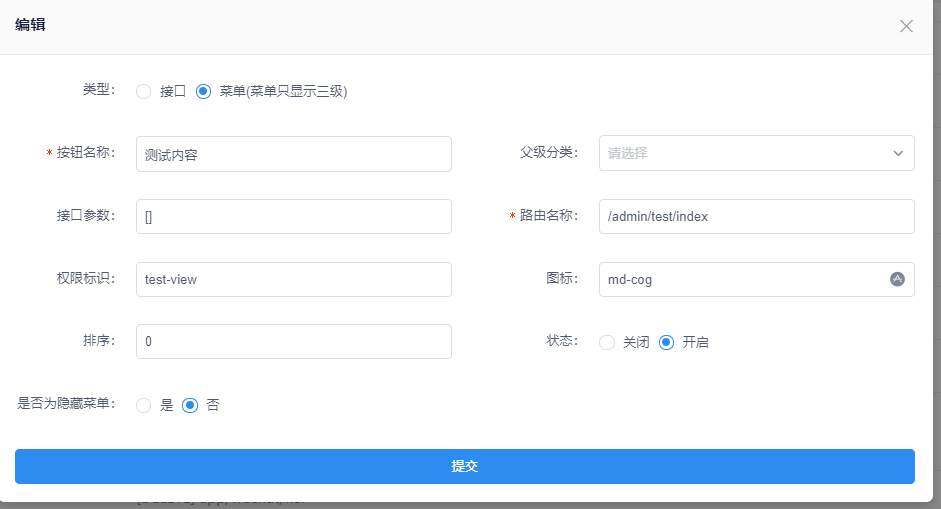
 設置好參數
 打開代碼,先創建好文件夾和文件

 再去router中創建test文件
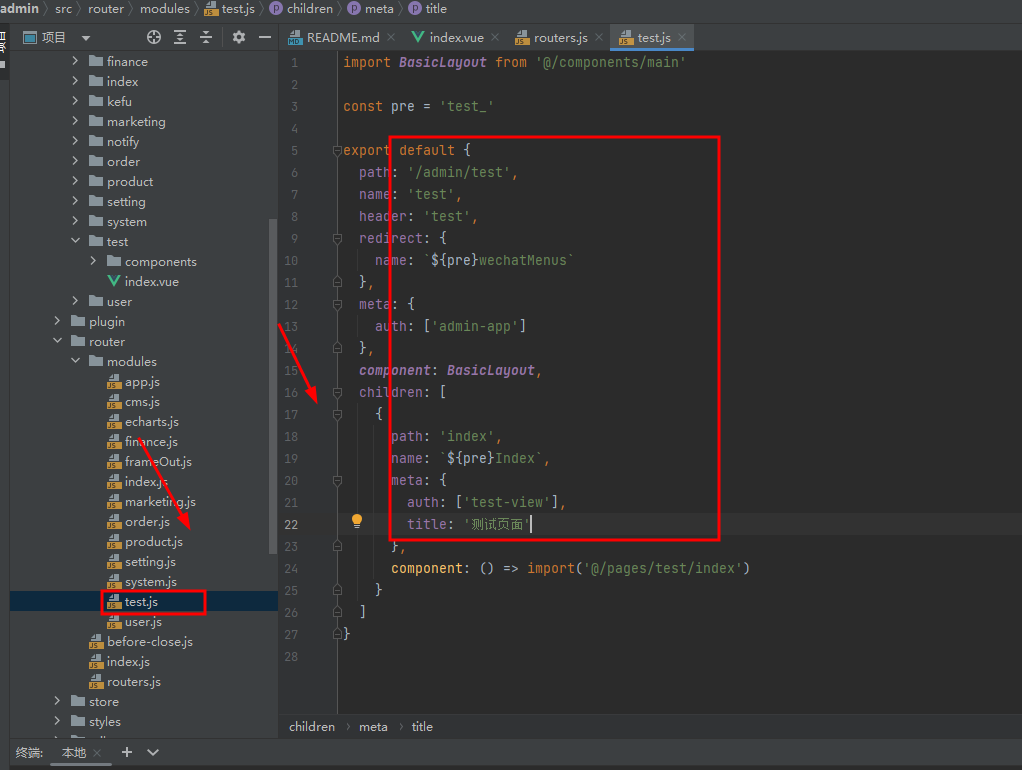
 內容如下,可做參考:

import BasicLayout from '@/components/main'

const pre = 'test_'

export default {
  path: '/admin/test',
  name: 'test',
  header: 'test',
  redirect: {
    name: `${pre}wechatMenus`
  },
  meta: {
    auth: ['admin-app']
  },
  component: BasicLayout,
  children: [
    {
      path: 'index',
      name: `${pre}Index`,
      meta: {
        auth: ['test-view'],
        title: '測試頁面'
      },
      component: () => import('@/pages/test/index')
    }
  ]
}

再在router.js中導入test,代碼如下:

import index from './modules/index'
import product from './modules/product'
import order from './modules/order'
import user from './modules/user'
// import echarts from './modules/echarts'
import setting from './modules/setting'
import finance from './modules/finance'
import cms from './modules/cms'
import marketing from './modules/marketing'
import app from './modules/app'
import system from './modules/system'
import BasicLayout from '@/components/main'
import frameOut from './modules/frameOut'
import test from './modules/test'
/**
 * 在主框架內顯示
 */

const frameIn = [
    {
        path: '/admin/',
        meta: {
            title: 'CRMEB'
        },
        redirect: {
            name: 'home_index'
        },
        component: BasicLayout,
        children: [
            // {
            //   path: '/admin/system/log',
            //   name: 'log',
            //   meta: {
            //     title: '前端日誌',
            //     auth: true
            //   },
            //   component: () => import('@/pages/system/log')
            // },
            {
                path: '/admin/system/user',
                name: `systemUser`,
                meta: {
                    auth: true,
                    title: '個人中心'
                },
                component: () => import('@/pages/setting/user/index')
            },
            // 刷新頁面 必須保留
            {
                path: 'refresh',
                name: 'refresh',
                hidden: true,
                component: {
                    beforeRouteEnter (to, from, next) {
                        next(instance => instance.$router.replace(from.fullPath))
                    },
                    render: h => h()
                }
            },
            // 頁面重定向 必須保留
            {
                path: 'redirect/:route*',
                name: 'redirect',
                hidden: true,
                component: {
                    beforeRouteEnter (to, from, next) {
                        // console.log(rom.params.route)
                        next(instance => instance.$router.replace(JSON.parse(from.params.route)))
                    },
                    render: h => h()
                }
            }
        ]
    },
    {
        path: '/admin/widget.images/index.html',
        name: `images`,
        meta: {
            auth: ['admin-user-user-index'],
            title: '上傳圖片'
        },
        component: () => import('@/components/uploadPictures/widgetImg')
    },
    {
        path: '/admin/widget.widgets/icon.html',
        name: `imagesIcon`,
        meta: {
            auth: ['admin-user-user-index'],
            title: '上傳圖標'
        },
        component: () => import('@/components/iconFrom/index')
    },
    {
        path: '/admin/store.StoreProduct/index.html',
        name: `storeProduct`,
        meta: {
            title: '選擇商品'
        },
        component: () => import('@/components/goodsList/index')
    },
    {
        path: '/admin/system.User/list.html',
        name: `changeUser`,
        meta: {
            title: '選擇用戶'
        },
        component: () => import('@/components/customerInfo/index')
    },
    {
        path: '/admin/widget.video/index.html',
        name: `video`,
        meta: {
            title: '上傳視頻'
        },
        component: () => import('@/components/uploadVideo/index')
    },
    index,
    cms,
    product,
    marketing,
    order,
    user,
    finance,
    setting,
    system,
    app,
    test
]

/**
 * 在主框架之外顯示
 */

const frameOuts = frameOut

/**
 * 錯誤頁面
 */

const errorPage = [
    {
        path: '/admin/403',
        name: '403',
        meta: {
            title: '403'
        },
        component: () => import('@/pages/system/error/403')
    },
    {
        path: '/admin/500',
        name: '500',
        meta: {
            title: '500'
        },
        component: () => import('@/pages/system/error/500')
    },
    {
        path: '/admin/*',
        name: '404',
        meta: {
            title: '404'
        },
        component: () => import('@/pages/system/error/404')
    }
]

// 導出需要顯示菜單的
export const frameInRoutes = frameIn

// 重新組織後導出
export default [
    ...frameIn,
    ...frameOuts,
    ...errorPage
]

之後還需要一步,因為路由是緩存下來的,需要清除了環境才能查看

如果對您有所幫助,歡迎您點個關註,我會定時更新技術文檔,大家一起討論學習,一起進路,下一篇寫如何解決各個模塊文件問題,和大家一起解析下各個模塊。


您的分享是我們最大的動力!

-Advertisement-
Play Games
更多相關文章
  • 更多技術交流、求職機會,歡迎關註位元組跳動數據平臺微信公眾號,回覆【1】進入官方交流群 摘要 位元組數據中台DataLeap的Data Catalog系統通過接收MQ中的近實時消息來同步部分元數據。Apache Atlas對於實時消息的消費處理不滿足性能要求,內部使用Flink任務的處理方案在ToB場景 ...
  • 2022 年 9 月 16 日,由中國信息通信研究院(以下簡稱“信通院”)主辦的“2022 OSCAR 開源產業大會"活動於北京成功舉辦。會上宣佈,StoneDB 發起廠商杭州石原子科技有限公司正式加入信通院“科技製造開源社區(TMOSC)”,未來石原子將與信通院及各成員單位一起聚焦可信開源全景,推 ...
  • 本篇為Redis性能問題診斷系列的第四篇,也是最後一篇,主要從應用程式、系統、伺服器硬體及網路系統等層面上進行講解,重點分享了哪些配置需要重點關註和調整優化,才能最大程度的發揮Redis的處理能力; ...
  • 一.起步 1.1 配置uni-app開發環境 什麼是uni-app,就是基於vue的一個開發框架,可以將我們寫的一套代碼,同時發佈到ios、安卓、小程式等多個平臺 ==官方推薦使用Hbuilderx來寫uni-app項目== 下載之後可以將預設改為vscode 進入hbuilder插件市場下載scs ...
  • 前端技術的發展不斷融入了很多後端的思想,逐步形成前端的 ”四個現代化“:工程化、模塊化、規範化、流程化。這個主題介紹 *模塊化* ,主要內容包括模塊化前傳(早期模塊化的實現)、模塊化的四個規範(Common JS、AMD、CMD、ESM)。本文就聊聊早期的模塊化。 ...
  • 現在的很多程式應用,基本上都是需要多端覆蓋,因此基於一個Web API的後端介面,來構建多端應用,如微信、H5、APP、WInForm、BS的Web管理端等都是常見的應用。本篇隨筆繼續分析總結一下項目開發的經驗,針對頁面組件化開發經驗方面進行一些梳理總結,內容包括組件的概念介紹,簡單頁面組件的抽取開... ...
  • 每日3題 1 以下代碼執行後,控制臺中的輸出內容為? // index.js console.log(1); import { sum } from "./sum.js"; console.log(sum(1, 2)); //sum.js console.log(2); export const s ...
  • 導讀:面對多種多樣的跨端訴求,有哪些跨端方案?跨端的本質是什麼?作為業務技術開發者,應該怎麼做?本文分享阿裡巴巴ICBU技術部在跨端開發上的一些思考,介紹了當前主流的跨端方案,以及跨端開發的經驗心得。 ...
一周排行
    -Advertisement-
    Play Games
  • 前言 在我們開發過程中基本上不可或缺的用到一些敏感機密數據,比如SQL伺服器的連接串或者是OAuth2的Secret等,這些敏感數據在代碼中是不太安全的,我們不應該在源代碼中存儲密碼和其他的敏感數據,一種推薦的方式是通過Asp.Net Core的機密管理器。 機密管理器 在 ASP.NET Core ...
  • 新改進提供的Taurus Rpc 功能,可以簡化微服務間的調用,同時可以不用再手動輸出模塊名稱,或調用路徑,包括負載均衡,這一切,由框架實現並提供了。新的Taurus Rpc 功能,將使得服務間的調用,更加輕鬆、簡約、高效。 ...
  • 順序棧的介面程式 目錄順序棧的介面程式頭文件創建順序棧入棧出棧利用棧將10進位轉16進位數驗證 頭文件 #include <stdio.h> #include <stdbool.h> #include <stdlib.h> 創建順序棧 // 指的是順序棧中的元素的數據類型,用戶可以根據需要進行修改 ...
  • 前言 整理這個官方翻譯的系列,原因是網上大部分的 tomcat 版本比較舊,此版本為 v11 最新的版本。 開源項目 從零手寫實現 tomcat minicat 別稱【嗅虎】心有猛虎,輕嗅薔薇。 系列文章 web server apache tomcat11-01-官方文檔入門介紹 web serv ...
  • C總結與剖析:關鍵字篇 -- <<C語言深度解剖>> 目錄C總結與剖析:關鍵字篇 -- <<C語言深度解剖>>程式的本質:二進位文件變數1.變數:記憶體上的某個位置開闢的空間2.變數的初始化3.為什麼要有變數4.局部變數與全局變數5.變數的大小由類型決定6.任何一個變數,記憶體賦值都是從低地址開始往高地 ...
  • 如果讓你來做一個有狀態流式應用的故障恢復,你會如何來做呢? 單機和多機會遇到什麼不同的問題? Flink Checkpoint 是做什麼用的?原理是什麼? ...
  • C++ 多級繼承 多級繼承是一種面向對象編程(OOP)特性,允許一個類從多個基類繼承屬性和方法。它使代碼更易於組織和維護,並促進代碼重用。 多級繼承的語法 在 C++ 中,使用 : 符號來指定繼承關係。多級繼承的語法如下: class DerivedClass : public BaseClass1 ...
  • 前言 什麼是SpringCloud? Spring Cloud 是一系列框架的有序集合,它利用 Spring Boot 的開發便利性簡化了分散式系統的開發,比如服務註冊、服務發現、網關、路由、鏈路追蹤等。Spring Cloud 並不是重覆造輪子,而是將市面上開發得比較好的模塊集成進去,進行封裝,從 ...
  • class_template 類模板和函數模板的定義和使用類似,我們已經進行了介紹。有時,有兩個或多個類,其功能是相同的,僅僅是數據類型不同。類模板用於實現類所需數據的類型參數化 template<class NameType, class AgeType> class Person { publi ...
  • 目錄system v IPC簡介共用記憶體需要用到的函數介面shmget函數--獲取對象IDshmat函數--獲得映射空間shmctl函數--釋放資源共用記憶體實現思路註意 system v IPC簡介 消息隊列、共用記憶體和信號量統稱為system v IPC(進程間通信機制),V是羅馬數字5,是UNI ...