好家伙,本篇介紹敵機 好了,按照慣例我們來理一下思路: 我們有一個敵機類,第一步當然是實例一個敵機對象, 然後我們把這個敵機放入我們的敵機群(敵機數組) 然後是熟悉的移動和繪製 那我們回顧一下子彈的生成邏輯 變數: 子彈 bullet 彈夾(用來裝子彈的東西)bulletList[] 方法:裝填子彈 ...
好家伙,本篇介紹敵機
好了,按照慣例我們來理一下思路:
我們有一個敵機類,第一步當然是實例一個敵機對象,
然後我們把這個敵機放入我們的敵機群(敵機數組)
然後是熟悉的移動和繪製
那我們回顧一下子彈的生成邏輯
變數: 子彈 bullet 彈夾(用來裝子彈的東西)bulletList[]
方法:裝填子彈 繪製子彈 移動子彈
子彈發射的物理邏輯是很簡單的:
生產第一個子彈,推入彈夾中,繪製彈夾(即繪製彈夾中的所有子彈),
生產第二個子彈,同樣推入彈夾,移動第一顆子彈(應該說是改變第一顆子彈的y坐標),繪製彈夾中的所有子彈
。。。。。。
生產第n個子彈,推入彈夾中,改變第n-1顆子彈的Y坐標,繪製彈夾中的所有子彈
有沒有感覺到兩者邏輯的相似之處
(像啊,太像了)

子彈和敵機的處理,本質上是用的是同一套邏輯
那麼,開始幹活:
1.配置項
這裡我們會用到兩種類型的配置項E1和E2
(因為我們有兩種類型的敵人,大敵機和小敵機,其中e1為小敵機(血少),e2為大敵機(血厚))
先設置一個數組存放圖片資源
//e1用於存放小敵機的圖片素材
        const e1 = {
            live: [],
            death: [],
        }
        e1.live[0] = new Image();
        e1.live[0].src = "img/enemy1.jpg"
        e1.death[0] = new Image();
        e1.death[0].src = "img/enemy1_boom1.jpg"
        e1.death[1] = new Image();
        e1.death[1].src = "img/enemy1_boom2.jpg"
        e1.death[2] = new Image();
        e1.death[2].src = "img/enemy1_boom3.jpg"

        //e2用於存放小敵機的圖片素材
        const e2 = {
            live: [],
            death: [],
        }
        e2.live[0] = new Image();
        e2.live[0].src = "img/enemy2.jpg"
        e2.death[0] = new Image();
        e2.death[0].src = "img/enemy2_boom1.jpg"
![]()


(圖片素材來自網路)
2.敵機配置項
//小敵機
        const E1 = {
            type: 1,
            width: 57,
            height: 51,
            life: 1, //少點血,一下打死
            score: 1,
            frame: e1,
            minSpeed: 20,
            maxSpeed: 10,
        }
        //大敵機
        const E2 = {
            type: 2,
            width: 69,
            height: 95,
            life: 2,
            frame: e2,
            minSpeed: 50,
            maxSpeed: 20,
        }
minSpeed: 50,
maxSpeed: 20,
值得說明一下,這兩個玩意是為了弄敵機的隨機速度(更刺激一點,但實際上好像沒什麼感覺)
關於如何弄到一個”隨機速度“,接著往下看
3.敵機類
class Enemy {

            constructor(config) {
                //敵機類型
                this.type = config.type;
                //敵機寬,高
                this.width = config.width;
                this.height = config.height;
                //敵機的初始化位置
                this.x = Math.floor(Math.random() * (480 - config.width));
                //這裡我們讓飛機從頭部開始渲染,所以Y軸坐標自然是飛機高度的負值
                this.y = -config.height;
                //敵機生命
                this.life = config.life;
                //敵機分數
                this.score = config.score;
                //敵機圖片庫
                this.frame = config.frame;
                //此刻展示的圖片
                this.img = null;
                //活著的證明
                this.live = true;
                // this.minSpeed = config.minSoeed;
                // this.maxSpeed = config.speed;
                //隨機去生成一個速度
                this.speed = Math.floor(Math.random() * (config.minSpeed - config.maxSpeed + 1)) + config.maxSpeed;
                //最後渲染的時間
                this.lastTime = new Date().getTime();

            }
            //移動敵機
            move() {
                const currentTime = new Date().getTime();
                //

                if (currentTime - this.lastTime >= this.speed) {
                    // console.log("此處為this.frame"+this.frame.live[0]);
                    this.img = this.frame.live[0];
                    this.y++;
                    //時間修正
                    this.lastTime = currentTime;
                }
            }

            //渲染敵機方法
            paint(context) {
                // console.log("此處為this.img"+this.img);
                if(this.img !=null){
                    context.drawImage(this.img, this.x, this.y);
                }

            }
        }
3.1.隨機速度
先淺淺的說明一下
隨機數方法 Math.random
這玩意會在[0,1)也就是在0到1之間取一個值
然後問題來了,這是一個半開半閉區間,也就是說它會取到0但是不會取到1
this.speed = Math.floor(Math.random() * (config.minSpeed - config.maxSpeed + 1)) + config.maxSpeed;
在這裡我們要取的是一個10到20之間的速度由於我們向下取整
Math.floor(Math.random() * (config.minSpeed - config.maxSpeed )) + config.maxSpeed;
必然只能取得10-19之間的數
於是我們在(config.minSpeed - config.maxSpeed )中加一
變成(Math.random() * (config.minSpeed - config.maxSpeed +1))
(聰明的你一定能很快想明白,而愚蠢的我想了很久才想明白)
3.2.敵機的移動方法
move() {
                const currentTime = new Date().getTime();
                //

                if (currentTime - this.lastTime >= this.speed) {
                    // console.log("此處為this.frame"+this.frame.live[0]);
                    this.img = this.frame.live[0];
                    this.y++;
                    //時間修正
                    this.lastTime = currentTime;
                }
            }
移動同樣的用時間判定的方式去控制速率
現在和過去的時間差大於速度,更新地址
3.3.渲染方法
paint(context) {
                // console.log("此處為this.img"+this.img);
                if(this.img !=null){
                    context.drawImage(this.img, this.x, this.y);
                }

            }
嗯,非常好理解了,多加的一個if是為了防止出現空img導致報錯
4.全局函數(生產敵機)
//以下三項均為全局變數
        const enemies = [];
        //敵機產生的速率
        const ENEMY_CREATE_INTERVAL = 2000;
        let ENEMY_LASTTIME = new Date().getTime();

        //全局函數 用於生產敵機
        function createComponent() {
            const currentTime = new Date().getTime();
            const forenemyTime = new Date().getTime();

            //一手經典判斷
            if (currentTime - ENEMY_LASTTIME >= ENEMY_CREATE_INTERVAL) {
                //當時間滿足 實例化一架敵機 放入敵機數組中
                // 小飛機 70% 中飛機30%
                //用隨機數去弄概率
                //[0,99]
                //Math.random()=>[0,1)*100
                //EnemyTypeRandom產生的隨機數用於判斷產生不同的飛機
                let EnemyTypeRandom = Math.floor(Math.random() * 100);
                if (EnemyTypeRandom > 70) {
                    enemies.push(new Enemy(E1));
                } else if (EnemyTypeRandom < 30) {
                    enemies.push(new Enemy(E2));
                }
                console.log(enemies);
                //更新時間
                ENEMY_LASTTIME = currentTime;
            }
        }
這裡同樣的,我們用隨機數去控制出現大/小敵機的概率
(E1,E2分別是大小敵機的配置項)
let EnemyTypeRandom = Math.floor(Math.random() * 100);
                if (EnemyTypeRandom > 70) {
            //產小敵機
                    enemies.push(new Enemy(E1));
                } else if (EnemyTypeRandom < 30) {
            //產大敵機
                    enemies.push(new Enemy(E2));
                }
你細品,這個控制得還是非常巧妙的
5.全局函數渲染
到這裡就非常簡單了
這裡也揭開了前面的謎底
因為敵機生成和子彈生成的邏輯太過相似
所以我們把他們放到同一個全局函數是一個非常明智的選擇
//全局函數 來移動所有的子彈/敵人組件
        function judgeComponent() {
            console.log("judge被觸發");
            for (let i = 0; i < hero.bulletList.length; i++) {
                hero.bulletList[i].move();
            }
            for(let i=1;i<enemies.length;i++){
                enemies[i].move();
            }
        }
        //全局函數 來繪製所有的子彈/敵人組件
        function paintComponent() {
            for (let i = 0; i < hero.bulletList.length; i++) {
                hero.bulletList[i].paint(context);
            }
            for(let i=1;i<enemies.length;i++){
                enemies[i].paint(context);
            }
        }
6.方法調用
case RUNNING:
                        sky.judge();
                        sky.paint(context);
                        //載入主角

                        hero.paint(context);
                        hero.shoot();
                        createComponent();
                        //子彈發射
                        judgeComponent();
                        paintComponent();
                        deleteComponent();
                        // context.drawImage(hero_frame.live[0], 0, 0);
                        break;
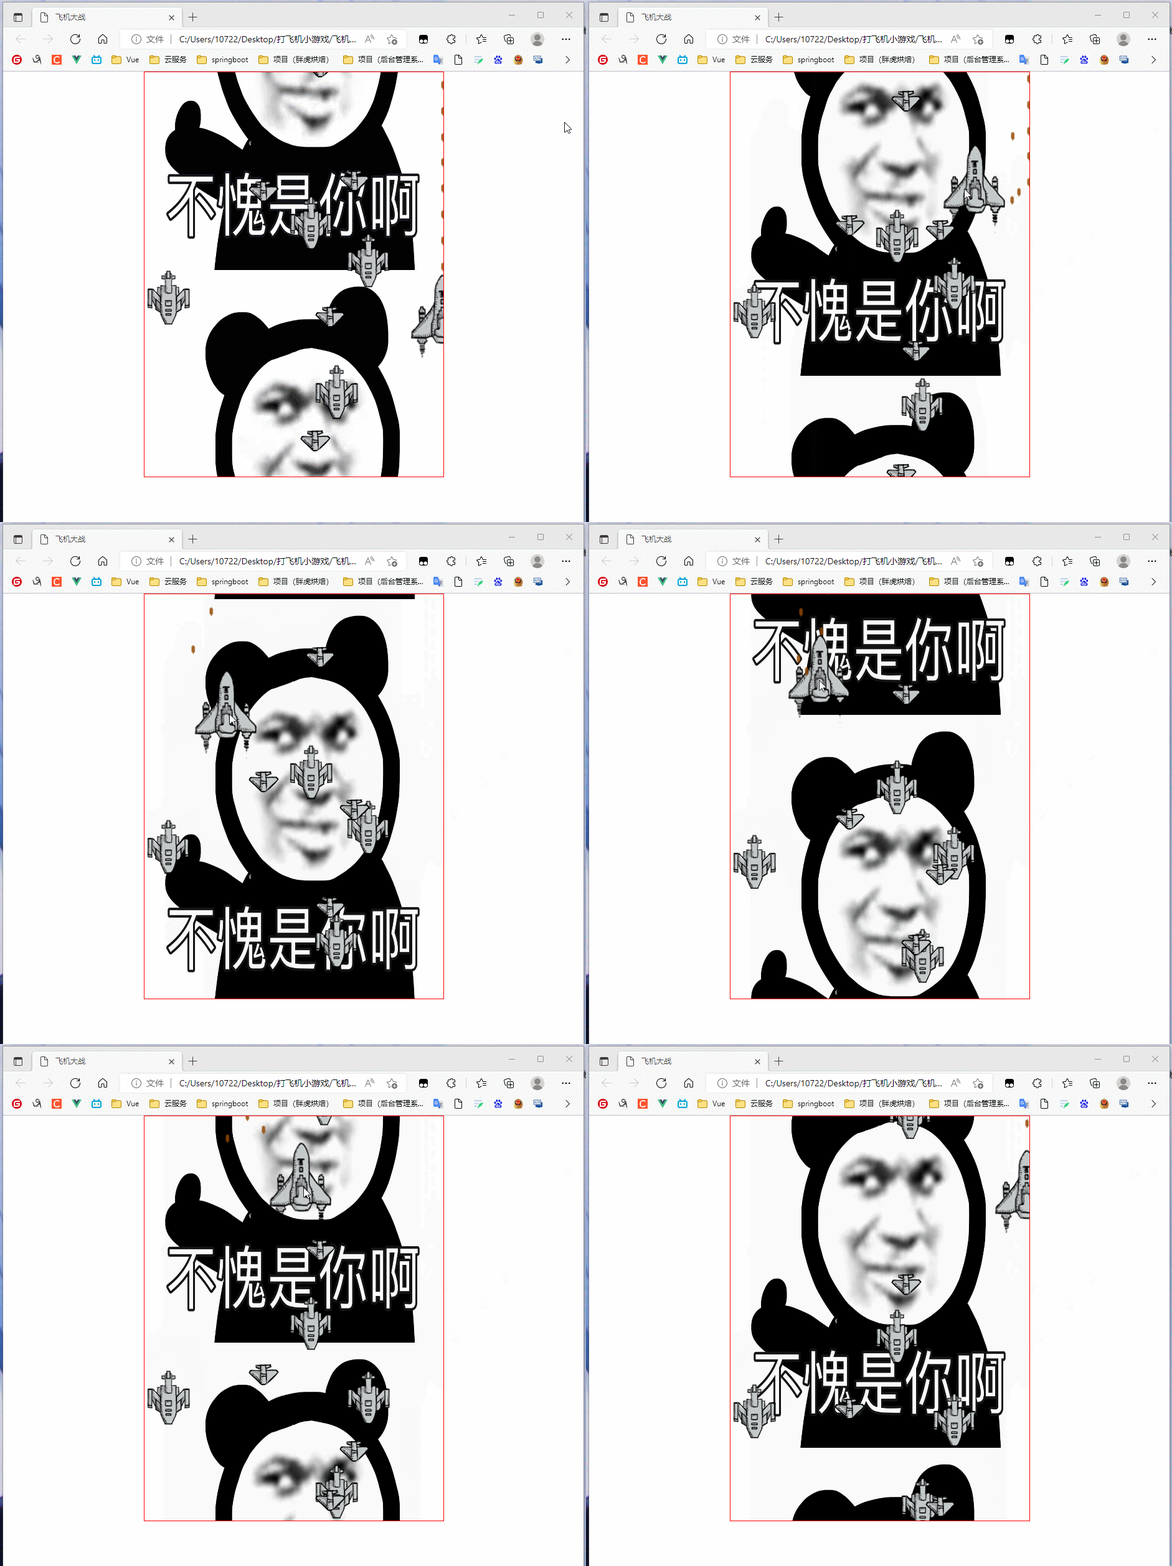
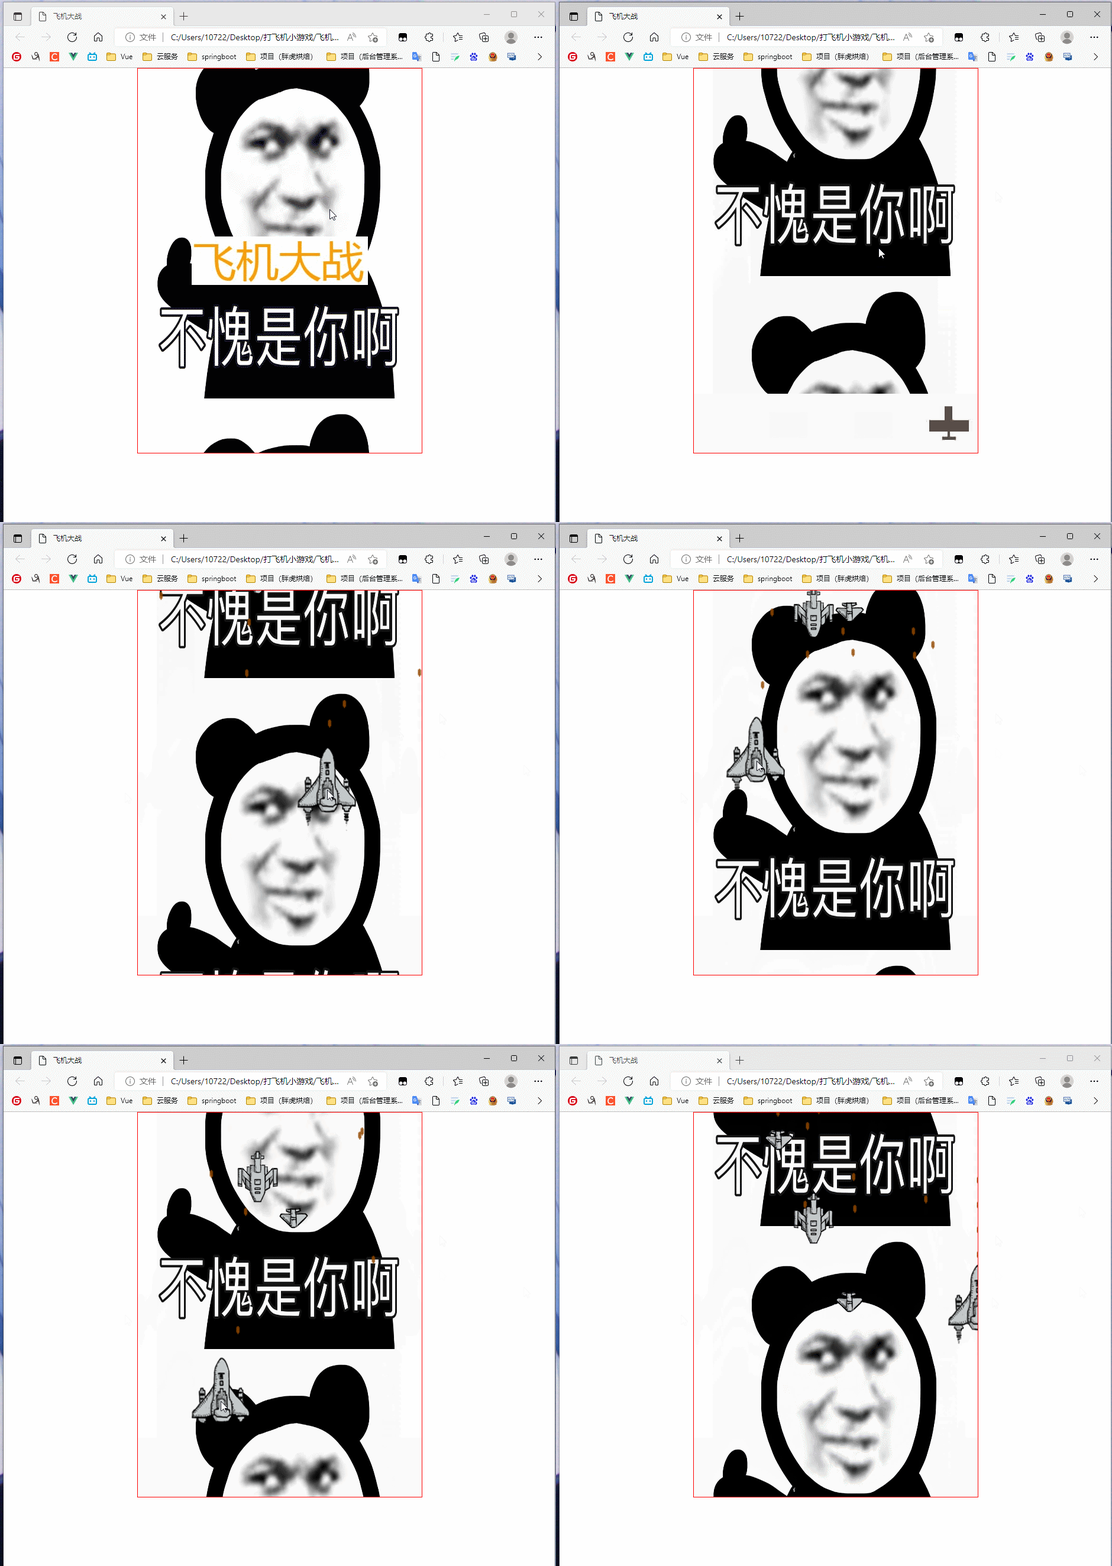
ok,來看看效果吧:

確實是非常地nice啊


