
hibernate框架屬於dao層,類似dbutils的作用,是一款ORM(對象關係映射)操作 使用hibernate框架好處是:操作資料庫不需要寫SQL語句,使用面向對象的方式完成 這裡使用eclipse工具搭建: 官網下載:https://sourceforge.net/projects/hib ...
hibernate框架屬於dao層,類似dbutils的作用,是一款ORM(對象關係映射)操作
使用hibernate框架好處是:操作資料庫不需要寫SQL語句,使用面向對象的方式完成
這裡使用eclipse工具搭建:
官網下載:https://sourceforge.net/projects/hibernate/files/hibernate-orm/5.0.7.Final/
下載.zip文件後解壓:
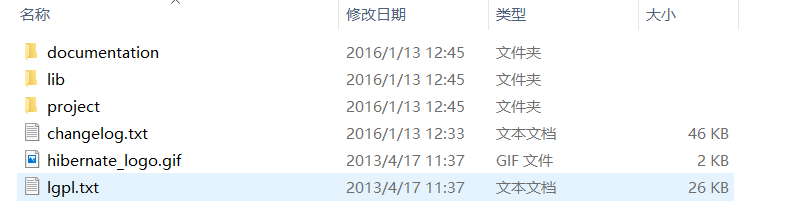
lib文件夾下的required文件夾內的jar包為必須包:
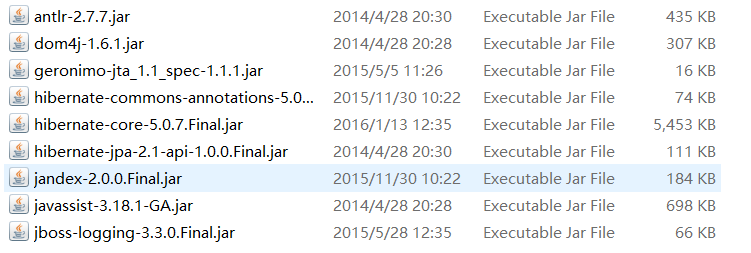
另外還需要MySQL的驅動包:
mysql-connector-java-5.1.7-bin.jar
放入WEB-INFO的lib中:
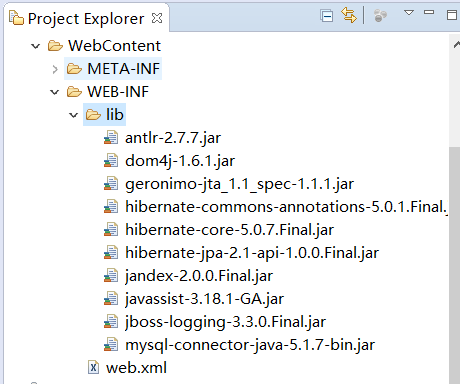
導入包完成:
導入約束:
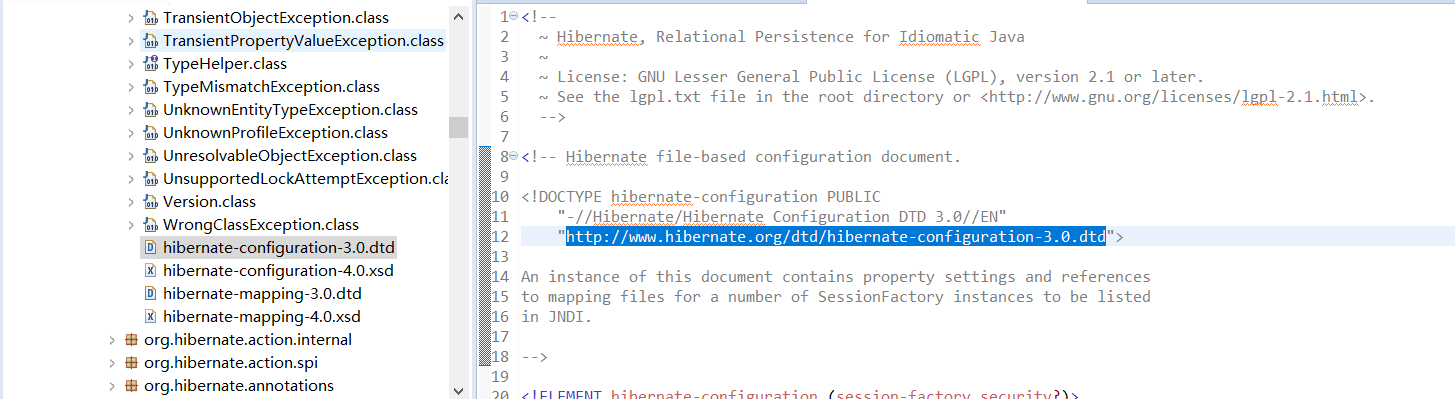
複製這裡的dtd文件以及文件中的這一行:
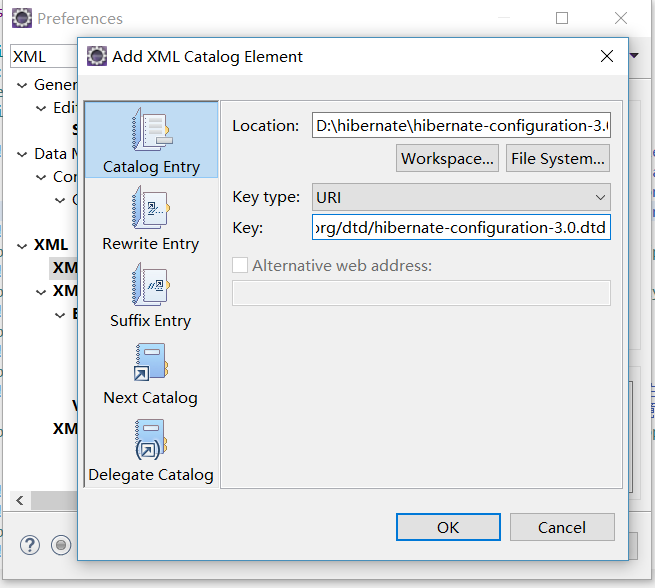
上邊是文件路徑,下邊粘貼複製的那一行
資料庫創建一個表,做示例:
CREATE TABLE `cst_customer` (
      `cust_id` BIGINT(32) NOT NULL AUTO_INCREMENT COMMENT '客戶編號(主鍵)',
      `cust_name` VARCHAR(32) NOT NULL COMMENT '客戶名稱(公司名稱)',
      `cust_source` VARCHAR(32) DEFAULT NULL COMMENT '客戶信息來源',
      `cust_industry` VARCHAR(32) DEFAULT NULL COMMENT '客戶所屬行業',
      `cust_level` VARCHAR(32) DEFAULT NULL COMMENT '客戶級別',
      `cust_linkman` VARCHAR(64) DEFAULT NULL COMMENT '聯繫人',
      `cust_phone` VARCHAR(64) DEFAULT NULL COMMENT '固定電話',
      `cust_mobile` VARCHAR(16) DEFAULT NULL COMMENT '行動電話',
      PRIMARY KEY (`cust_id`)
    ) ENGINE=INNODB AUTO_INCREMENT=1 DEFAULT CHARSET=utf8;
src下新建一個domain實體包:
Customer類:


package domain;

public class Customer {

    private Long cust_id;
    private String cust_name;
    private String cust_source;
    private String cust_industry;
    private String cust_level;
    private String cust_linkman;
    private String cust_phone;
    private String cust_mobile;
    public Long getCust_id() {
        return cust_id;
    }
    public void setCust_id(Long cust_id) {
        this.cust_id = cust_id;
    }
    public String getCust_name() {
        return cust_name;
    }
    public void setCust_name(String cust_name) {
        this.cust_name = cust_name;
    }
    public String getCust_source() {
        return cust_source;
    }
    public void setCust_source(String cust_source) {
        this.cust_source = cust_source;
    }
    public String getCust_industry() {
        return cust_industry;
    }
    public void setCust_industry(String cust_industry) {
        this.cust_industry = cust_industry;
    }
    public String getCust_level() {
        return cust_level;
    }
    public void setCust_level(String cust_level) {
        this.cust_level = cust_level;
    }
    public String getCust_linkman() {
        return cust_linkman;
    }
    public void setCust_linkman(String cust_linkman) {
        this.cust_linkman = cust_linkman;
    }
    public String getCust_phone() {
        return cust_phone;
    }
    public void setCust_phone(String cust_phone) {
        this.cust_phone = cust_phone;
    }
    public String getCust_mobile() {
        return cust_mobile;
    }
    public void setCust_mobile(String cust_mobile) {
        this.cust_mobile = cust_mobile;
    }
    @Override
    public String toString() {
        return "Customer [cust_id=" + cust_id + ", cust_name=" + cust_name + "]";
    }
}
View Code
在domain包中,需要配置文件:Customer.hbm.xml
配置的具體參數含義後邊再講:
<?xml version="1.0" encoding="UTF-8"?>
<!DOCTYPE hibernate-mapping PUBLIC
    "-//Hibernate/Hibernate Mapping DTD 3.0//EN"
    "http://www.hibernate.org/dtd/hibernate-mapping-3.0.dtd">
   <!-- 配置表與實體對象的關係 -->
<hibernate-mapping>
    <class name="domain.Customer" table="cst_customer" >
        <id name="cust_id"  >
            <!-- generator:主鍵生成策略 -->
            <generator class="native"></generator>
        </id>
        <property name="cust_name" column="cust_name" ></property>
        <property name="cust_source" column="cust_source" ></property>
        <property name="cust_industry" column="cust_industry" ></property>
        <property name="cust_level" column="cust_level" ></property>
        <property name="cust_linkman" column="cust_linkman" ></property>
        <property name="cust_phone" column="cust_phone" ></property>
        <property name="cust_mobile" column="cust_mobile" ></property>
    </class>
</hibernate-mapping>
核心配置文件:src目錄下:
hibernate.cfg.xml(註意名字不能改)
這裡沒有寫註釋的在後邊詳細介紹
<?xml version="1.0" encoding="UTF-8"?>
<!DOCTYPE hibernate-configuration PUBLIC
    "-//Hibernate/Hibernate Configuration DTD 3.0//EN"
    "http://www.hibernate.org/dtd/hibernate-configuration-3.0.dtd">
<hibernate-configuration>
    <session-factory>
        <!-- 資料庫驅動 -->
        <property name="hibernate.connection.driver_class">com.mysql.jdbc.Driver</property>
        <!-- 資料庫url -->
        <property name="hibernate.connection.url">jdbc:mysql:///hibernate</property>
        <!-- 資料庫連接用戶名 -->
        <property name="hibernate.connection.username">root</property>
        <!-- 資料庫連接密碼 -->
        <property name="hibernate.connection.password">xuyiqing</property>

        <property name="hibernate.dialect">org.hibernate.dialect.MySQLDialect</property>
        <!-- 將hibernate生成的sql語句列印到控制台 -->
        <property name="hibernate.show_sql">true</property>
        <!-- 將hibernate生成的sql語句格式化(語法縮進) -->
        <property name="hibernate.format_sql">true</property>

        <property name="hibernate.hbm2ddl.auto">update</property>
        <!-- 引入orm元數據 路徑書寫: 填寫src下的路徑 -->
        <mapping resource="domain/Customer.hbm.xml" />

    </session-factory>
</hibernate-configuration>
好,到這裡配置文件完成:
書寫代碼測試:
package test;

import org.hibernate.Session;
import org.hibernate.SessionFactory;
import org.hibernate.Transaction;
import org.hibernate.cfg.Configuration;
import org.junit.Test;

import domain.Customer;

//測試Hibernate框架
public class Demo {

    @Test
    //保存
    public void function1(){
        Configuration conf = new Configuration().configure();
        SessionFactory sessionFactory = conf.buildSessionFactory();
        Session session = sessionFactory.openSession();
        Transaction tx = session.beginTransaction();

        Customer customer = new Customer();
        customer.setCust_name("騰訊");
        session.save(customer);

        tx.commit();
        session.close();
        sessionFactory.close();
    }
}
結果:
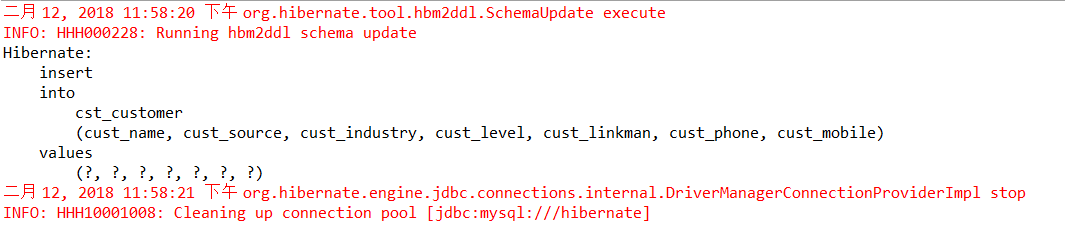
查看資料庫,成功添加一條新數據
搭建測試完畢

