前言 一款不錯的代碼質量管理工具Sonar 前期準備 官方參考文檔 https://docs.sonarqube.org/display/SONAR/Documentation 軟體下載 https://www.sonarqube.org/downloads/ https://dev.mysql.c ...
前言 一款不錯的代碼質量管理工具Sonar 前期準備 官方參考文檔 https://docs.sonarqube.org/display/SONAR/Documentation 軟體下載 https://www.sonarqube.org/downloads/ https://dev.mysql.com/downloads/mysql/ 硬體環境(在官方參考文檔有提出硬體規格,如下只是測試環境) 磁碟 ->16G 記憶體 ->2G CPU -> 2core 軟體環境 OS -> Red Hat Enterprise 6.5 DB -> Mysql 5.7 Sonar -> SonarQube 6.7.1 (LTS *) IP -> 192.168.1.59 Host -> t-xi-sonar01 系統初始化 關閉selinux和防火牆 [root@t-xi-sonar01 ~]# vi /etc/selinux/config SELINUX=disabled [root@t-xi-sonar01 ~]# chkconfig iptables off&&chkconfig ip6tables off&&service iptables stop&&service ip6tables stop [root@t-xi-sonar01 ~]# vi /etc/hosts 192.168.1.59 t-xi-sonar01 配置Yum源,我這裡配置了web站點,所以指定了http地址. [root@t-xi-sonar01 ~]# cat /etc/yum.repos.d/rhel-source.repo [rhel-source] name=Red Hat Enterprise Linux $releasever - $basearch - Source baseurl=http://192.168.1.51/redhat6.5/Server enabled=1 gpgcheck=0 也可以使用ios鏡像進行配置yum源 [root@t-xi-orc01 ~]# mount -o loop /u01/rhel-server-6.5-x86_64-dvd.iso /u01/http/redhat6.5 [root@t-xi-orc01 ~]# cat /etc/yum.repos.d/rhel-source.repo [Server] name=Red Hat Enterprise Linux $releasever - $basearch - Server baseurl=file:///u01/http/redhat6.5/Server enabled=1 gpgcheck=0 gpgkey=file:///etc/pki/rpm-gpg/RPM-GPG-KEY-redhat-release 系統內核優化(參考文檔中有)
 [root@t-xi-sonar01 ~]# vi /etc/sysctl.conf
            #add sonar
  vm.max_map_count = 262144
  fs.file-max = 65536

[root@t-xi-sonar01 ~]# vi /etc/security/limits.conf
    #add sonar
    sonarqube   -   nofile   65536
    sonarqube   -   nproc    2048

sysctl -w vm.max_map_count=262144
sysctl -w fs.file-max=65536
ulimit -n 65536
ulimit -u 2048
安裝Mysql資料庫
首先移除原有mysql-libs-5.1.71-1.el6.x86_64包,但它依賴postfix。 [root@t-xi-sonar01 ~]# yum remove postfix [root@t-xi-sonar01 ~]# rpm -e mysql-libs-5.1.71-1.el6.x86_64 安裝下載的Mysql 5.7 [root@t-xi-sonar01 ~]# rpm -ivh mysql-community-client-5.7.20-1.el6.x86_64.rpm rpm -ivh mysql-community-common-5.7.20-1.el6.x86_64.rpm rpm -ivh mysql-community-devel-5.7.20-1.el6.x86_64.rpm rpm -ivh mysql-community-embedded-5.7.20-1.el6.x86_64.rpm rpm -ivh mysql-community-embedded-devel-5.7.20-1.el6.x86_64.rpm rpm -ivh mysql-community-libs-5.7.20-1.el6.x86_64.rpm rpm -ivh mysql-community-libs-compat-5.7.20-1.el6.x86_64.rpm rpm -ivh mysql-community-server-5.7.20-1.el6.x86_64.rpm 優化Mysql資料庫參數[root@t-xi-sonar01 ~]# vi /etc/my.cnf query_cache_size=8M innodb_buffer_pool_size=1152M innodb_log_file_size=256M innodb_log_buffer_size=4M innodb_flush_log_at_trx_commit=2 innodb_thread_concurrency=8 innodb_flush_method=O_DIRECT transaction-isolation=READ-COMMITTED thread_cache_size=4 slow_query_log=on slow-query-log-file=mysqld-slow.log long_query_time=10 explicit_defaults_for_timestamp=true skip-character-set-client-handshake collation-server=utf8_unicode_ci character-set-server=utf8
啟動資料庫,此時資料庫會生成臨時密碼
[root@t-xi-sonar01 ~]# service mysqld start 啟動時要隨時關註mysql資料庫產生的日誌記錄 [root@t-xi-sonar01 ~]# tail -f /var/log/mysqld.log 查看臨時密碼 [root@t-xi-sonar01 ~]#grep 'temporary password' /var/log/mysqld.log 2017-12-26T10:37:57.842981Z 1 [Note] A temporary password is generated for root@localhost: cSj&aPfkS60w 登陸並且更新密碼 [root@t-xi-sonar01 ~]#mysql -uroot -p mysql>ALTER USER 'root'@'localhost' IDENTIFIED BY '******'; mysql>FLUSH PRIVILEGES; 將mysql資料庫設定為自啟動 [root@t-xi-sonar01 ~]# chkconfig mysqld on 創建Sonar賬戶和資料庫 [root@t-xi-sonar01 ~]#useradd sonar [root@t-xi-sonar01 ~]#passwrd sonar [root@t-xi-sonar01 ~]#mysql -uroot -p mysql>create user 'sonar'@'localhost' identified by 'sonar'; mysql>CREATE DATABASE sonar DEFAULT CHARACTER SET utf8 DEFAULT COLLATE utf8_general_ci; mysql>GRANT ALL PRIVILEGES ON sonar.* TO 'sonar'@'localhost'; mysql>FLUSH PRIVILEGES; 安裝Sonar軟體 [root@t-xi-sonar01 ~]# unzip sonarqube-6.7.1.zip [root@t-xi-sonar01 ~]# mv sonarqube-6.7.1 /etc/sonarqube [root@t-xi-sonar01 ~]# chown -R sonar.sonar /etc/sonarqube 註意:sonarqube後面啟動 ./sonar.sh start時不能使用root賬戶,es.log報錯信息 2017.12.27 13:59:30 ERROR es[][o.e.b.Bootstrap] Exception java.lang.RuntimeException: can not run elasticsearch as root 切換到Sonar賬戶 [sonar@t-xi-sonar01 sonarqube]$ [root@t-xi-sonar01 sonarqube]# su - sonar [sonar@t-xi-sonar01 ~]$ cd /etc/sonarqube/ 查看/etc/sonarqube目錄樹(主要的三個,可以查看參考文檔)bin ->軟體運行目錄 conf -> 軟體配置目錄 COPYING data elasticsearch extensions lib logs ->軟體運行日誌目錄 temp web
配置軟體參數
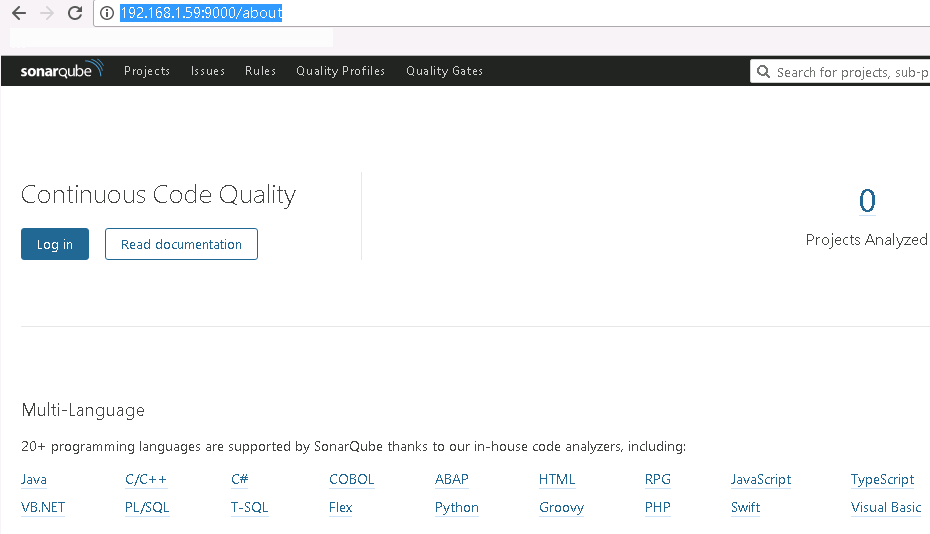
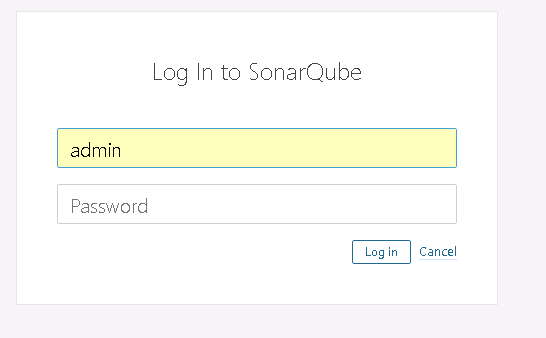
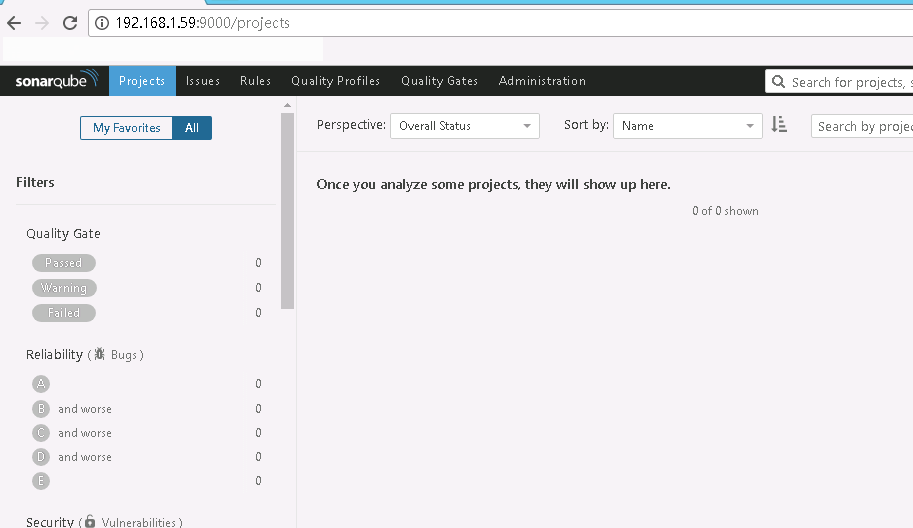
[sonar@t-xi-sonar01 sonarqube]$ cat conf/sonar.properties|grep -v '^#'|grep -v '^$'|grep -v '=$'sonar.jdbc.username=sonar sonar.jdbc.password=sonar註意Sonar Web訪問預設地址為9000,賬戶admin/admin 啟動Sonar軟體 [sonar@t-xi-sonar01 sonarqube]$ bin/linux-x86-64/sonar.sh start 註意查看logs/es.log 和logs/sonar.log兩個日誌文件 [sonar@t-xi-sonar01 sonarqube]$ less logs/es.log [sonar@t-xi-sonar01 sonarqube]$ less logs/sonar.log 訪問Sonar http://192.168.1.59:9000
sonar.jdbc.url=jdbc:mysql://localhost:3306/sonar?useUnicode=true&characterEncoding=utf8&rewriteBatchedStatements=true&useConfigs=maxPerformance&useSSL=false