在上一篇的EF之DB First中,存在以下的兩個問題: 1. 添加/編輯頁面顯示的是屬性名稱,而非自定義的名稱(如:姓名、專業...) 2. 添加/編輯時沒有加入驗證 3. 數據展示使用分頁 @Html.LabelFor(model => model.Name, htmlAttributes: n ...
在上一篇的EF之DB First中,存在以下的兩個問題:
1. 添加/編輯頁面顯示的是屬性名稱,而非自定義的名稱(如:姓名、專業...)
2. 添加/編輯時沒有加入驗證
3. 數據展示使用分頁
@Html.LabelFor(model => model.Name, htmlAttributes: new { @class = "control-label col-md-2" }) 是顯示屬性Name的“標簽”,如果沒有指定Display特性,則直接顯示屬性名Name
通用資料庫生成的實體模型文件與代碼一般不直接修改(防止下次生成時覆蓋),這裡要使用驗證與實體分離
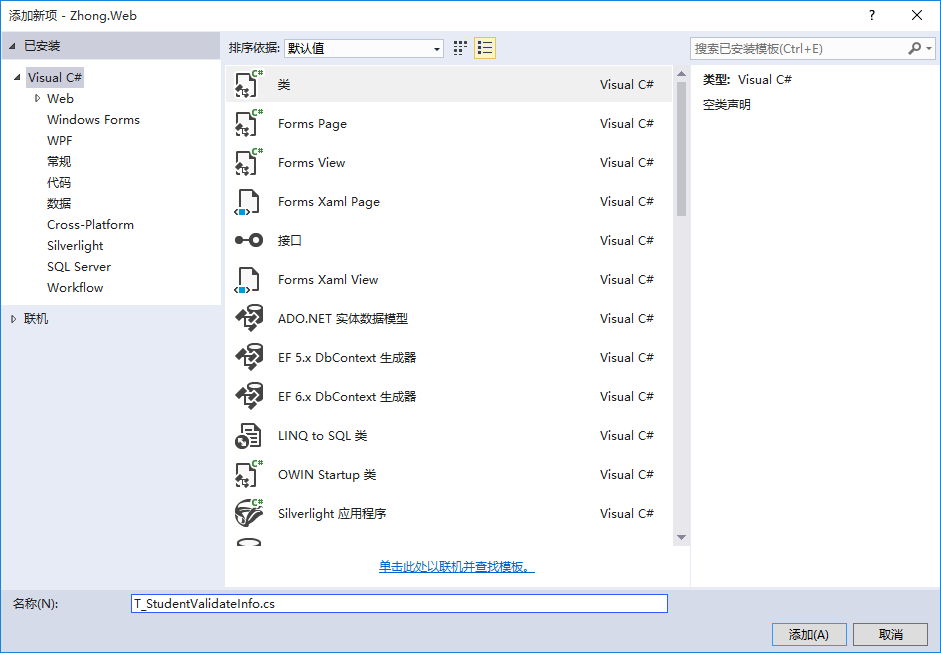
添加一個驗證類,代碼如下 :


using System.ComponentModel.DataAnnotations;

namespace Zhong.Web.Models
{
    [MetadataType(typeof(T_StudentValidateInfo))]
    public partial class T_Student
    {
    }
    public class T_StudentValidateInfo
    {
        [Display(Name="姓名")]
        [Required(ErrorMessage ="姓名不能為空")]
        [StringLength(10,ErrorMessage ="姓名長度超出限制")]
        public string Name { get; set; }

        [Display(Name="學號")]
        [Required]
        [StringLength(20,MinimumLength =10,ErrorMessage ="長度為10-20")]
        public string StudentId { get; set; }
    }
}
View Code
此時前臺訪問並提交:

從上圖可以發現Name變成了“姓名”,StudentsId變成了“學號”,點擊Create按鈕後,出現了驗證提示信息。
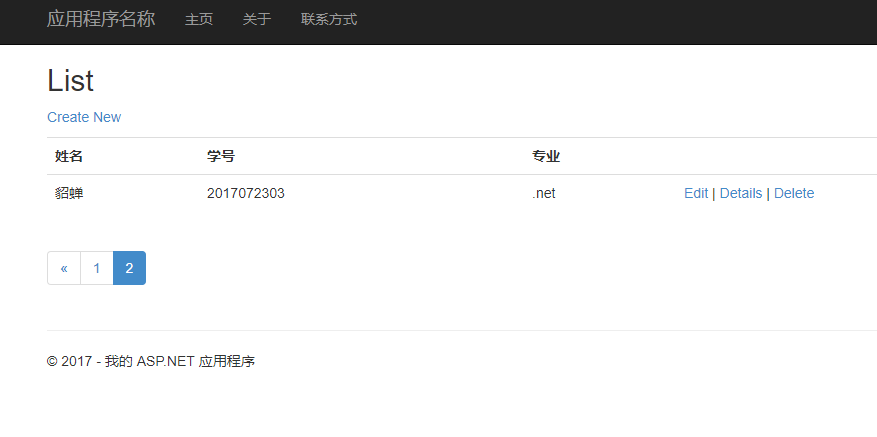
分頁的實時使用PagedList.MVC插件,可以nuget添加引用


StudentsController中增加一個List的控制器方法:

        public ActionResult List(int page = 1)
        {
            //var students = entities.T_Student.OrderBy(s => s.Id).Skip((page - 1) * 2).Take(2);
            var students = entities.T_Student.OrderBy(s => s.Id);
            return View(students.ToPagedList(page, 2));
        }
View Code
視圖代碼如下:

@using PagedList.Mvc
@model PagedList.IPagedList<Zhong.Web.Models.T_Student>

@{
    ViewBag.Title = "List";
}

<h2>List</h2>

<p>
    @Html.ActionLink("Create New", "Create")
</p>
<table class="table">
    <tr>
        <th>
            姓名
        </th>
        <th>
            學號
        </th>
        <th>
            專業
        </th>
        <th></th>
    </tr>

@foreach (var item in Model) {
    <tr>
        <td>
            @Html.DisplayFor(modelItem => item.Name)
        </td>
        <td>
            @Html.DisplayFor(modelItem => item.StudentId)
        </td>
        <td>
            @Html.DisplayFor(modelItem => item.T_Major.Name)
        </td>
        <td>
            @Html.ActionLink("Edit", "Edit", new { id=item.Id }) |
            @Html.ActionLink("Details", "Details", new { id=item.Id }) |
            @Html.ActionLink("Delete", "Delete", new { id=item.Id })
        </td>
    </tr>
}

</table>
@Html.PagedListPager(Model,page => Url.Action("List",new { page}))
View Code


