
先羅列一下工具類中提供的方法: 說明: 1.獲取毛玻璃效果(高斯模糊)圖像 在iOS8以後,提供了類UIBlurEffect、UIVisualEffectView,可以方便的生成高斯模糊的視圖,然後只需要作為目標視圖的subview即可看到效果。在iOS7上需要自行實現,不過蘋果在WWDC 2013 ...
先羅列一下工具類中提供的方法:
/**
 *  根據原始view和毛玻璃樣式,獲取模糊視圖,並自動作為原view的subview(如果不需要作為子視圖,自行調用removeFromSuperview)
 */
+ (UIView *)getBlurEffectViewWithOriginalView:(UIView *)originalView style:(ImageHelperBlurEffectStyle)style;

/**
 *  根據原始圖像和毛玻璃樣式,獲取新圖像
 */
+ (UIImage *)getBlurEffectImageWithOriginalImage:(UIImage *)originalImage style:(ImageHelperBlurEffectStyle)style;

/**
 *  根據原始圖像,等比縮放繫數,得到新圖像
 */
+ (UIImage *)getImageWithOriginalImage:(UIImage *)originalImage scale:(CGFloat)scale;

/**
 *  根據原始圖像,等比縮放最大尺寸,得到新圖像
 */
+ (UIImage *)getImageWithOriginalImage:(UIImage *)originalImage scaleMaxSize:(CGSize)scaleMaxSize;

/**
 *  根據原始圖像,等比縮放最大尺寸,得到新尺寸
 */
+ (CGSize)getImageSizeWithOriginalImage:(UIImage *)originalImage scaleMaxSize:(CGSize)scaleMaxSize;

/**
 *  根據原始圖像,完全填充尺寸,得到新圖像
 */
+ (UIImage *)getImageWithOriginalImage:(UIImage *)originalImage fillSize:(CGSize)fillSize;

/**
 *  根據原始圖像,裁剪區域,得到新圖像
 */
+ (UIImage *)getImageWithOriginalImage:(UIImage *)originalImage cutFrame:(CGRect)cutFrame;

/**
 *  根據顏色,得到單位尺寸的純色新圖像
 */
+ (UIImage *)getImageWithColor:(UIColor *)color;

/**
 *  根據view,得到快照
 */
+ (UIImage *)getSnapshotWithView:(UIView *)view;

/**
 *  全屏截圖,但不包括狀態欄
 */
+ (UIImage *)getFullScreenSnapshot;
說明:
1.獲取毛玻璃效果(高斯模糊)圖像
在iOS8以後,提供了類UIBlurEffect、UIVisualEffectView,可以方便的生成高斯模糊的視圖,然後只需要作為目標視圖的subview即可看到效果。在iOS7上需要自行實現,不過蘋果在WWDC 2013上提供了一個UIImage+ImageEffects的分類,可以生成高斯模糊的圖像。將分類加入項目Categories目錄後,在ImageHelper中引用。因為UIBlurEffectStyle是在iOS8以後出現的,所以自定義了一個與其對應的枚舉類型ImageHelperBlurEffectStyle,以便在iOS7中也可以正常使用。實現代碼如下:
+ (UIView *)getBlurEffectViewWithOriginalView:(UIView *)originalView style:(ImageHelperBlurEffectStyle)style
{
    if (DeviceIOSVersionAbove(8)) {
        UIBlurEffectStyle blurStyle;

        switch (style) {
            case ImageHelperBlurEffectStyleExtraLight: {
                blurStyle = UIBlurEffectStyleExtraLight;
                break;
            }
            case ImageHelperBlurEffectStyleLight: {
                blurStyle = UIBlurEffectStyleLight;
                break;
            }
            case ImageHelperBlurEffectStyleDark: {
                blurStyle = UIBlurEffectStyleDark;
                break;
            }
        }

        UIBlurEffect *effect = [UIBlurEffect effectWithStyle:blurStyle];
        UIVisualEffectView *effectView = [[UIVisualEffectView alloc] initWithEffect:effect];
        effectView.frame = originalView.bounds;
        [originalView addSubview:effectView];

        return effectView;
    } else {
        UIImage *originalImage = [self getSnapshotWithView:originalView];
        UIImage *blurImage = [self getBlurEffectImageWithOriginalImage:originalImage style:style];

        UIImageView *effectView = [[UIImageView alloc] initWithFrame:originalView.bounds];
        [effectView setImage:blurImage];

        [originalView addSubview:effectView];

        return effectView;
    }
}

+ (UIImage *)getBlurEffectImageWithOriginalImage:(UIImage *)originalImage style:(ImageHelperBlurEffectStyle)style
{
    UIImage *newImage;

    switch (style) {
        case ImageHelperBlurEffectStyleExtraLight: {
            newImage = [originalImage applyExtraLightEffect];
            break;
        }
        case ImageHelperBlurEffectStyleLight: {
            newImage = [originalImage applyLightEffect];
            break;
        }
        case ImageHelperBlurEffectStyleDark: {
            newImage = [originalImage applyDarkEffect];
            break;
        }
    }

    return newImage;
}
2.提供了將圖像等比例縮放的系列方法,以及裁剪的方法。基本思路就是在當前圖像上下文中,指定繪製尺寸(即點陣圖的尺寸),然後將相應圖像繪製到指定位置,然後生成最終圖像。例如裁剪圖像示例代碼:
+ (UIImage *)getImageWithOriginalImage:(UIImage *)originalImage cutFrame:(CGRect)cutFrame
{
    CGSize newSize = cutFrame.size;

    UIGraphicsBeginImageContext(newSize);
    [originalImage drawInRect:CGRectMake(-cutFrame.origin.x, -cutFrame.origin.y, cutFrame.size.width, cutFrame.size.height)];
    UIImage *newImage = UIGraphicsGetImageFromCurrentImageContext();
    UIGraphicsEndImageContext();

    return newImage;
}
3.截屏方法
需要用到方法:
UIGraphicsBeginImageContextWithOptions(CGSize size, BOOL opaque, CGFloat scale)。第一個參數仍然是指定圖像上下文繪製尺寸;第二個參數指定是否不透明;第三個為等比例縮放繫數,如果為0.0,表示與設備主屏幕的繫數一致。
CALayer的renderInContext:(CGContextRef)ctx方法,將圖層全部渲染到某個上下文中,建議為當前圖像上下文。最後得到圖像。
+ (UIImage *)getSnapshotWithView:(UIView *)view
{
    UIGraphicsBeginImageContextWithOptions(view.bounds.size, YES, 0.0);
    [view.layer renderInContext:UIGraphicsGetCurrentContext()];
    UIImage *newImage = UIGraphicsGetImageFromCurrentImageContext();
    UIGraphicsEndImageContext();

    return newImage;
}

+ (UIImage *)getFullScreenSnapshot
{
    return [self getSnapshotWithView:[UIApplication sharedApplication].keyWindow];
}
全屏截圖時候,不包括狀態欄,因為狀態欄不在應用的window上,無法直接獲取。但是可以通過私有Api拿到系統截屏圖像,在此不展開探究。
測試內容
    UIImage *icon = LOADIMAGE(AppIcon);

    UIImage *testImg;
    testImg = [ImageHelper getImageWithOriginalImage:icon scale:2];
    LOG(@"%@", testImg);
    testImg = [ImageHelper getImageWithOriginalImage:icon scaleMaxSize:CGSizeMake(100, 90)];
    LOG(@"%@", testImg);
    testImg = [ImageHelper getImageWithOriginalImage:icon fillSize:CGSizeMake(100, 90)];
    LOG(@"%@", testImg);
    testImg = [ImageHelper getImageWithOriginalImage:icon cutFrame:CGRectMake(10, 10, 50, 50)];
    LOG(@"%@", testImg);
    testImg = [ImageHelper getImageWithColor:COLOR(255, 120, 100)];
    LOG(@"%@", testImg);
    testImg = [ImageHelper getSnapshotWithView:self.view];
    LOG(@"%@", testImg);
    testImg = [ImageHelper getFullScreenSnapShot];
    LOG(@"%@", testImg);
    testImg = [ImageHelper getBlurEffectImageWithOriginalImage:testImg style:ImageHelperBlurEffectStyleDark];
    LOG(@"%@", testImg);

    UIView *coverView = [ImageHelper getBlurEffectViewWithOriginalView:[UIApplication sharedApplication].keyWindow style:ImageHelperBlurEffectStyleDark];
2016-09-13 19:05:11.995 base[33087:2301853] <UIImage: 0x7ffaf97e8d00>, {120, 120}
2016-09-13 19:05:11.997 base[33087:2301853] <UIImage: 0x7ffaf97e9610>, {90, 90}
2016-09-13 19:05:11.999 base[33087:2301853] <UIImage: 0x7ffaf950a330>, {100, 90}
2016-09-13 19:05:12.001 base[33087:2301853] <UIImage: 0x7ffaf9463630>, {50, 50}
2016-09-13 19:05:12.002 base[33087:2301853] <UIImage: 0x7ffaf950a330>, {1, 1}
2016-09-13 19:05:12.007 base[33087:2301853] <UIImage: 0x7ffaf96004b0>, {375, 667}
2016-09-13 19:05:12.013 base[33087:2301853] <UIImage: 0x7ffaf950a330>, {375, 667}
2016-09-13 19:05:12.040 base[33087:2301853] <UIImage: 0x7ffaf9506f30>, {375, 667}
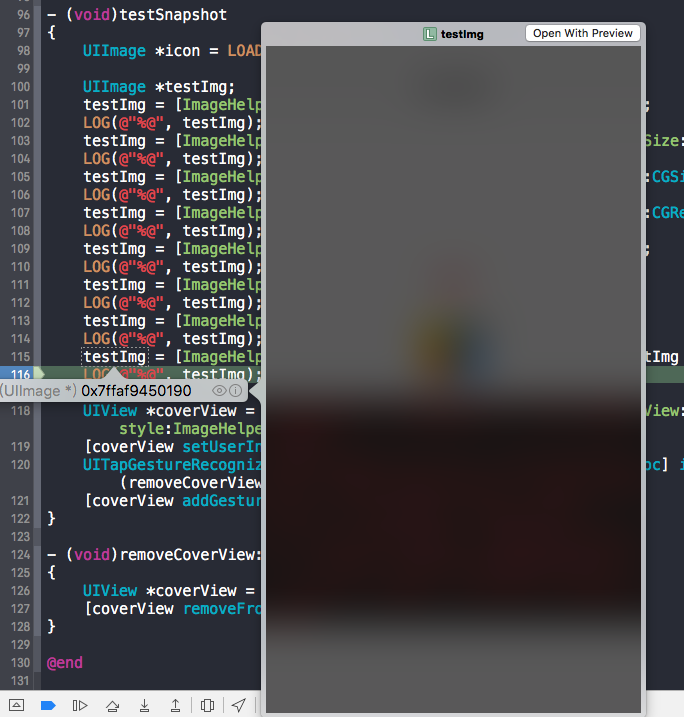
1.可以單步調試代碼,查看testImg圖像內容:
2.[ImageHelper getSnapshotWithView:self.view];這行代碼中的self.view生成快照後,尺寸為{375, 667},但如果在viewDidLoad方法中加入代碼:
self.edgesForExtendedLayout = UIRectEdgeNone;
重新輸出的尺寸為{375, 603},因為edgesForExtendedLayout屬性預設為UIRectEdgeAll,這在處理UI佈局時候需要註意。後續記錄的UIViewContoller父類也會提到。
base項目已更新:[email protected]:ALongWay/base.git


