引言: 在做練習項目的時候,需要使用Elasticsearch做搜索引擎。因為使用的是阿裡雲的伺服器,為了更好的管理所以使用了Docker來安裝Elasticsearch。但是本著安全性考慮,需要給Elasticsearch做安全驗證。這時後難題來了,Elasticsearch預設的是不開啟安全驗證 ...
引言:
在做練習項目的時候,需要使用Elasticsearch做搜索引擎。因為使用的是阿裡雲的伺服器,為了更好的管理所以使用了Docker來安裝Elasticsearch。但是本著安全性考慮,需要給Elasticsearch做安全驗證。這時後難題來了,Elasticsearch預設的是不開啟安全驗證的,在網上找了很多文章和方法,均不行,各種報錯。經過八九個小時的查找資料,算是總結出了自己親自嘗試的方法吧,希望能夠幫到大家。
下載docker什麼的大家都會我就不獻醜了,就直接開始吧。
第一步:
我在網上查的,據說(未查找資料考證)Elasticsearch7.x.x之前好像是沒有安全驗證機制的。所以這裡我使用的是7.6.2的版本,大家按我的步驟一步一步來吧。
下載鏡像
docker pull docker.elastic.co/elasticsearch/elasticsearch:7.6.2
第二步:
創建elasticsearch.yml文件
個人習慣我是在 /home/user/elasticsearch/config 目錄下創建的elasticsearch.yml文件,大家根據自己習慣來進行修改吧,或者按照我的步驟來。
配置elasticsearch.yml
http.host: 0.0.0.0

# Uncomment the following lines for a production cluster deployment
#transport.host: 0.0.0.0
#discovery.zen.minimum_master_nodes: 1

#Password config

xpack.security.enabled: true   #這一步是開啟x-pack插件
創建docker

命令給你們,你們自己修改吧
docker run -d -it --restart=always --privileged=true --name=es7 -p 9200:9200 -p 9300:9300 -e "discovery.type=single-node" -v /home/user/elasticsearch/config/elasticsearch.yml:/usr/share/elasticsearch/config/elasticsearch.yml -e ES_JAVA_OPTS="-Xms256m -Xmx256m" f29a1ee41030
第三步:
進入容器並修改配置
docker exec -it es7 /bin/bash    # 進入容器

[root@f18d8bc7b8f5 elasticsearch]# cd bin
[root@f18d8bc7b8f5 bin]# ls
elasticsearch           elasticsearch-croneval       elasticsearch-migrate        elasticsearch-setup-passwords    elasticsearch-syskeygen  x-pack-watcher-env
elasticsearch-certgen   elasticsearch-env            elasticsearch-node           elasticsearch-shard              elasticsearch-users
elasticsearch-certutil  elasticsearch-env-from-file  elasticsearch-plugin         elasticsearch-sql-cli            x-pack-env
elasticsearch-cli       elasticsearch-keystore       elasticsearch-saml-metadata  elasticsearch-sql-cli-7.6.2.jar  x-pack-security-env
[root@f18d8bc7b8f5 bin]# elasticsearch-setup-passwords interactive     #此步為手動設置密碼

Initiating the setup of passwords for reserved users elastic,apm_system,kibana,logstash_system,beats_system,remote_monitoring_user.
You will be prompted to enter passwords as the process progresses.
Please confirm that you would like to continue [y/N]y

Enter password for [elastic]:    #在這裡設置密碼,註意最少六位,下麵也一樣
Reenter password for [elastic]:
Passwords do not match.
Try again.
Enter password for [elastic]:
Reenter password for [elastic]:
Enter password for [apm_system]:
Reenter password for [apm_system]:
Enter password for [kibana]:
Reenter password for [kibana]:
Enter password for [logstash_system]:
Reenter password for [logstash_system]:
Enter password for [beats_system]:
Reenter password for [beats_system]:
Enter password for [remote_monitoring_user]:
Reenter password for [remote_monitoring_user]:
Changed password for user [apm_system]
Changed password for user [kibana]
Changed password for user [logstash_system]
Changed password for user [beats_system]
Changed password for user [remote_monitoring_user]
Changed password for user [elastic]
[root@f18d8bc7b8f5 bin]# exit     #退出容器
現在重啟一下容器測試一些效果吧
docker restart es7
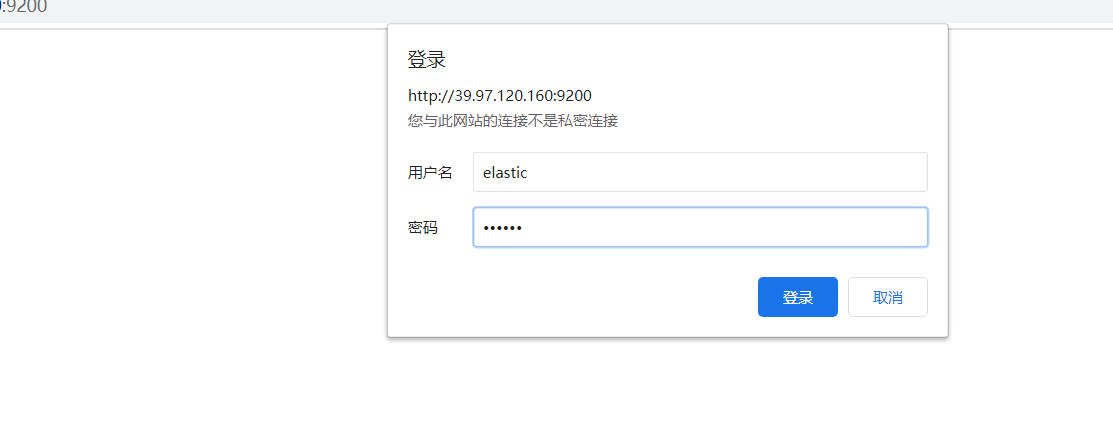
預設用戶名是elastic


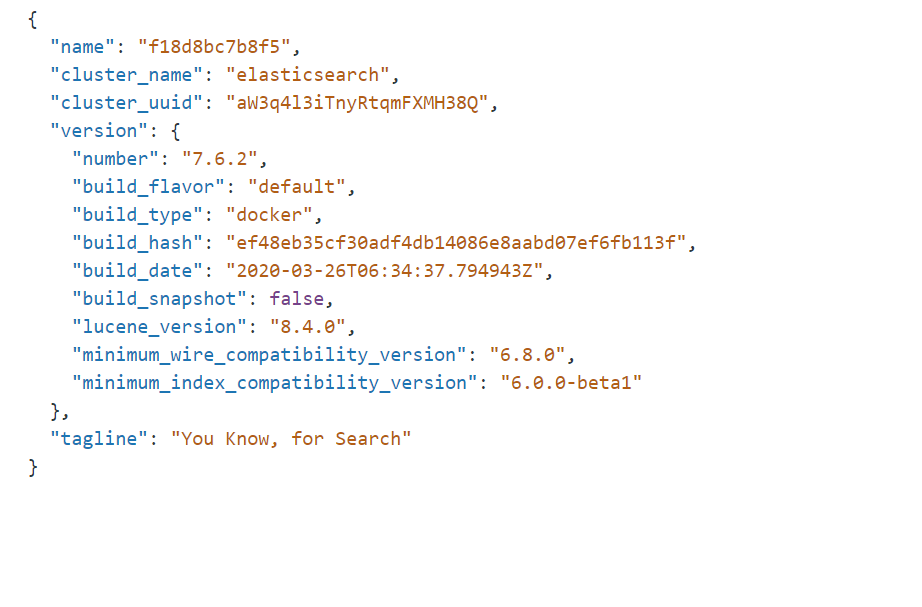
這樣就成功了。
另外elasticsearch7.6.2配套的ik分詞器的鏈接我放上https://download.csdn.net/download/u012999325/12321786


