一、安裝基本組件 1. 首先執行 命令來安裝需要的 原始程式與 程式來 代碼。 2. 安裝 腳本 (這一步需要安裝 )。 3. 使用 查看 的安裝目錄,一般都存儲在 目錄下。 4. 使用 命令切換使用的 shell 程式。 二、進行可選配置 2.1 安裝 ZSH 圖標字體 執行以下命令在當前目錄拉取 ...
一、安裝基本組件
首先執行
yum命令來安裝需要的zsh原始程式與git程式來pull代碼。yum install -y zsh git安裝
oh my zsh腳本 (這一步需要安裝git)。wget https://github.com/robbyrussell/oh-my-zsh/raw/master/tools/install.sh -O - | sh使用
which zsh查看zsh的安裝目錄,一般都存儲在/usr/bin/zsh目錄下。which zsh使用
chsh命令切換使用的 shell 程式。chsh -s /usr/bin/zsh
二、進行可選配置
2.1 安裝 ZSH 圖標字體
執行以下命令在當前目錄拉取圖標的倉庫,並切換到其目錄下,執行 ./install.sh 腳本即可安裝成功。
git clone https://github.com/powerline/fonts.git2.2 更換 ZSH 主題
使用 vi 工具編輯 /root/.zshrc 文件,更改 ZSH_THEME="robbyussell" 欄位為 ZSH_THEME="agnoster" 欄位,並通過 source ~/.zshrc 命令更新它們的配置文件。
2.3 安裝插件
使用 ZSH 替換原有的 SHELL 最主要的原因就是要使用其功能強大的插件,這裡只推薦安裝三個插件,它們分別是 wd、zsh-syntax-highlighting、zsh-autosuggestions 。
首先依次執行下列的命令,將後面兩個插件的倉庫克隆到 Oh My Zsh 的插件目錄下。
cd ~/.oh-my-zsh/custom/plugins
git clone https://github.com/zsh-users/zsh-syntax-highlighting.git
git clone https://github.com/zsh-users/zsh-autosuggestions.git
完成克隆操作之後,那麼兩個插件的全路徑分別是:
/root/.oh-my-zsh/custom/plugins/zsh-autosuggestions/zsh-syntax-highlighting.zsh/root/.oh-my-zsh/custom/plugins/zsh-autosuggestions/zsh-autosuggestions.zsh繼續使用 vi 編輯 ~/.zshrc 文件。
# 其他內容
plugins=(
  git
  wd
  zsh-syntax-highlighting
  zsh-autosuggestions
)

source /root/.oh-my-zsh/custom/plugins/zsh-autosuggestions/zsh-syntax-highlighting.zsh
source /root/.oh-my-zsh/custom/plugins/zsh-autosuggestions/zsh-autosuggestions.zsh
source $ZSH/oh-my-zsh.sh
# 其他內容
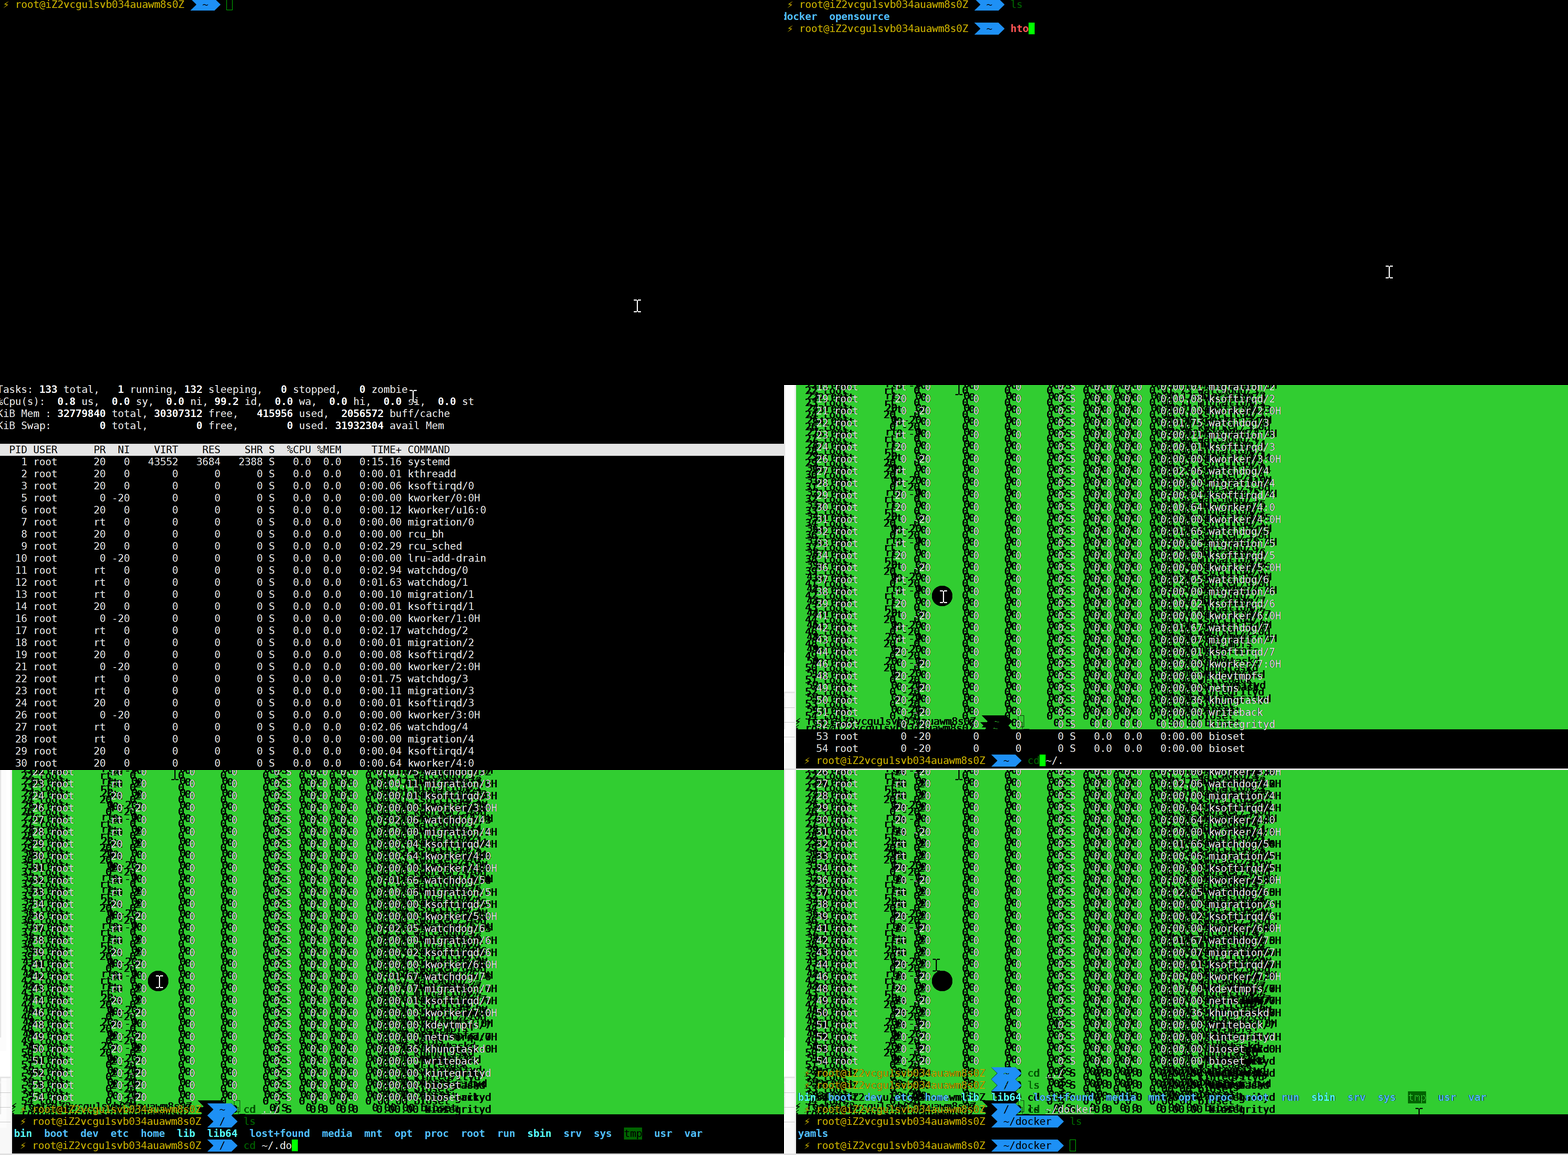
編輯完成之後,執行 source ~/.zshrc 命令更新 ZSH 配置,最後的效果如下圖。


