
一,更換背景: 1.首先需要上傳幾張圖片到自己的博客園相冊中:如圖: 2.然後點擊其中一張單擊右鍵複製圖片地址鏈接 3.切換到博客園設置頁面中(我這裡選擇的是CornflowerBlue這個皮膚): 4.複製下麵代碼到“頁面定製CSS”中: 5.找到這一段代碼: 將url更改為剛纔複製的圖片鏈接; ...
一,更換背景:
1.首先需要上傳幾張圖片到自己的博客園相冊中:如圖:
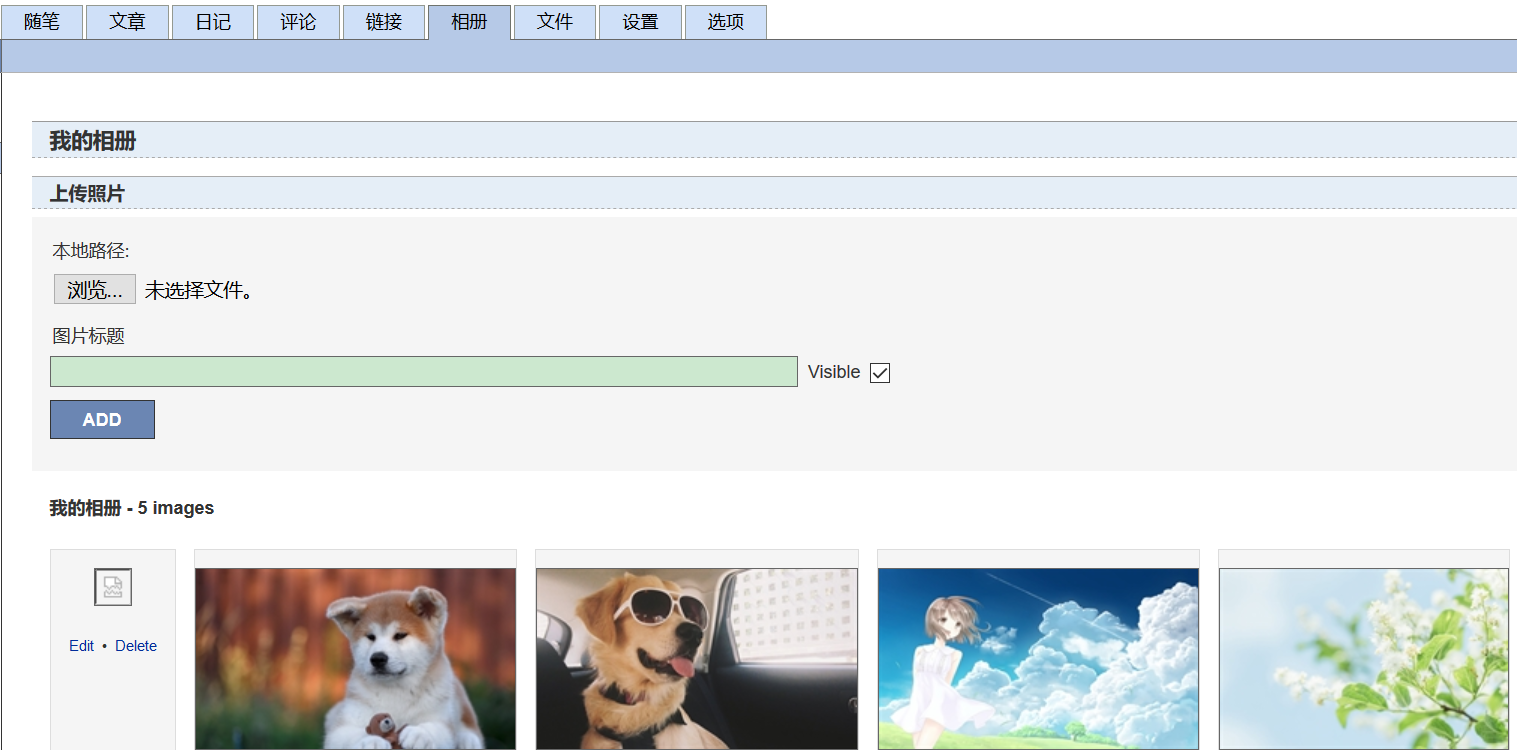
2.然後點擊其中一張單擊右鍵複製圖片地址鏈接
3.切換到博客園設置頁面中(我這裡選擇的是CornflowerBlue這個皮膚):
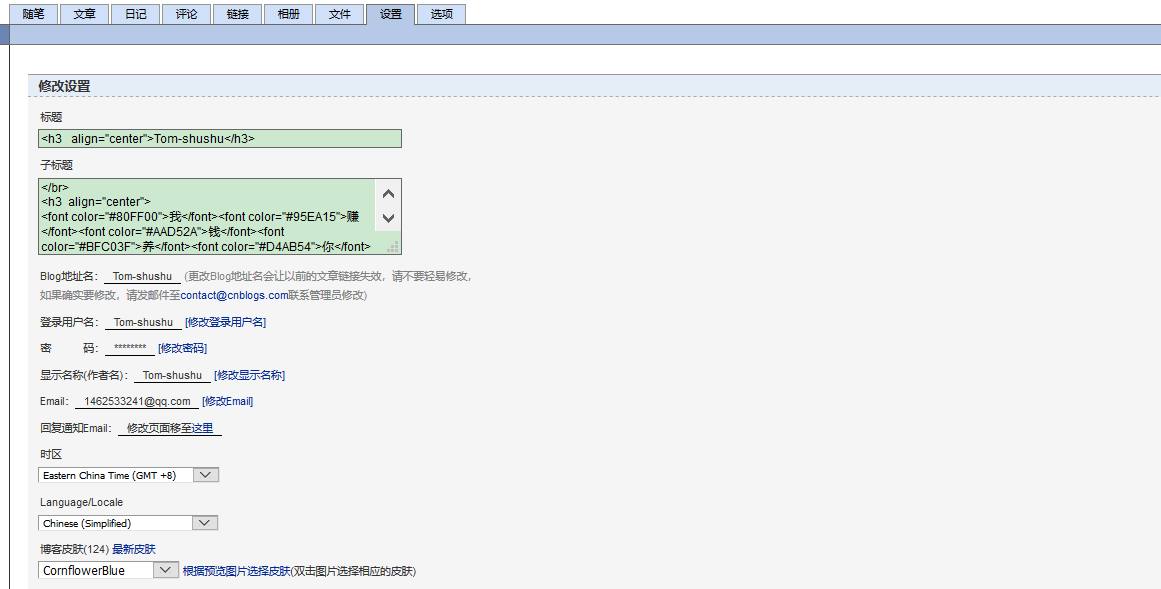
4.複製下麵代碼到“頁面定製CSS”中:
  1 /*simplememory*/
  2 #google_ad_c1, #google_ad_c2 {display:none;}
  3 .syntaxhighlighter a, .syntaxhighlighter div, .syntaxhighlighter code, .syntaxhighlighter table, .syntaxhighlighter table td,
  4 .syntaxhighlighter table tr, .syntaxhighlighter table tbody, .syntaxhighlighter table thead, .syntaxhighlighter table caption,
  5 .syntaxhighlighter textarea {
  6 font-size: 14px!important;
  7 }
  8 #home {
  9 opacity: 0.80;
 10 margin: 0 auto;
 11 width: 85%;
 12 min-width: 950px;
 13 background-color: #fff;
 14 padding: 30px;
 15 margin-top: 30px;
 16 margin-bottom: 50px;
 17 box-shadow: 0 2px 6px rgba(100, 100, 100, 0.3);
 18 }
 19 #blogTitle h1 {
 20 font-size: 30px;
 21 font-weight: bold;
 22 font-family: "Comic Sans MS";
 23 line-height: 1.5em;
 24 margin-top: 20px;
 25 color: #515151;
 26 }
 27 #navList a:hover {
 28 color: #4C9ED9;
 29 text-decoration: none;
 30 }
 31 #navList a {
 32 display: block;
 33 width: 5em;
 34 height: 22px;
 35 float: left;
 36 text-align: center;
 37 padding-top: 18px;
 38 }
 39 #navigator {
 40 font-size: 15px;
 41 border-bottom: 1px solid #ededed;
 42 border-top: 1px solid #ededed;
 43 height: 50px;
 44 clear: both;
 45 margin-top: 25px;
 46 }
 47 .catListTitle {
 48 margin-top: 21px;
 49 margin-bottom: 10.5px;
 50 text-align: left;
 51 border-left: 10px solid rgba(82, 168, 236, 0.8);
 52 padding: 10px 0 14px 10px;
 53 background-color: #f5f5f5;
 54 }
 55 #ad_under_post_holder #google_ad_c1,#google_ad_c2{
 56 display: none !important;
 57 }
 58 body {
 59 color: #000;
 60 background: url(http://images.cnblogs.com/cnblogs_com/Tom-shushu/1435205/o_324125.jpg
 61 ) fixed;
 62 background-size: 100%;
 63 background-repeat: no-repeat;
 64 font-family: "Helvetica Neue",Helvetica,Verdana,Arial,sans-serif;
 65 font-size: 12px;
 66 min-height: 101%;
 67 }
 68 #topics .postTitle {
 69 border: 0px;
 70 font-size: 200%;
 71 font-weight: bold;
 72 float: left;
 73 line-height: 1.5;
 74 width: 100%;
 75 padding-left: 5px;
 76 }
 77
 78 div.commentform p{
 79 margin-bottom:10px;
 80 }
 81 .comment_btn {
 82 padding: 5px 10px;
 83 height: 35px;
 84 width: 90px;
 85 border: 0 none;
 86 border-radius: 5px;
 87 background: #ddd;
 88 color: #999;
 89 cursor:pointer;
 90 font-family: "Lato", Helvetica Neue, Helvetica, Microsoft Yahei, 宋體, Arial, sans-serif;
 91 text-shadow: 0 0 1px #fff;
 92 display: inline !important;
 93 }
 94 .comment_btn:hover{
 95 padding: 5px 10px;
 96 height: 35px;
 97 width: 90px;
 98 border: 0 none;
 99 border-radius: 5px;
100 background: #258fb8;
101 color: white;
102 cursor:pointer;
103 font-family: "Lato", Helvetica Neue, Helvetica, Microsoft Yahei, 宋體, Arial, sans-serif;
104 text-shadow: 0 0 1px #fff;
105 display: inline !important;
106 }
107 #commentform_title {
108 background-image:none;
109 background-repeat:no-repeat;
110 margin-bottom:10px;
111 padding:0;
112 font-size:24px;
113 }
114 #commentbox_opt,#commentbox_opt + p {
115 text-align:center;
116 }
117 .commentbox_title {
118 width: 100%;
119 }
120 #tbCommentBody {
121 font-family:'Microsoft Yahei', Microsoft Yahei, 宋體, sans-serif;
122 margin-top:10px;
123 max-width:100%;
124 min-width:100%;
125 background:white;
126 color:#333;
127 border:2px solid #fff;
128 box-shadow:inset 0 0 8px #aaa;
129 // padding:10px;
130 height:250px;
131 font-size:14px;
132 min-height:120px;
133 }
134 .feedbackItem {
135 font-size:14px;
136 line-height:24px;
137 margin:10px 0;
138 padding:20px;
139 background:#F2F2F2;
140 box-shadow:0 0 5px #aaa;
141 }
142 .feedbackListSubtitle {
143 font-weight:normal;
144 }
145
146 #blog-comments-placeholder, #comment_form {
147 padding: 20px;
148 background: #fff;
149 -webkit-box-shadow: 1px 2px 3px #ddd;
150 box-shadow: 1px 2px 3px #ddd;
151 margin-bottom: 50px;
152 }
153 .feedback_area_title {
154 margin-bottom: 15px;
155 font-size: 1.8em;
156 }
157 .feedbackItem {
158 border-bottom: 1px solid #CCC;
159 margin-bottom: 10px;
160 padding: 5px;
161 background: rgb(248, 248, 248);
162 }
163 .color_shine {background: rgb(226, 242, 255);}
164 .feedbackItem:hover {-webkit-animation-name: color_shine;-webkit-animation-duration: 2s;-webkit-animation-iteration-count: infinite;}
165 #comment_form .title {
166 font-weight: normal;
167 margin-bottom: 15px;
168 }
5.找到這一段代碼:
1 body {
2 color: #000;
3 background: url(http://images.cnblogs.com/cnblogs_com/Tom-shushu/1435205/o_324125.jpg) fixed;
將url更改為剛纔複製的圖片鏈接;
6.點擊保存完成背景設置!
二,News下麵的圖片設置:
註意需要開啟JS許可權

找到“博客側邊欄公告”的代碼框插入如下代碼:
1 <img src="http://images.cnblogs.com/cnblogs_com/Tom-shushu/1435205/o_324183.jpg" width="150">
圖片地址自己順便換當然用我的圖片也是可以的!!
三,點擊有帶字變色的心形設置:
找到“頁腳Html代碼”代碼框插入如下代碼:
<script type="text/javascript">
/* 滑鼠特效 */
var a_idx = 0;
jQuery(document).ready(function($) {
    $("body").click(function(e) {
        var a = new Array("❤Java❤","❤Git❤","❤MySQl❤","❤Netty❤","❤MyBatis❤","❤Spring❤","❤SpringBoot❤","❤Redis❤","❤Shiro❤","❤SpringMVC❤","❤TomCat❤","❤Linux❤","❤AOP❤","❤IOC❤","❤ElasticSearch❤","❤Maven❤","❤Servlet❤");
        var $i = $("<span></span>").text(a[a_idx]);
        a_idx = (a_idx + 1) % a.length;
        var x = e.pageX,
        y = e.pageY;
        $i.css({
            "z-index": 999999999999999999999999999999999999999999999999999999999999999999999,
            "top": y - 20,
            "left": x,
            "position": "absolute",
            "font-weight": "bold",
            "color": "rgb("+~~(255*Math.random())+","+~~(255*Math.random())+","+~~(255*Math.random())+")"
        });
        $("body").append($i);
        $i.animate({
            "top": y - 180,
            "opacity": 0
        },
        1500,
        function() {
            $i.remove();
        });
    });
});
</script>
兩個心形之間的文字自己可以順便定義
四,標題和子標題漸變色的設置
1.標題:
1 <h3 align="center">Tom-shushu</h3>
2.子標題:
1 <h3  align="center">
2 <font color="#80FF00">我</font><font color="#95EA15">賺
3 </font><font color="#AAD52A">錢</font><font color="#BFC03F">養
4 </font><font color="#D4AB54">你</font><font color="#E99669">呀
5 </font><font color="#FE817E">!</font><font color="#FF6C93">-
6 </font><font color="#FF57A8">-</font><font color="#FF42BD">-
7 </font><font color="#FF2DD2">周</font><font color="#FF18E7">紅
8 </font>
9 </h3>
OK完成!!!


