文章摘抄自:一支小白,博客地址:http://www.cnblogs.com/startnow/p/7580865.html Centos7安裝Oracle 11gR2 - 環境:VM12+centos7 x86_64 minimal - 最小化安裝的Centos7 - 虛擬機配置- 50G硬碟 - ...
文章摘抄自:一支小白,博客地址:http://www.cnblogs.com/startnow/p/7580865.html
Centos7安裝Oracle 11gR2
========================================
-  環境:VM12+centos7 x86_64 minimal
-  最小化安裝的Centos7
-  虛擬機配置
-    50G硬碟
-    2G ram + 2G swap
========================================
說明[root] [oracle] 代表是具體以哪個用戶要執行的
一.調整系統
[root]
#安裝一些必要的軟體
##wget         下載用的
##unzip        解壓oracle安裝文件
##net-tools    查看本機網路情況 比如netstat
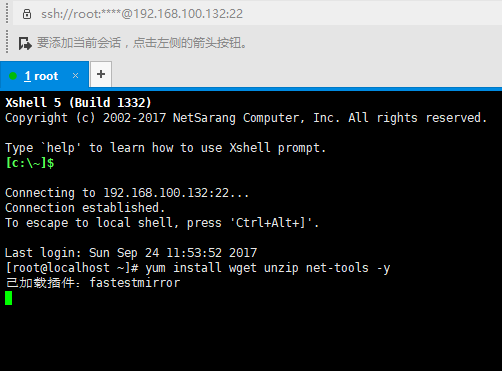
yum install wget unzip net-tools -y
#使用oracle提供的環境配置工具
##這個工具會調整內核參數,建立一些必要的linux用戶&組
##可能網路不好會安裝不成功,多install一下
wget http://public-yum.oracle.com/public-yum-ol7.repo -O /etc/yum.repos.d/public-yum-ol7.repo
wget http://public-yum.oracle.com/RPM-GPG-KEY-oracle-ol7 -O /etc/pki/rpm-gpg/RPM-GPG-KEY-oracle

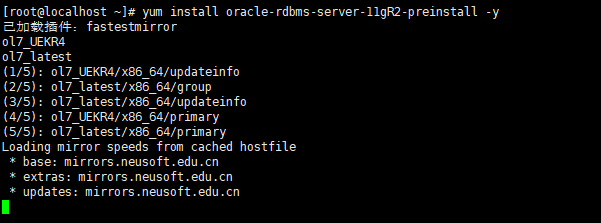
yum install oracle-rdbms-server-11gR2-preinstall -y
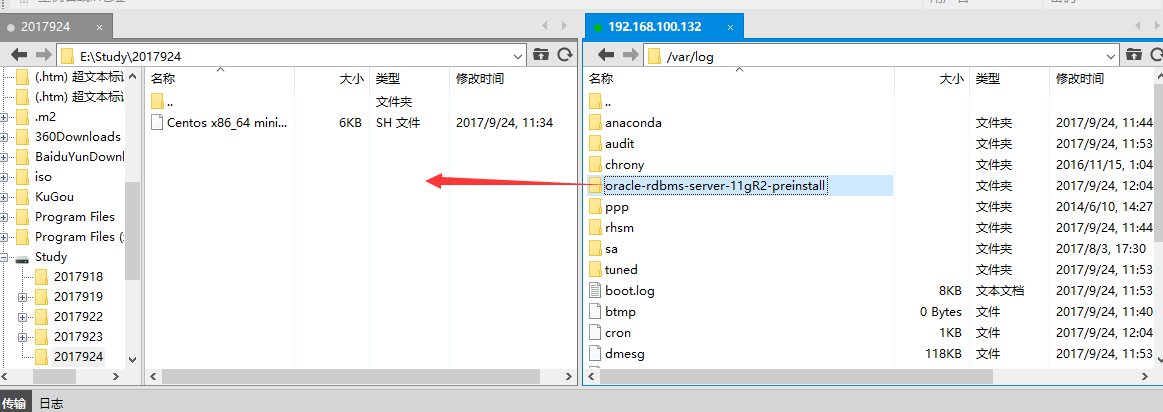
#完成後備份一下這個目錄的文件到其他目錄
##這個文件夾是修改系統後日誌和原本的內核配置備份
/var/log/oracle-rdbms-server-11gR2-preinstall
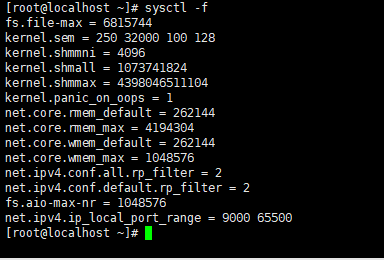
#載入內核參數 和sysctl -p一樣
sysctl -f
#創建一些目錄和配置
##配置oracle系統配置文件&授權
cat >> /etc/oraInst.loc <<EOF
inventory_loc=/home/oracle/ora11g/oraInventory
inst_group=oinstall
EOF
chmod 664 /etc/oraInst.loc

##創建oracle安裝的目錄&授權
mkdir -p /u01/app/
mkdir /u01/tmp
chown -R oracle:oinstall /u01/app/
chmod -R 775 /u01/app/
chmod a+wr /u01/tmp

#設置oracle用戶密碼 oracle是安裝工具自己創建的,參考我之前講的
passwd oracle

二.配置用戶環境&上傳文件
[oracle]
#為oracle用戶添加一些必要的環境
cat >> /home/oracle/.bash_profile <<EOF
TMP=/u01/tmp
TMPDIR=/u01/tmp
export TMP TMPDIR

ORACLE_BASE=/u01/app/oracle
ORACLE_HOME=/u01/app/oracle/product/11.2.0/dbhome_1
ORACLE_SID=orcl
PATH=$ORACLE_HOME/bin:$PATH
export ORACLE_BASE ORACLE_SID ORACLE_HOME PATH
EOF
#生效
source .bash_profile

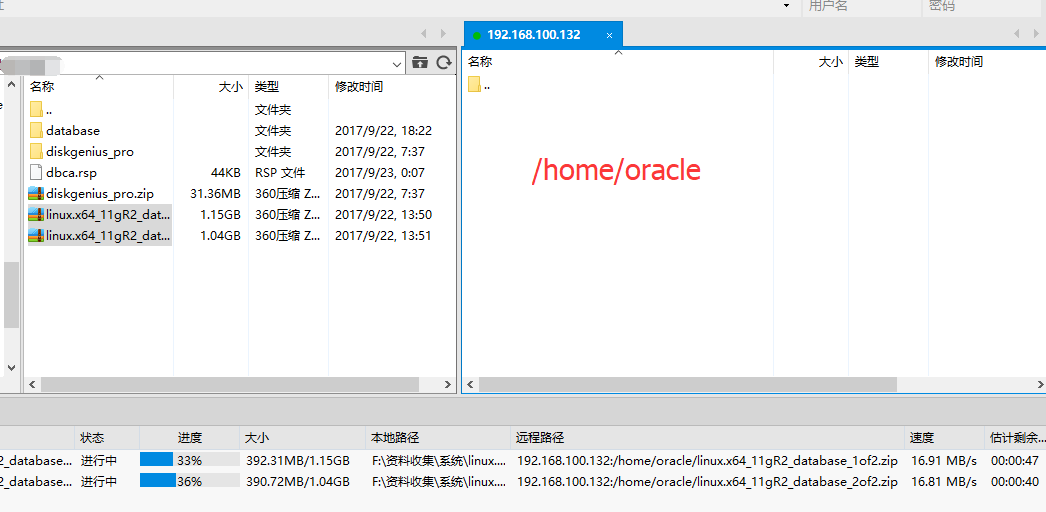
#上傳至/home/oracle/
#################50%
linux.x64_11gR2_database_2of2.zip
linux.x64_11gR2_database_1of2.zip
##################################100%
#解壓 解壓後文件會在/home/oracle/database/
unzip linux.x64_11gR2_database_1of2.zip
unzip linux.x64_11gR2_database_2of2.zip

##由於某些原因文件許可權問題 運行這個命令(選)
chown -R oracle:oinstall /home/oracle/database
三.配置db_install.rsp
[oracle]
#備份到/home/oracle/rsp/
cp -r /home/oracle/database/response /home/oracle/rsp

#配置安裝響應文件db_install.rsp文件 這裡配置參數先下載到本地 用記事本根據自己情況修改 在上傳過去
##我的/home/oracle/rsp/db_install.rsp
oracle.install.responseFileVersion=/oracle/install/rspfmt_dbinstall_response_schema_v11_2_0
#INSTALL_DB_AND_CONFIG安裝並自動配置資料庫實例和監聽 建議首次安裝用這個
#不然配置另外兩個文件,新建實例和監聽
oracle.install.option=INSTALL_DB_AND_CONFIG
ORACLE_HOSTNAME=localhost
UNIX_GROUP_NAME=oinstall
INVENTORY_LOCATION=/home/oracle/ora11g/oraInventory
SELECTED_LANGUAGES=zh_CN,en
ORACLE_HOME=/u01/app/oracle/product/11.2.0/dbhome_1
ORACLE_BASE=/u01/app/oracle
oracle.install.db.InstallEdition=EE
oracle.install.db.isCustomInstall=true
oracle.install.db.customComponents=oracle.server:11.2.0.1.0,oracle.sysman.ccr:10.2.7.0.0,oracle.xdk:11.2.0.1.0,oracle.rdbms.oci:11.2.0.1.0,oracle.network:11.2.0.1.0,oracle.network.listener:11.2.0.1.0,oracle.rdbms:11.2.0.1.0,oracle.options:11.2.0.1.0,oracle.rdbms.partitioning:11.2.0.1.0,oracle.oraolap:11.2.0.1.0,oracle.rdbms.dm:11.2.0.1.0,oracle.rdbms.dv:11.2.0.1.0,orcle.rdbms.lbac:11.2.0.1.0,oracle.rdbms.rat:11.2.0.1.0
oracle.install.db.DBA_GROUP=dba
oracle.install.db.OPER_GROUP=oinstall
oracle.install.db.config.starterdb.type=GENERAL_PURPOSE
#這個是服務名
oracle.install.db.config.starterdb.globalDBName=orcl.lan
#實例sid
oracle.install.db.config.starterdb.SID=orcl
oracle.install.db.config.starterdb.characterSet=AL32UTF8
oracle.install.db.config.starterdb.memoryOption=true
#最小256M 我是學習就選擇最小了
oracle.install.db.config.starterdb.memoryLimit=256
#是否安裝學習的scott和hr(我就知道這兩個)
oracle.install.db.config.starterdb.installExampleSchemas=true
oracle.install.db.config.starterdb.enableSecuritySettings=true
#密碼全設置成oracle (安裝時會提示,個人學習忽略)
oracle.install.db.config.starterdb.password.ALL=oracle
oracle.install.db.config.starterdb.control=DB_CONTROL
oracle.install.db.config.starterdb.dbcontrol.enableEmailNotification=false
oracle.install.db.config.starterdb.automatedBackup.enable=false
oracle.install.db.config.starterdb.storageType=FILE_SYSTEM_STORAGE
oracle.install.db.config.starterdb.fileSystemStorage.dataLocation=/u01/app/oracle/oradata
#true
DECLINE_SECURITY_UPDATES=true
#修改完成保存|上傳到/home/oracle/rsp
四.靜默安裝資料庫
[oracle]
#安裝
##會出現密碼不規範的警告,忽略
/home/oracle/database/runInstaller -silent -ignorePrereq -responseFile /home/oracle/rsp/db_install.rsp

##查看安裝過程 另開一個shell 稍等
tail -f /home/oracle/ora11g/oraInventory/logs/installActions2017-09-24_12-26-49PM.log

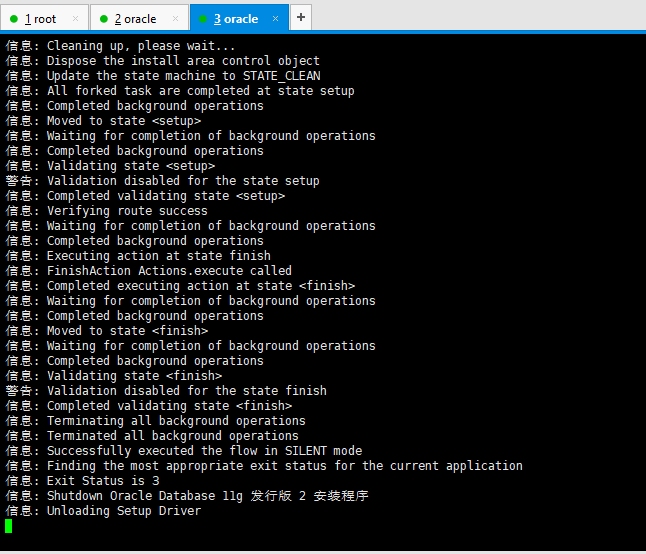
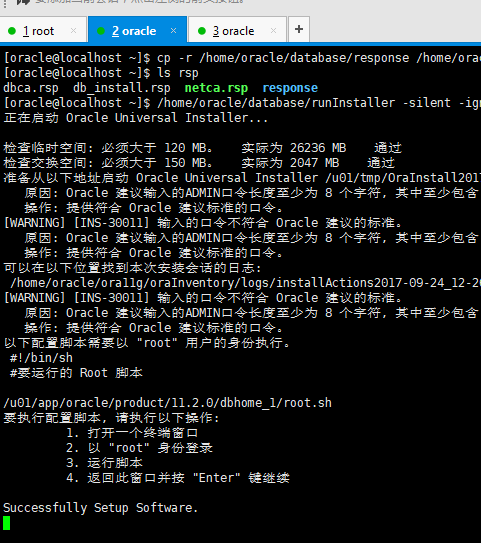
#最後會提示安裝完成 !【切換root執行】

【切換到oracle】
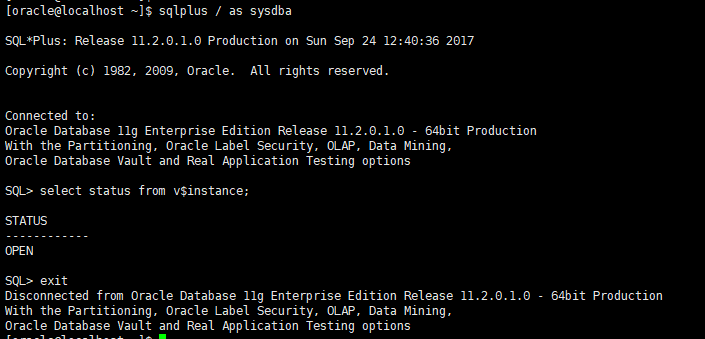
#sqlplus登錄
sqlplus / as sysdba
#查看狀態
select status from v$instance;
五.配置防火牆
[root]
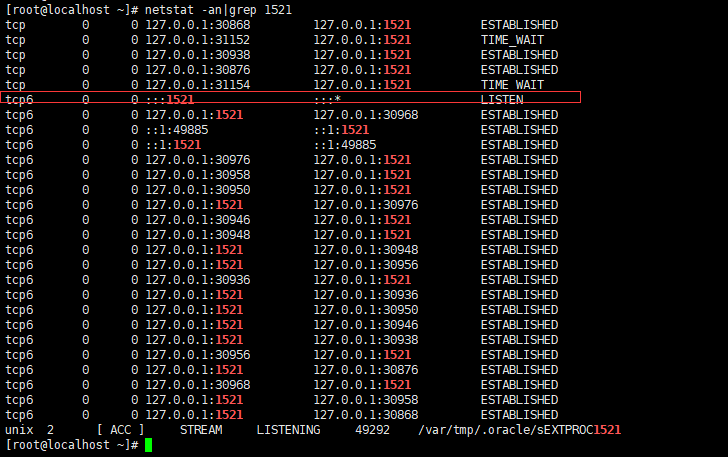
#查看1521埠
netstat -an|grep 1521
#防火牆 放行1521埠
firewall-cmd --zone=public --add-port=1521/tcp --permanent
#重新載入防火牆規則
firewall-cmd --reload


六.資料庫的啟動&關閉
[root]
#修改oracle服務啟動配置
vi /etc/oratab
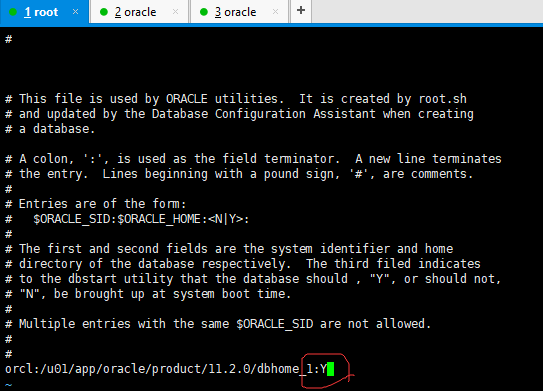
:wq保存
[oracle]
#啟動oracle
#因為修改了/etc/oratab  N->y 所以啟動服務也會同時啟動實例
##N的情況不會同時啟動實例 sqlplus登錄會提示 an idle instance
##用sqlplus 然後---> startup啟動實例
#重啟系統後用這個命令啟動
dbstart $ORACLE_HOME
#關閉
dbshut $ORACLE_HOME
#遠程連接oracle
sqlplus sys/[email protected]:1521/ORCL.LAN as sysdba
conn sys/[email protected]:1521/ORCL.LAN as sysdba
ORCL.LAN是服務名 不是sid
七.其他
刪除安裝文件等,然後虛擬硬碟的空間並沒釋放。參考下麵的教程

刪除安裝文件後清理一下虛擬磁碟

vmware:怎麼壓縮linux虛擬機磁碟空間_百度經驗
前後折騰了兩天,也遇到很多坑。網上都能查到就不說了。
註意參考文檔
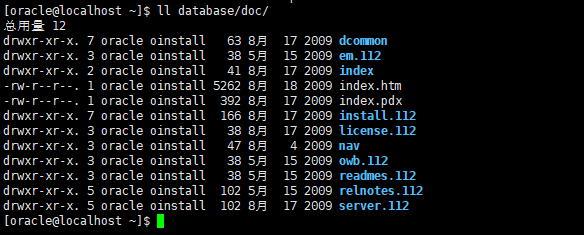
參考:
oracle官方文檔
Getting Started with the Oracle Linux Yum Server | Oracle, Software. Hardware. Complete. http://public-yum.oracle.com/getting-started.html
oracle - dba tips corner http://www.idevelopment.info/data/Oracle/DBA_tips/Unix/UNIX_4.shtml
oracle靜默安裝文件db_install.rsp詳解-bobower-ChinaUnix博客 http://blog.chinaunix.net/uid-23886490-id-3565908.html
安裝oracle 11g詳細過程僅供參考 - 一支小白 - 博客園 http://www.cnblogs.com/startnow/p/6111514.html
oracle環境變數引起的“connected to an idle instance”_雪倩_新浪博客 http://blog.sina.com.cn/s/blog_6dbe13350102wflo.html
oracle 11g 在centos7上靜默安裝與安裝時的錯誤處理 - winewei的博客 - CSDN博客 http://blog.csdn.net/winewei/article/details/57409206【寫的有點亂啊】
Oracle11gR2 for Linux 靜默安裝 - tudou@NorthWind - 博客園 http://www.cnblogs.com/ylqmf/archive/2012/04/16/2451211.html
如何簡化 Oracle Linux 上 Oracle Database 的安裝 http://www.oracle.com/technetwork/cn/articles/servers-storage-admin/ginnydbinstallonlinux-1404242-zhs.html
等等把。


