
目錄:基礎準備 安裝elasticsearch 安裝 kibana 安裝logstash X-pack插件的安裝 登錄網頁查看 ELK名字解釋 ELK就是ElasticSearch + LogStash + Kibana,這三者是核心套件,但並非全部。 Elasticsearch是個開源分散式搜索引 ...
目錄:基礎準備
- 修改相關係統配置
-
安裝elasticsearch
-
安裝 kibana
-
安裝logstash
-
X-pack插件的安裝
-
登錄網頁查看
ELK名字解釋
ELK就是ElasticSearch + LogStash + Kibana,這三者是核心套件,但並非全部。
-
Elasticsearch是個開源分散式搜索引擎,它的特點有:分散式,零配置,自動發現,索引自動分片,索引副本機制,restful風格介面,多數據源,自動搜索負載等。
-
Logstash是一個完全開源的工具,他可以對你的日誌進行收集、過濾,並將其存儲供以後使用(如,搜索)。
-
Kibana 也是一個開源和免費的工具,它Kibana可以為 Logstash 和 ElasticSearch 提供的日誌分析友好的 Web 界面,可以幫助您彙總、分析和搜索重要數據日誌。
系統環境信息:
CentOS Linux release 7.3.1611 (Core)
基礎環境準備:
關閉防火牆:systemctl stop firewalld
SeLinux設為disabled: setenforce 0
jdk版本:jdk_1.8
本次搭建使用了三個節點,分別是:node1(ElasticSearch + LogStash + Kibana + x-pack)
node2(ElasticSearch + x-pack)
node3(ElasticSearch + x-pack)
本次使用的安裝包已經提前下載好了,如有需要自行去官網下載,官方下載地址:https://www.elastic.co/cn/products
$ll /apps/tools/
total 564892
-rw-r--r-- 1 root root  29049540 Feb 27 15:19 elasticsearch-6.2.2.tar.gz
-rw-r--r-- 1 root root  12382174 Jun  1 10:49 filebeat-6.2.2-linux-x86_64.tar.gz
-rw-r--r-- 1 root root  83415765 Feb 27 15:50 kibana-6.2.2-linux-x86_64.tar.gz
-rw-r--r-- 1 root root 139464029 Feb 27 16:13 logstash-6.2.2.tar.gz
-rw-r--r-- 1 root root 314129017 Jun  1 10:48 x-pack-6.2.2.zip
一、修改相關係統配置
1. 修改 /etc/security/limits.conf 文件,添加如下所示內容
es hard nofile 65536
es soft nofile 65536              # 最大文件句柄數
es soft memlock unlimited           # 記憶體鎖不限制
es hard memlock unlimited
2. 修改 /etc/sysctl.conf 文件,添加如下所示內容
vm.max_map_count=262144 # 一個進程能擁有的最多的記憶體區域
二、安裝elasticsearch
elasticsearch是本次部署三個節點同時安裝,配置全部一樣
1. 解壓安裝包
tar xf elasticsearch-6.2.2.tar.gz
2. 修改配置文件 elasticsearch.yml
cluster.name: ctelk                                             # 集群名稱,各個節點的集群名稱都要一樣
node.name: node-1                                               # 節點名稱
bootstrap.memory_lock: true                                     # 是否允許記憶體swapping
network.host: IP                                                # 提供服務的ip,通常是本機ip
http.port: 9200                                                 # 服務埠
discovery.zen.ping.unicast.hosts: ["IP", "IP", "IP"]            # 服務發現,集群中的主機
discovery.zen.minimum_master_nodes: 2                           # 決定了有資格作為master的節點的最小數量,官方推薦N/2 + 1
gateway.recover_after_nodes: 3                                  # 少於三台的時候,recovery
3. 修改 jvm.options 配置
-Xms8g                                  # 最大記憶體
-Xmx8g                                  # 最小記憶體
4. es必須用非root用戶啟動,所以我們在此其創建一個普通用戶,用來管理es
groupadd es
useradd -g es es
chown –R es.es elasticsearch-6.2.2/
bin/elasticsearch –d
三、安裝 kibana
kibana部署在任意一個節點都可以,只需要一個。
1. 解壓安裝包
tar xf kibana-6.2.2-linux-x86_64.tar.gz
2. 修改配置文件 kibana.yml
server.port: 5601                                                       # Kibana埠號
server.host: "IP"                                                       # KibanaIP
elasticsearch.url: "http://esIP:port"                                   # es的IP地址及埠號
3. 啟動程式
./bin/kibana -l /apps/product/kibana-6.2.2-linux-x86_64/logs/kibana.log & # 自己創建一個logs目錄用來記錄日誌
四、安裝logstash
logstash部署在任意一個節點都可以,只需要一個。
1. 解壓安裝包
tar xf logstash-6.2.2.tar.gz
2. 啟動程式
./bin/logstash -f /apps/product/logstash-6.2.2/config/logstash.conf &
五、X-pack插件的安裝
本次使用的安裝包已經全部全部下載至本地,只需要離線安裝即可。
1. es、kibana、logstatic安裝x-pack
es安裝x-pack,中途會要你選擇 y就行了。
./bin/elasticsearch-plugin install file:///apps/product/x-pack-6.2.2.zip                        # es安裝插件
-> Downloading file:///apps/product/x-pack-6.2.2.zip
[=================================================] 100%
@@@@@@@@@@@@@@@@@@@@@@@@@@@@@@@@@@@@@@@@@@@@@@@@@@@@@@@@@@@
@ WARNING: plugin requires additional permissions @
@@@@@@@@@@@@@@@@@@@@@@@@@@@@@@@@@@@@@@@@@@@@@@@@@@@@@@@@@@@
* java.io.FilePermission \\.\pipe\* read,write
* java.lang.RuntimePermission accessClassInPackage.com.sun.activation.registries
* java.lang.RuntimePermission getClassLoader
* java.lang.RuntimePermission setContextClassLoader
* java.lang.RuntimePermission setFactory
* java.net.SocketPermission * connect,accept,resolve
* java.security.SecurityPermission createPolicy.JavaPolicy
* java.security.SecurityPermission getPolicy
* java.security.SecurityPermission putProviderProperty.BC
* java.security.SecurityPermission setPolicy
* java.util.PropertyPermission * read,write
See http://docs.oracle.com/javase/8/docs/technotes/guides/security/permissions.html
for descriptions of what these permissions allow and the associated risks.

Continue with installation? [y/N]y
@@@@@@@@@@@@@@@@@@@@@@@@@@@@@@@@@@@@@@@@@@@@@@@@@@@@@@@@@@@
@ WARNING: plugin forks a native controller @
@@@@@@@@@@@@@@@@@@@@@@@@@@@@@@@@@@@@@@@@@@@@@@@@@@@@@@@@@@@
This plugin launches a native controller that is not subject to the Java
security manager nor to system call filters.

Continue with installation? [y/N]y
Elasticsearch keystore is required by plugin [x-pack-security], creating...
-> Installed x-pack with: x-pack-core,x-pack-deprecation,x-pack-graph,x-pack-logstash,x-pack-ml,x-pack-monitoring,x-pack-security,x-pack-upgrade,x-pack-watcher
本次下載的為未破解版本,需要破解,次破解過程由同事完成,此時秩序更改已破解jar包即可。
[root@dev161 product]# find ./ -name x-pack-core-6.2.2.jar
./elasticsearch-6.2.2/plugins/x-pack/x-pack-core/x-pack-core-6.2.2.jar                    # 將下邊已破解的 jar包替換過來即可
./x-pack-core-6.2.2.jar
es配置自動創建索引許可權,在 elasticsearch.yml 文件中添加
action.auto_create_index: .security,.monitoring*,.watches,.triggered_watches,.watcher-history*,.ml*,*
kibanak安裝x-pack
./bin/kibana-plugin install file:///apps/product/x-pack-6.2.2.zip
Attempting to transfer from file:///apps/product/x-pack-6.2.2.zip
Transferring 314129017 bytes....................
Transfer complete
Retrieving metadata from plugin archive
Extracting plugin archive
Extraction complete
Optimizing and caching browser bundles...
Plugin installation complete
logstash安裝x-pack
./bin/logstash-plugin install file:///apps/product/x-pack-6.2.2.zip
Installing file: /apps/product/x-pack-6.2.2.zip
Install successful
2. 設置修改密碼,第一次初始化使用setup-passwords interactive,之後修改使用setup-passwords auto
./binx-pack/setup-passwords interactive                                                                 # 初始化密碼
Initiating the setup of passwords for reserved users elastic,kibana,logstash_system.
You will be prompted to enter passwords as the process progresses.
Please confirm that you would like to continue [y/N]y


Enter password for [elastic]:                                                                           # 修改es密碼
Reenter password for [elastic]:
Enter password for [kibana]:                                                                            # 修改kibana密碼
Reenter password for [kibana]:
Enter password for [logstash_system]:                                                                   # 修改logstash密碼
Reenter password for [logstash_system]:
Changed password for user [kibana]
Changed password for user [logstash_system]
Changed password for user [elastic]
3. 配置集群內部通訊的TLS/SSL
生成CA文件:./bin/x-pack/certutil ca
./bin/x-pack/certutil ca
This tool assists you in the generation of X.509 certificates and certificate
signing requests for use with SSL/TLS in the Elastic stack.

The 'ca' mode generates a new 'certificate authority'
This will create a new X.509 certificate and private key that can be used
to sign certificate when running in 'cert' mode.

Use the 'ca-dn' option if you wish to configure the 'distinguished name'
of the certificate authority

By default the 'ca' mode produces a single PKCS#12 output file which holds:
    * The CA certificate
    * The CA's private key

If you elect to generate PEM format certificates (the -pem option), then the output will
be a zip file containing individual files for the CA certificate and private key

Please enter the desired output file [elastic-stack-ca.p12]: es-oldwang-ca.p12                                                         # 輸出文件名稱
Enter password for es-oldwang-ca.p12 :                                                            # 文件密碼(123456)
使用CA文件生成密鑰文件: ./bin/x-pack/certutil cert --ca es-oldwang-ca.p12
./certutil cert --ca es-oldwang-ca.p12
This tool assists you in the generation of X.509 certificates and certificate
signing requests for use with SSL/TLS in the Elastic stack.

The 'cert' mode generates X.509 certificate and private keys.
    * By default, this generates a single certificate and key for use
       on a single instance.
    * The '-multiple' option will prompt you to enter details for multiple
       instances and will generate a certificate and key for each one
    * The '-in' option allows for the certificate generation to be automated by describing
       the details of each instance in a YAML file

    * An instance is any piece of the Elastic Stack that requires a SSL certificate.
      Depending on your configuration, Elasticsearch, Logstash, Kibana, and Beats
      may all require a certificate and private key.
    * The minimum required value for each instance is a name. This can simply be the
      hostname, which will be used as the Common Name of the certificate. A full
      distinguished name may also be used.
    * A filename value may be required for each instance. This is necessary when the
      name would result in an invalid file or directory name. The name provided here
      is used as the directory name (within the zip) and the prefix for the key and
      certificate files. The filename is required if you are prompted and the name
      is not displayed in the prompt.
    * IP addresses and DNS names are optional. Multiple values can be specified as a
      comma separated string. If no IP addresses or DNS names are provided, you may
      disable hostname verification in your SSL configuration.

    * All certificates generated by this tool will be signed by a certificate authority (CA).
    * The tool can automatically generate a new CA for you, or you can provide your own with the
         -ca or -ca-cert command line options.

By default the 'cert' mode produces a single PKCS#12 output file which holds:
    * The instance certificate
    * The private key for the instance certificate
    * The CA certificate

If you elect to generate PEM format certificates (the -pem option), then the output will
be a zip file containing individual files for the instance certificate, the key and the CA certificate

If you elect to generate multiple instances certificates, the output will be a zip file
containing all the generated certificates

Enter password for CA (es-oldwang-ca.p12) :                                                          # 輸入es-oldwang-ca.p12文件密碼
Please enter the desired output file [elastic-certificates.p12]: es-oldwang.p12                      # 輸出文件名稱
Enter password for es-oldwang.p12 :                                                                  # 輸入本文件密碼

Certificates written to /apps/product/elasticsearch-6.2.2/bin/x-pack/es-oldwang.p12

This file should be properly secured as it contains the private key for
your instance.

This file is a self contained file and can be copied and used 'as is'
For each Elastic product that you wish to configure, you should copy
this '.p12' file to the relevant configuration directory
and then follow the SSL configuration instructions in the product guide.

For client applications, you may only need to copy the CA certificate and
configure the client to trust this certificate.
將生成的兩個文件遷移至config目錄下,創建新目錄ssl
ll ssl/
total 8
-rw------- 1 es es 2524 Jun  4 18:53 es-oldwang-ca.p12
-rw------- 1 es es 3440 Jun  4 18:55 es-oldwang.p12
修改各個節點配置文件 elasticsearch.yml ,將以下四行添加至文件末尾
xpack.security.transport.ssl.enabled: true
xpack.security.transport.ssl.verification_mode: certificate
xpack.security.transport.ssl.keystore.path: /apps/product/elasticsearch-6.2.2/config/ssl/es-oldwang.p12
xpack.security.transport.ssl.truststore.path: /apps/product/elasticsearch-6.2.2/config/ssl/es-oldwang.p12
將SSL證書信息導入
./bin/elasticsearch-keystore add xpack.security.transport.ssl.keystore.secure_password
Enter value for xpack.security.transport.ssl.keystore.secure_password:
./bin/elasticsearch-keystore add xpack.security.transport.ssl.truststore.secure_password
Enter value for xpack.security.transport.ssl.truststore.secure_password:
4. 導入license文件
本次實驗,license文件已經上傳至伺服器,存放至es根目錄,文件名:license.json
修改各個節點配置文件 elasticsearch.yml ,文件末尾添加,並重啟集群
xpack.security.enabled:false
導入license文件,需要elastic用戶的密碼,導入完成後會提示導入成功。
curl -XPUT -u elastic 'http://10.20.88.161:9200/_xpack/license' -H "Content-Type: application/json" -d @license.json
Enter host password for user 'elastic':
{"acknowledged":true,"license_status":"valid"}
導入完成後註釋掉配置文件elasticsearch.yml 中的,並重啟集群
# xpack.security.enabled:false
六、登錄網頁查看
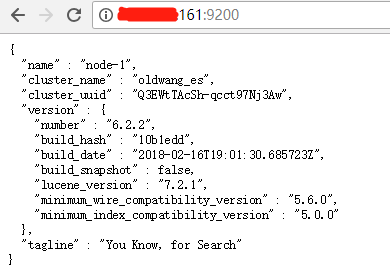
網頁登錄集群查看
修改kibana配置文件 kibana.yml,修改登錄用戶密碼
elasticsearch.username: "elastic"                      # es用戶
elasticsearch.password: "elastic"                      # 之前修改過的es密碼
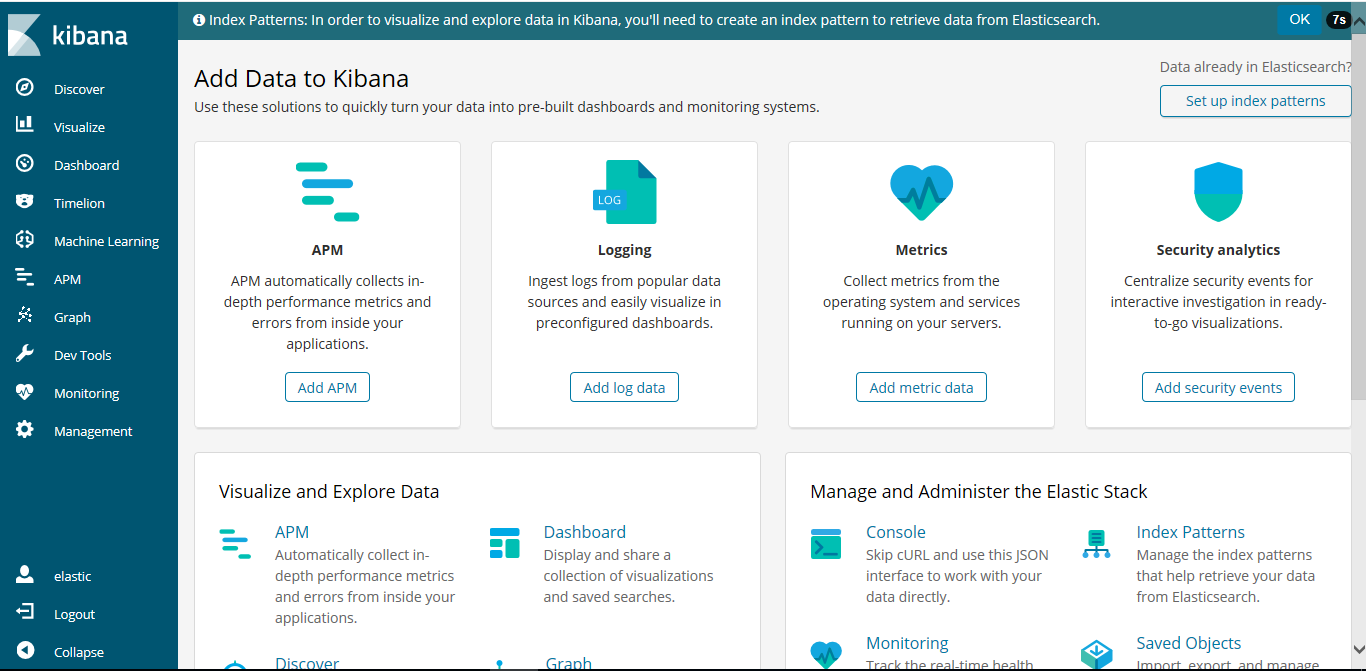
網頁登錄查看kibana

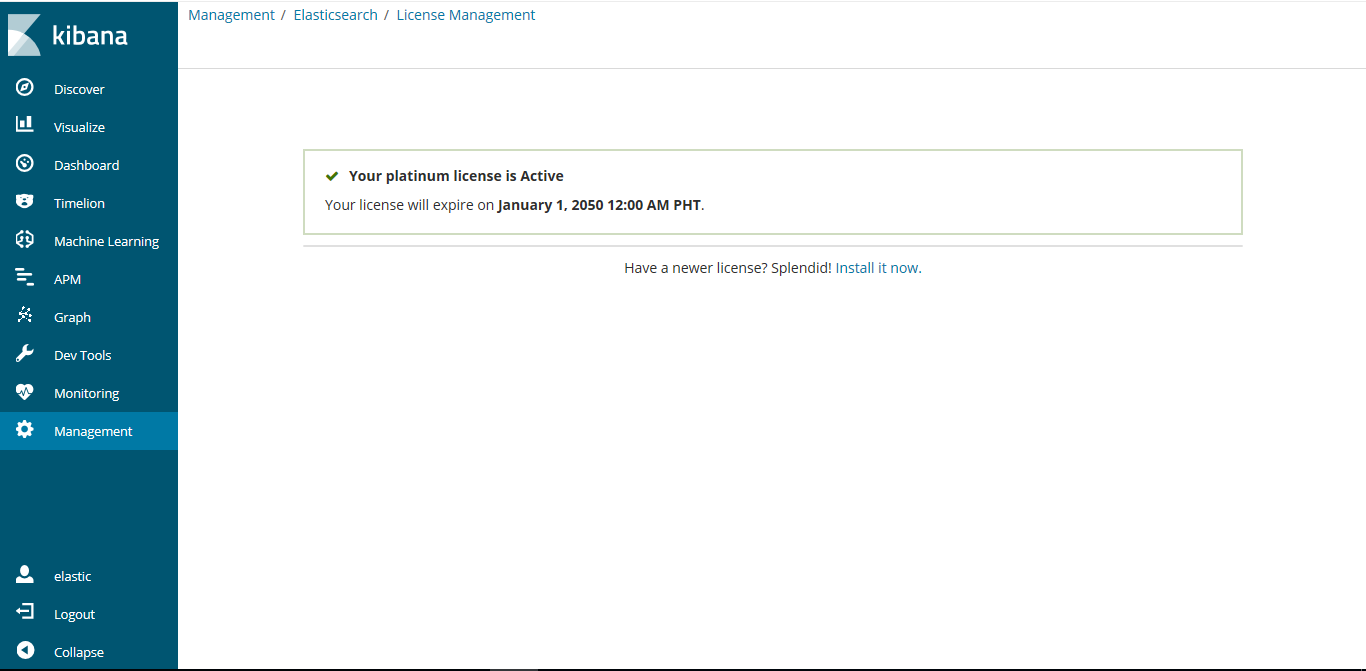
從kibana端也可看到,licence修改過後過期時間為2050年


彩蛋:
http://IP:9200/_cluster/health?pretty                     # 集群用戶檢查
http://IP:9200/_cat/health
http://10.20.88.161:9200/_cat/health?v


