一,新建立一個工程,Hello,如圖所示。 二,Xcode >New >File >FirstViewController >選中Also create XIB file >Next.如圖所示。 三,如下圖所示。 四,在AppDelegate.m中輸入如下代碼 : 五,在FristViewContr ...
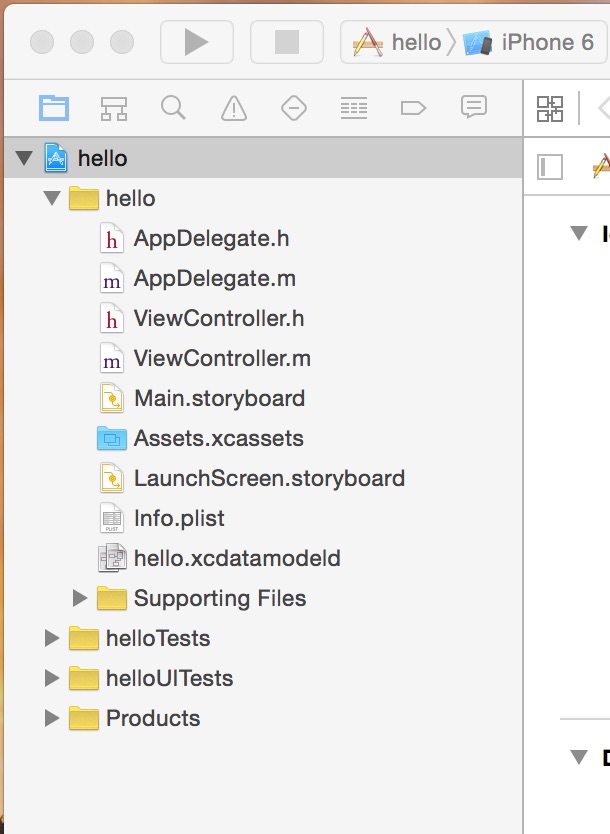
一,新建立一個工程,Hello,如圖所示。
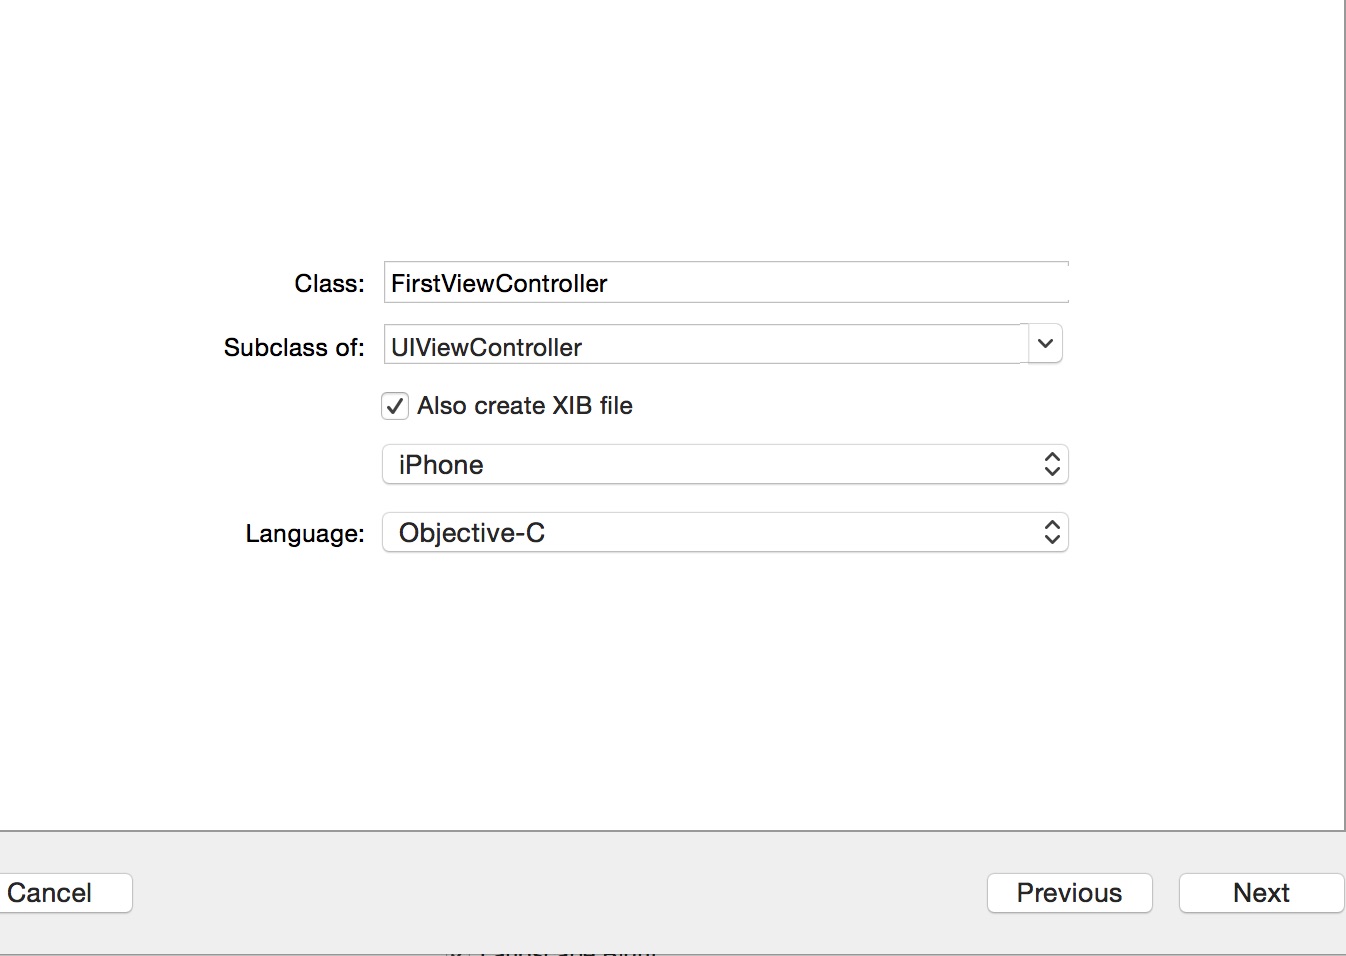
二,Xcode--->New--->File--->FirstViewController---->選中Also create XIB file--->Next.如圖所示。
三,如下圖所示。

四,在AppDelegate.m中輸入如下代碼 :

#import "AppDelegate.h"
#import "FirstViewController.h"

@interface AppDelegate ()

@end

@implementation AppDelegate


- (BOOL)application:(UIApplication *)application didFinishLaunchingWithOptions:(NSDictionary *)launchOptions {
    // Override point for customization after application launch.


    FirstViewController *first=[[FirstViewController alloc]init];
    UINavigationController *nav=[[UINavigationController alloc]initWithRootViewController:first];
    self.window.rootViewController=nav;

    self.window.backgroundColor=[UIColor whiteColor];

    return YES;
}

五,在FristViewController.m中輸入如下代碼:

- (void)viewDidLoad {
    [super viewDidLoad];
    // Do any additional setup after loading the view from its nib.

    self.view.backgroundColor=[UIColor redColor];
    self.title=@"first";

}

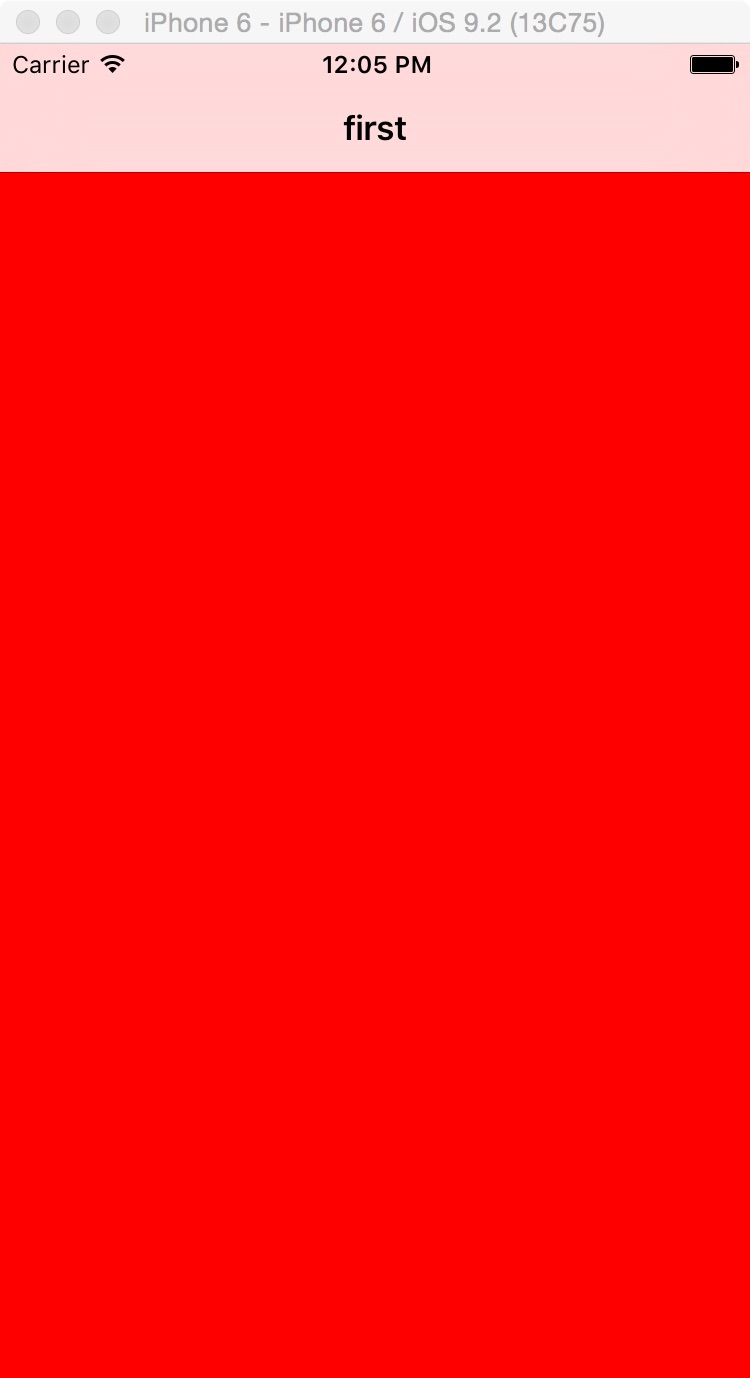
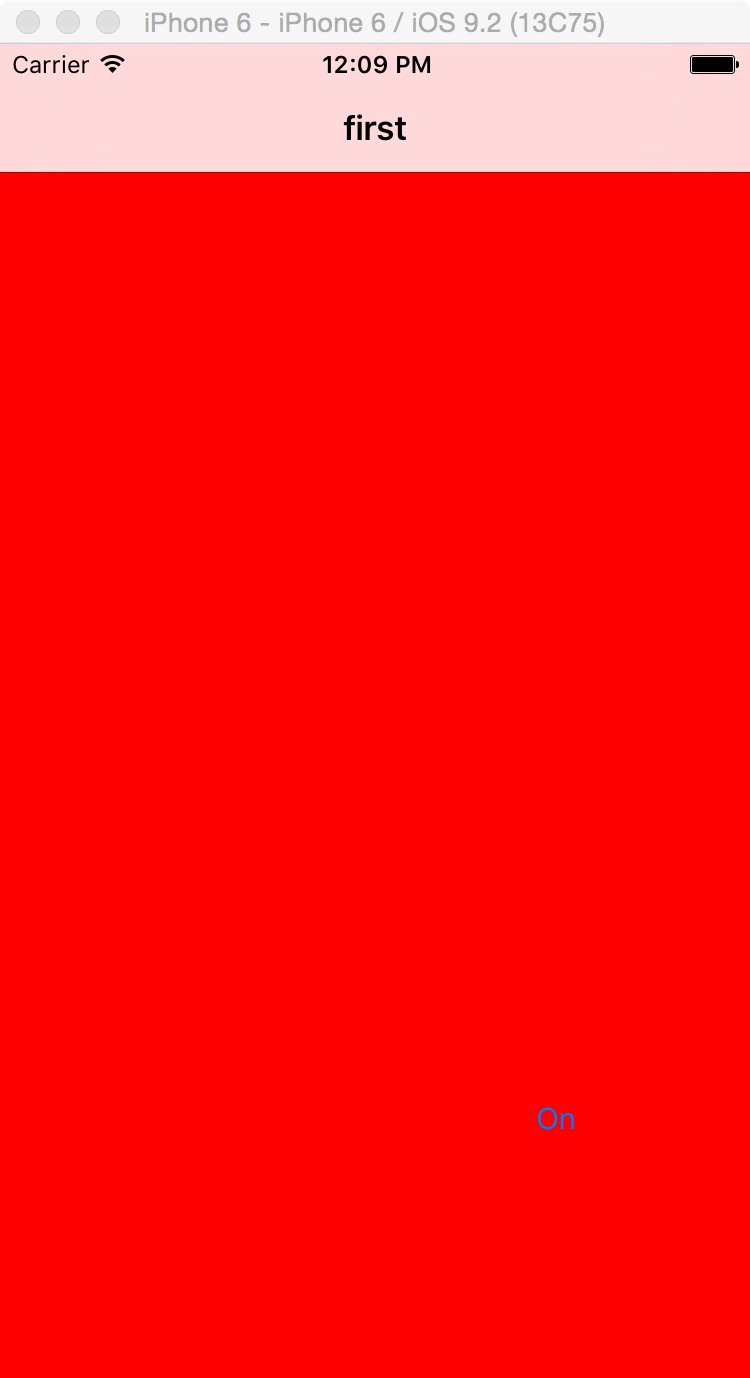
六,運行代碼 ,如下圖所示。
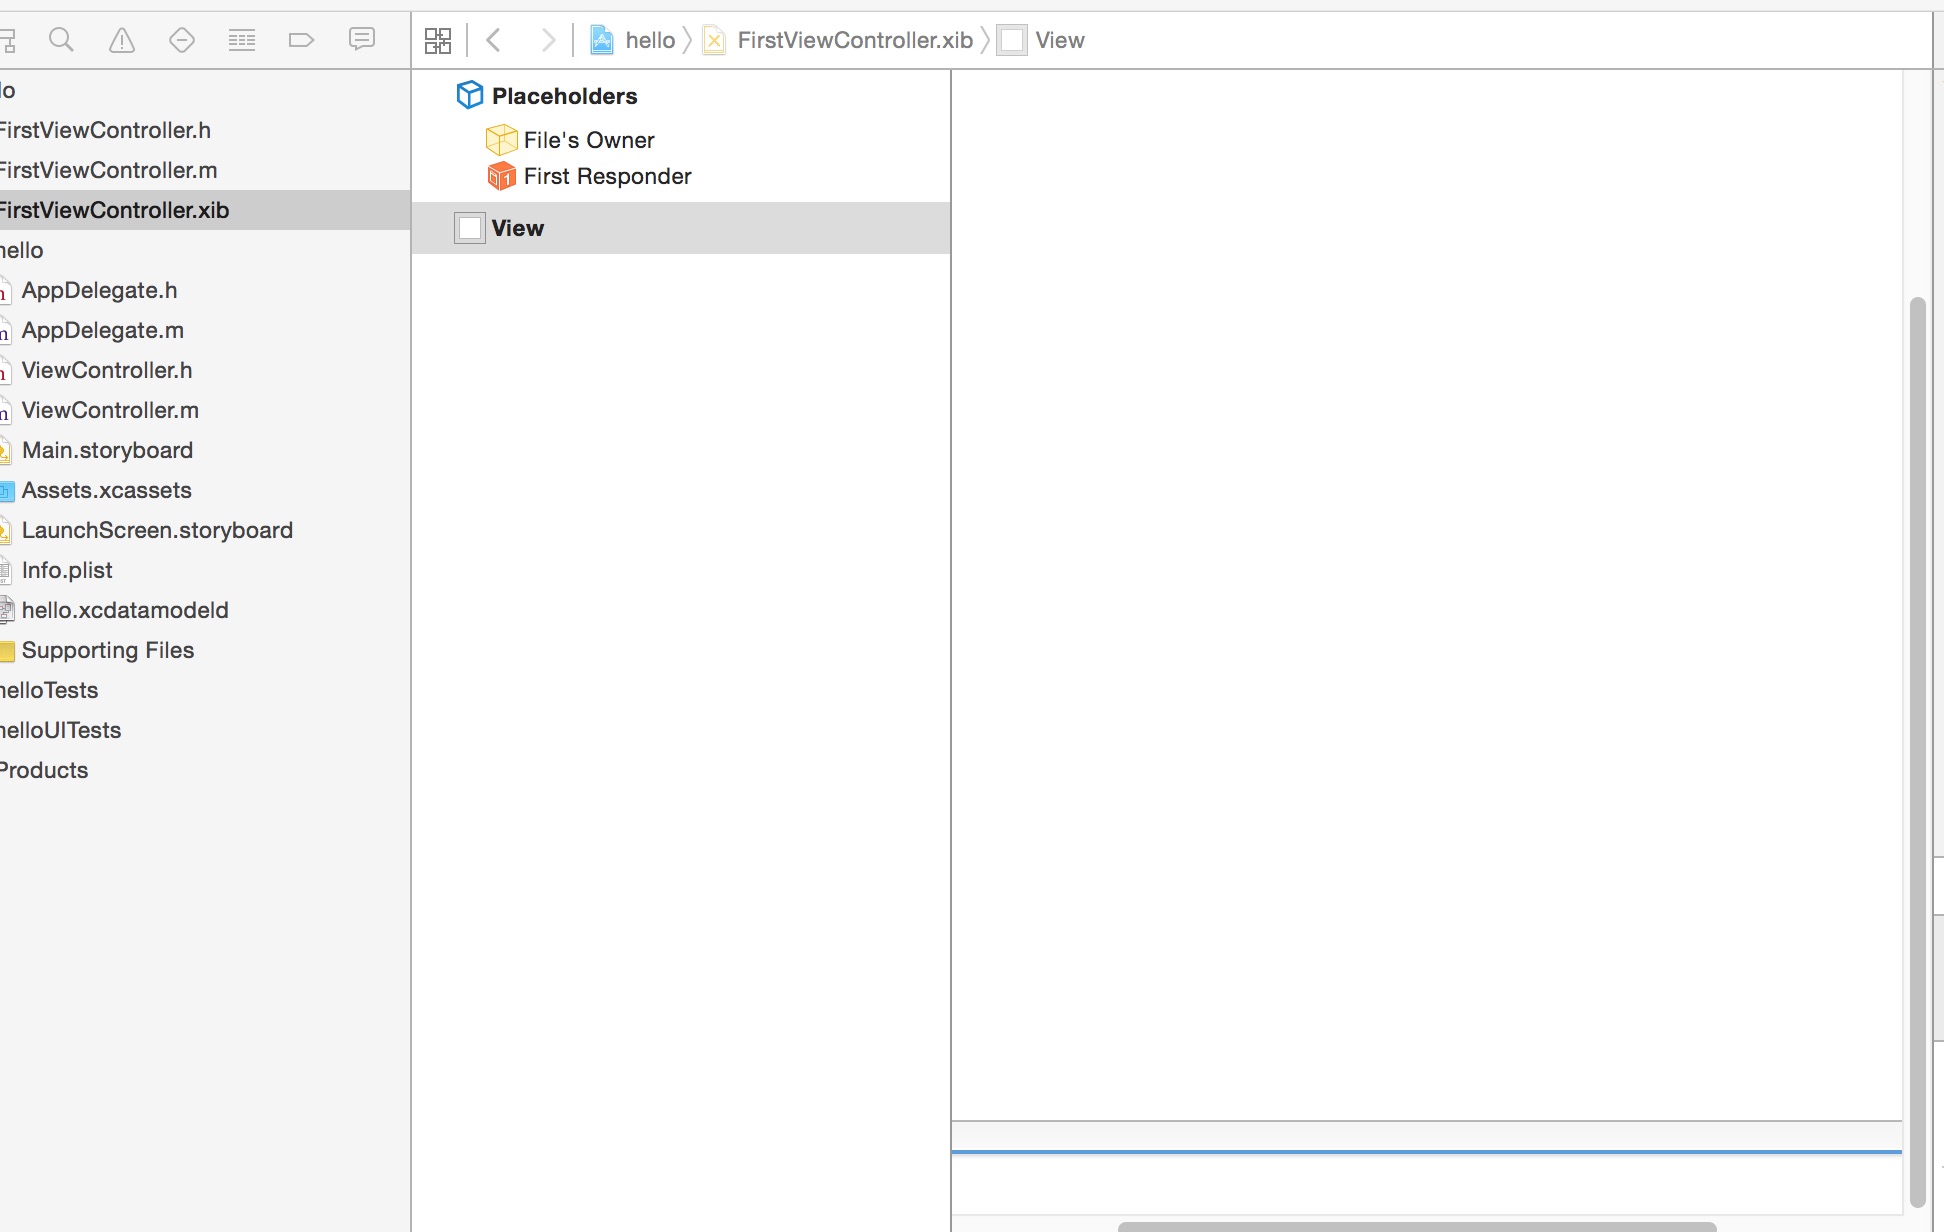
七,選 中FirstViewController.xib,如下圖所示。
八,選中xcode右上角的中間那個按鈕。
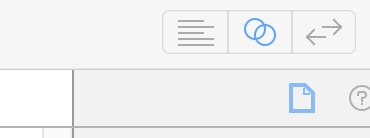
九,會看到Xcode變成如下,最底下,顯示FirstViewController.h文件。
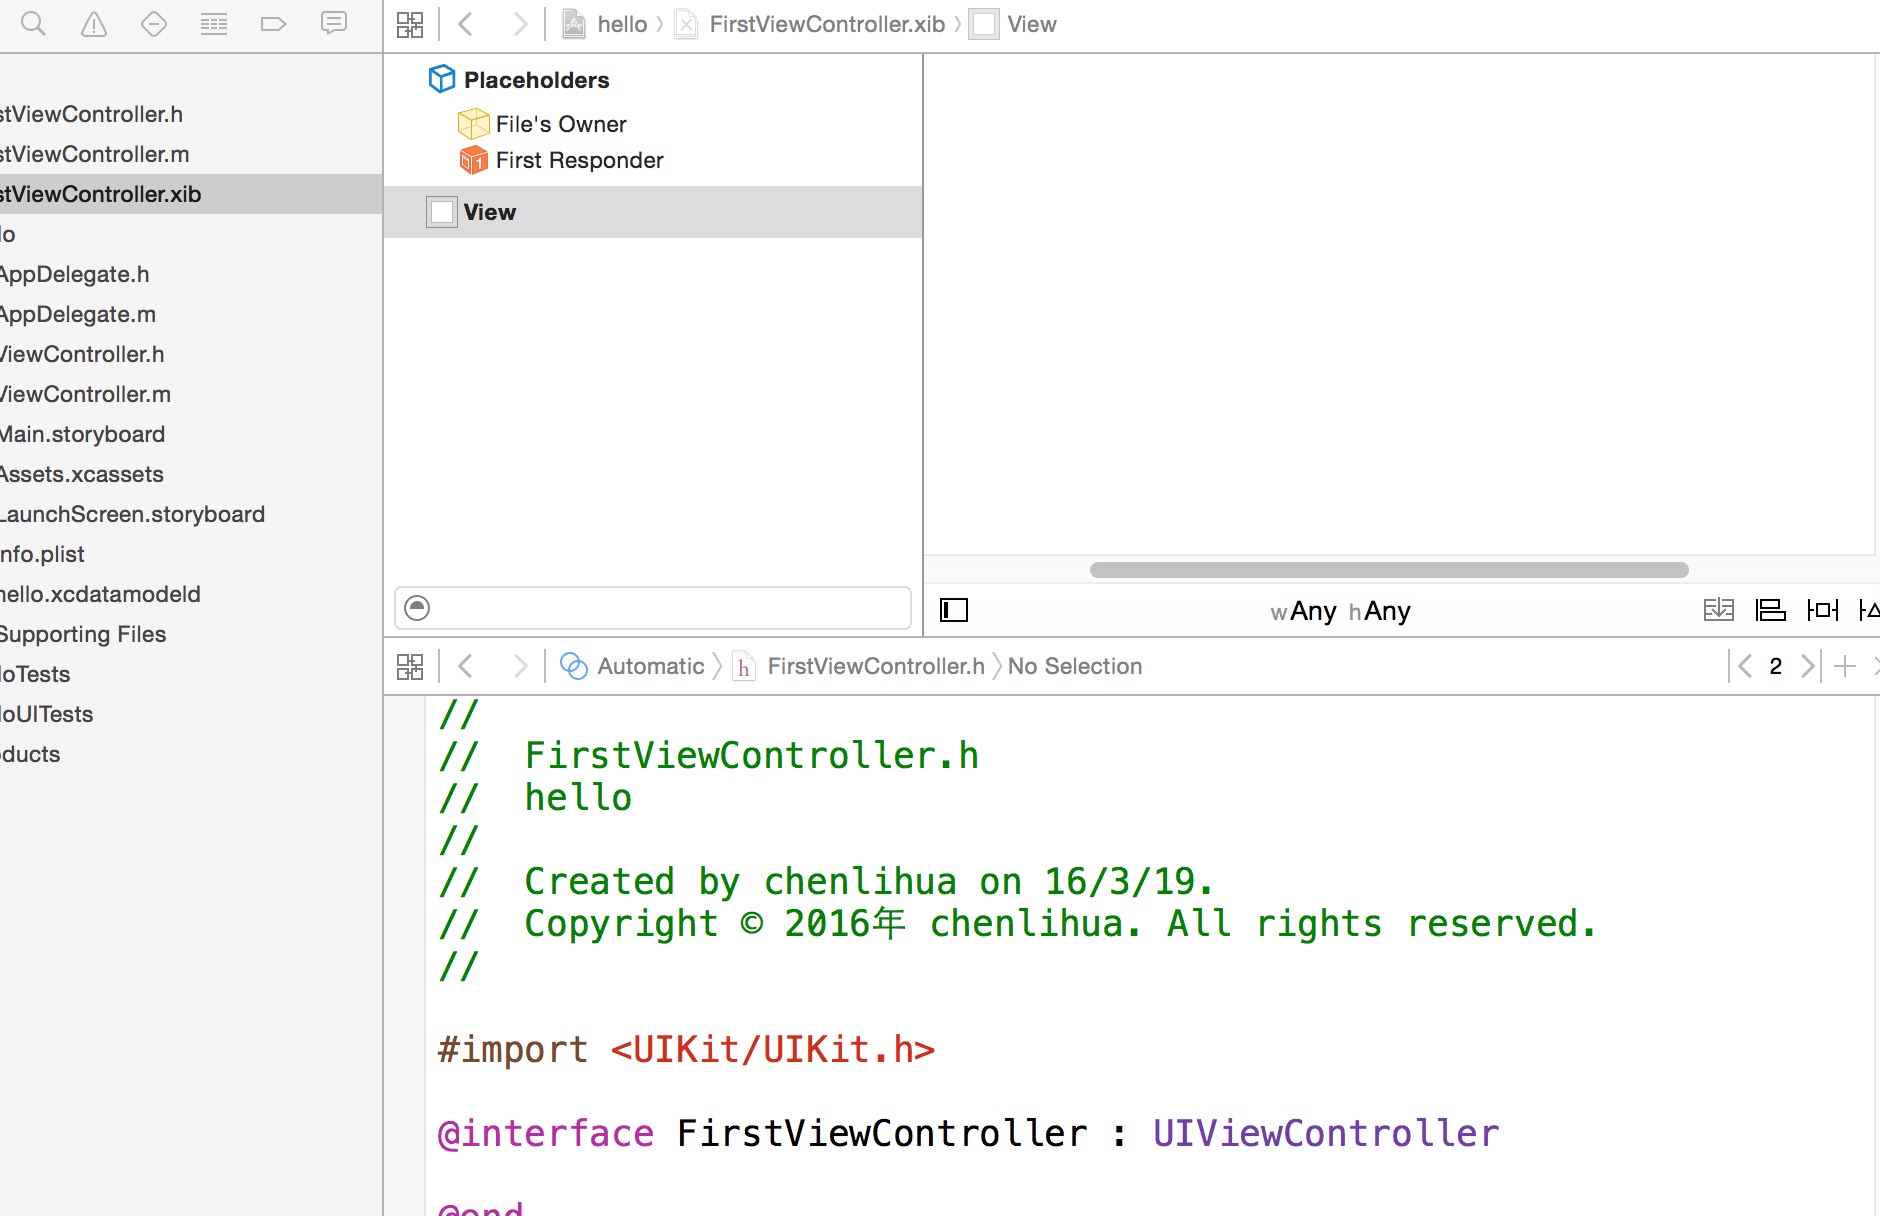
十,如下圖所示,找到Use Auto Layout--->把前面的勾去掉。
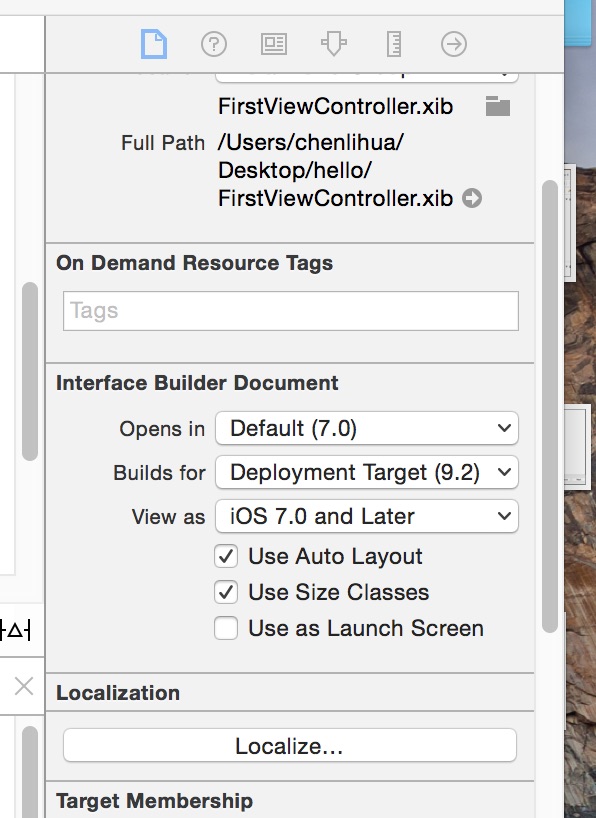
十一,會彈出如下對話框,選擇右側的Disable Size Classes.

十二,會看到中間出現了iPhone形狀的畫布。
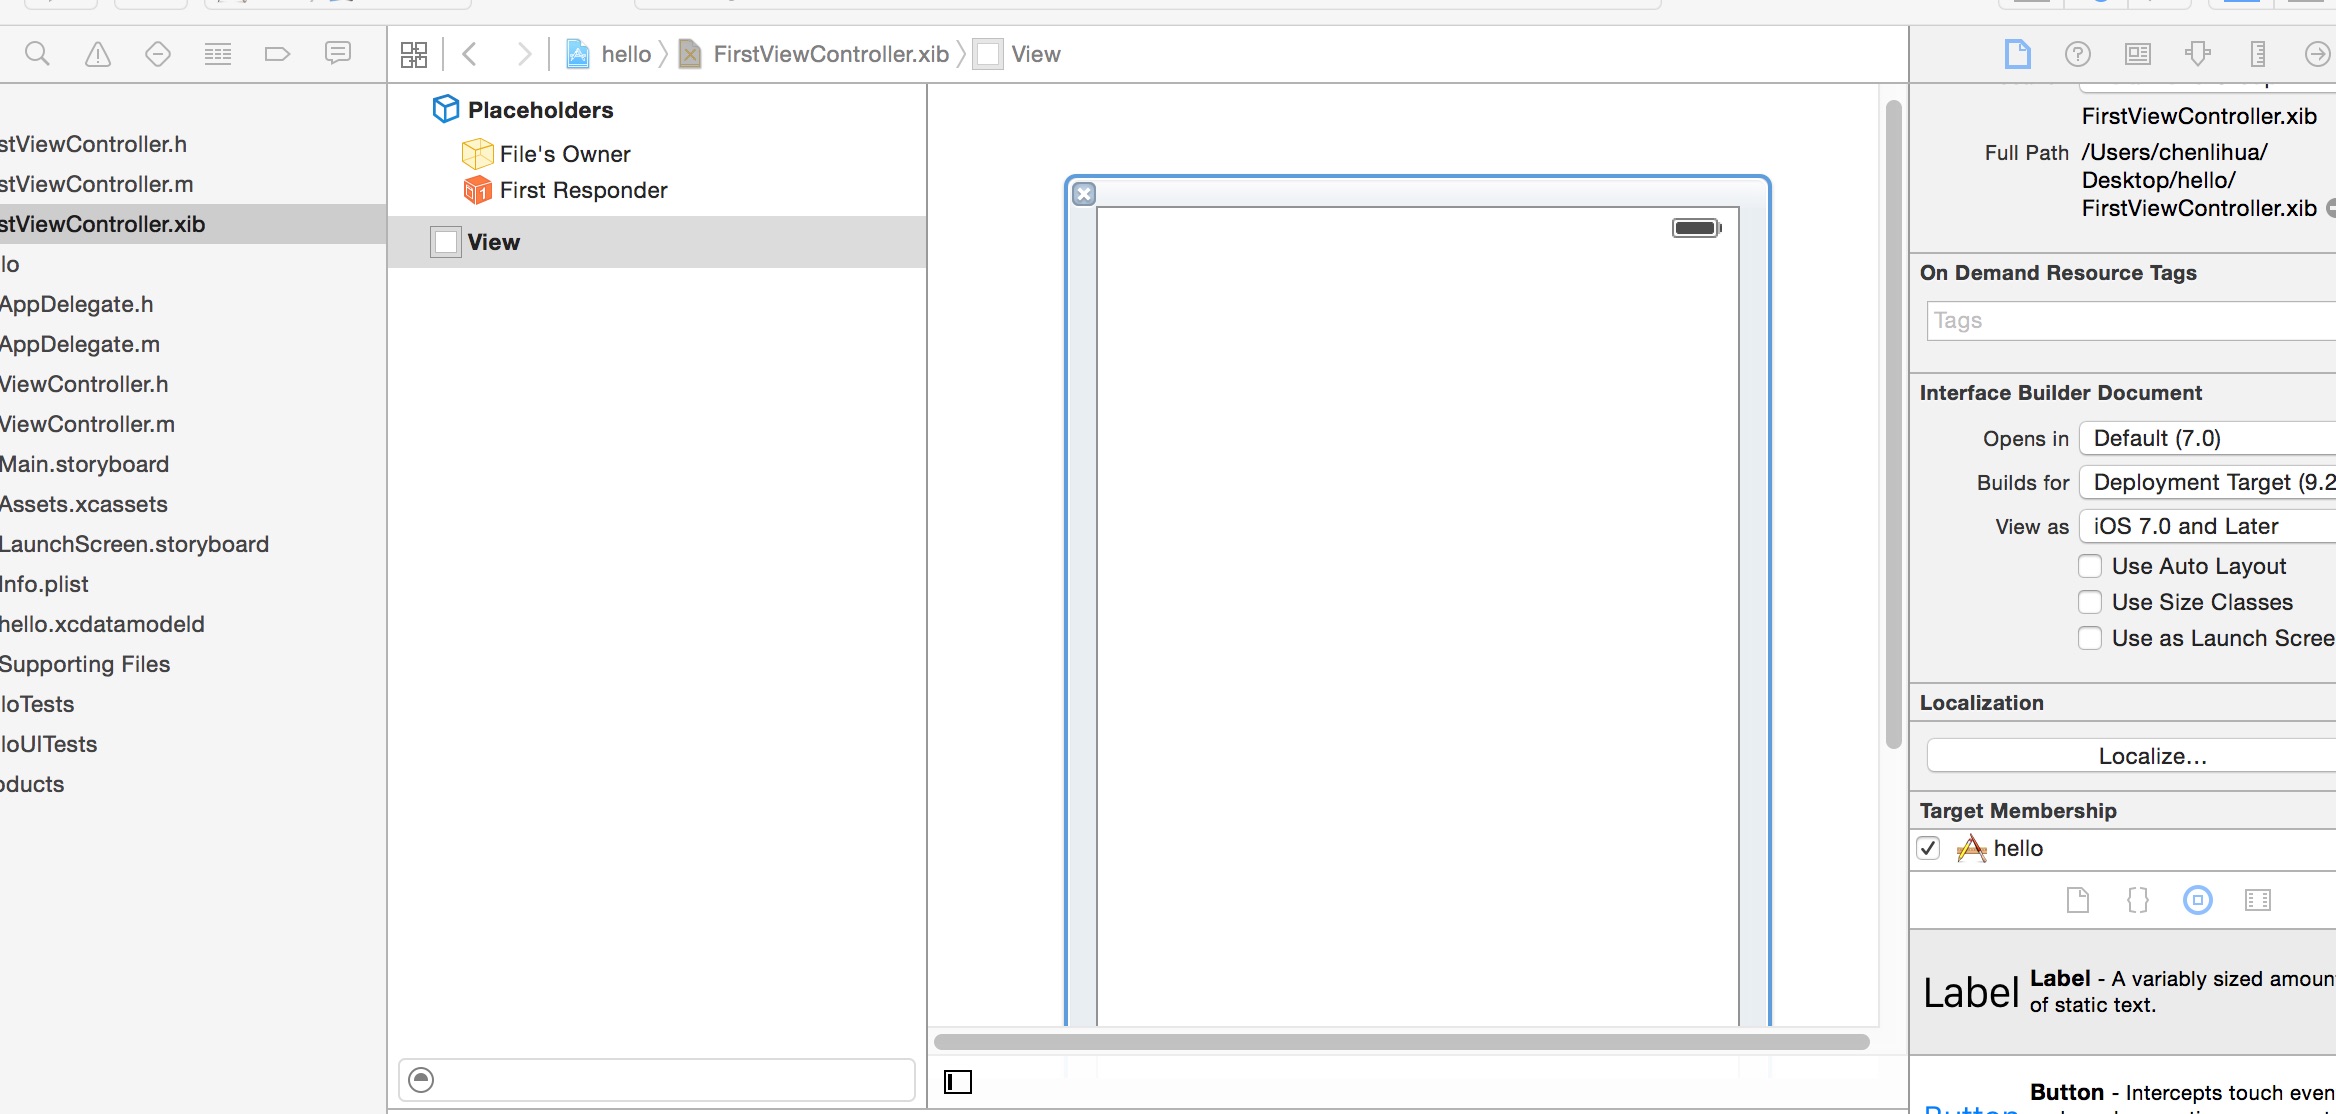
十三,拖動一個Button按鈕到畫布上面。如下圖所示。
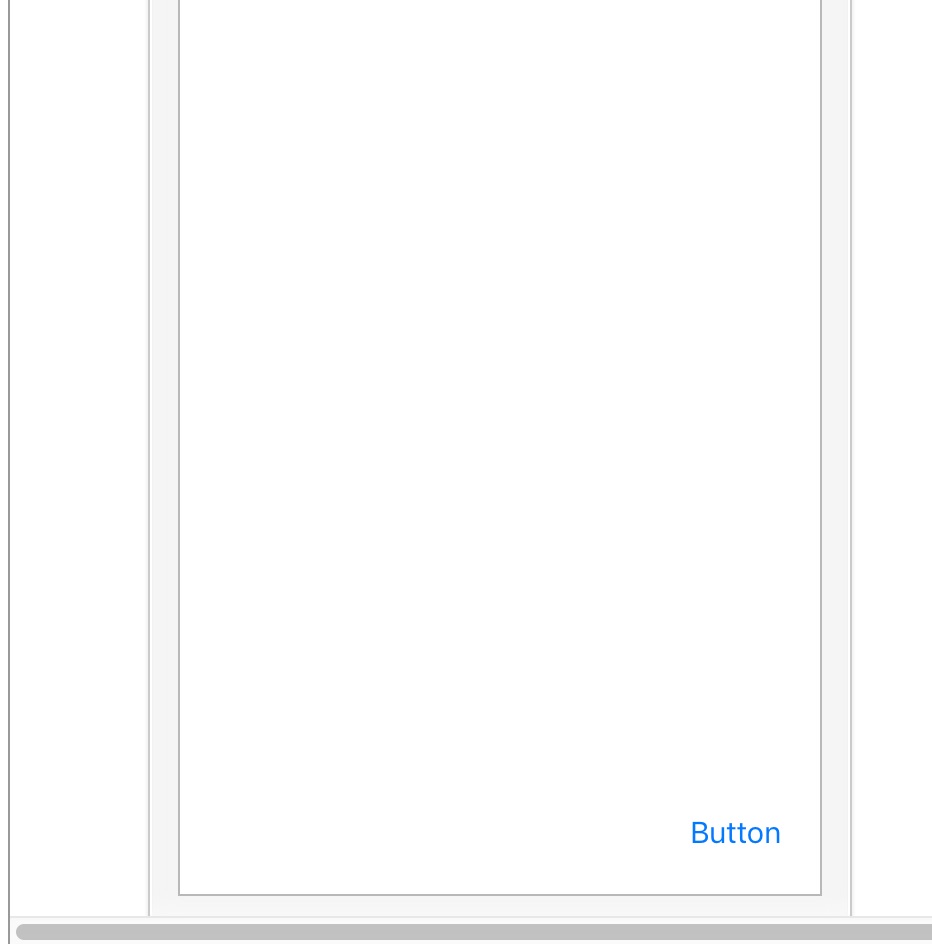
十四,將Button命名為On.
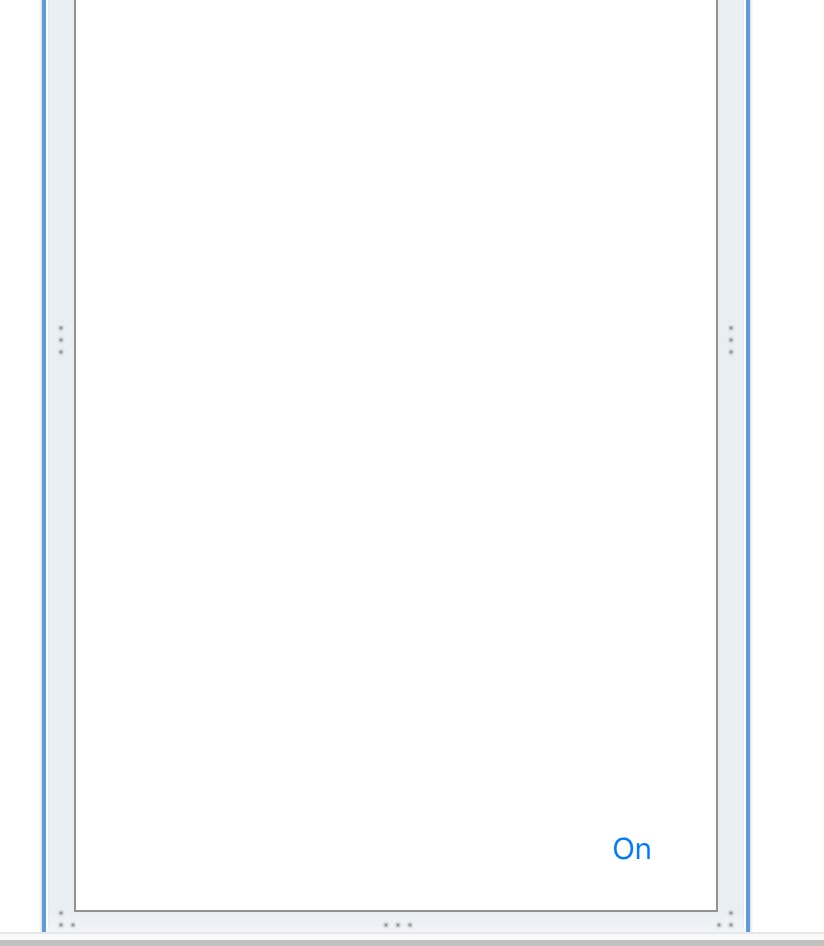
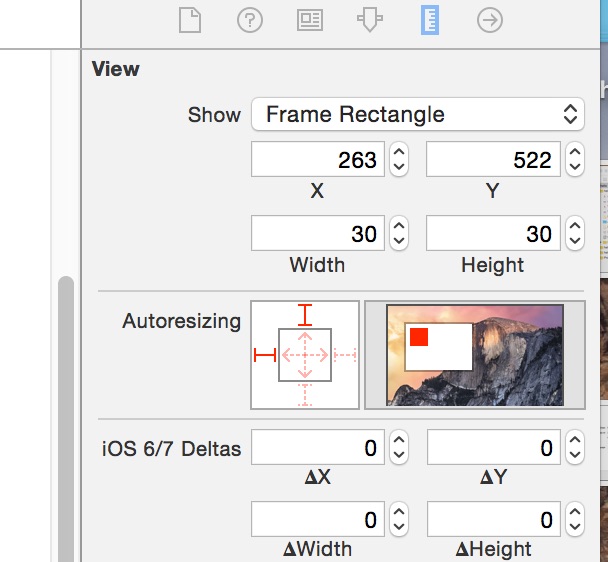
十五,如圖,在內部的方框中顯示彈簧(兩端有箭頭的紅色垂直線和水平線);支架是外部的紅線。註意On按鈕的位置,只有頂部和左側的支架是活動的,說明按鈕的頂部和左邊將與其超視圖邊緣保持相同的距離,該按鈕不在在垂直或者水平方向上改變尺寸。即不管屏幕怎麼變化,按鈕都會在左上角的位置不動。
十六,運行,如下圖所示。
十七,點擊Autorsizing左側和頂部的紅色箭頭,箭頭將會消失,右側的白色畫布內的紅色也跑到了中間的位置。這不是我們想要的效果。
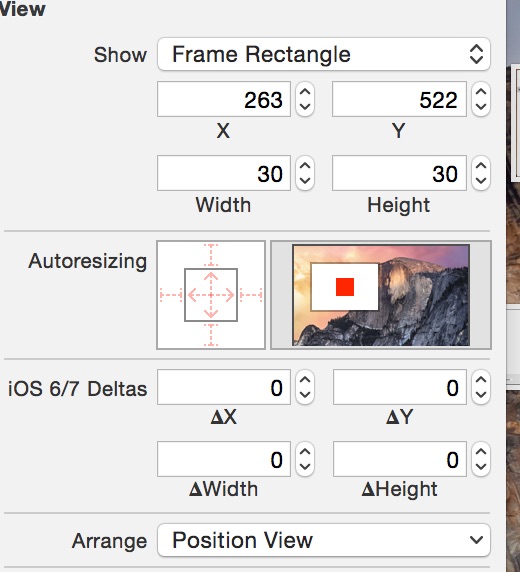
十八,用滑鼠選 中Autoresizing中的右側和下側的箭頭,看到右側白色畫布中的紅色跑到了右下角,即不管屏幕怎麼變化大小,button都會以右下角對齊。這正式我們想要的效果。
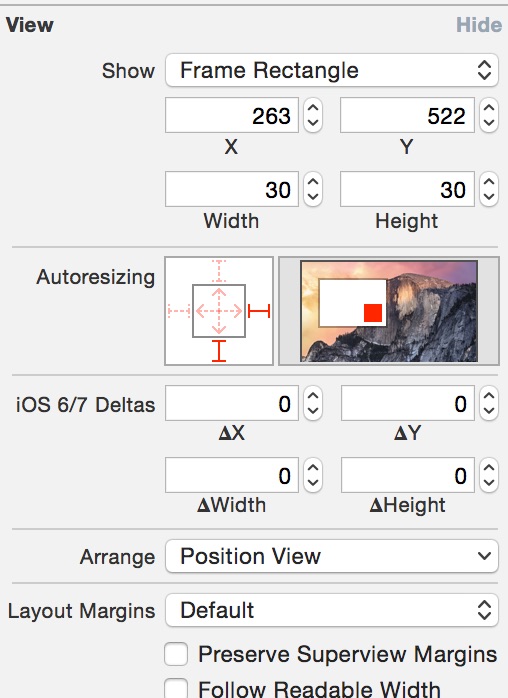
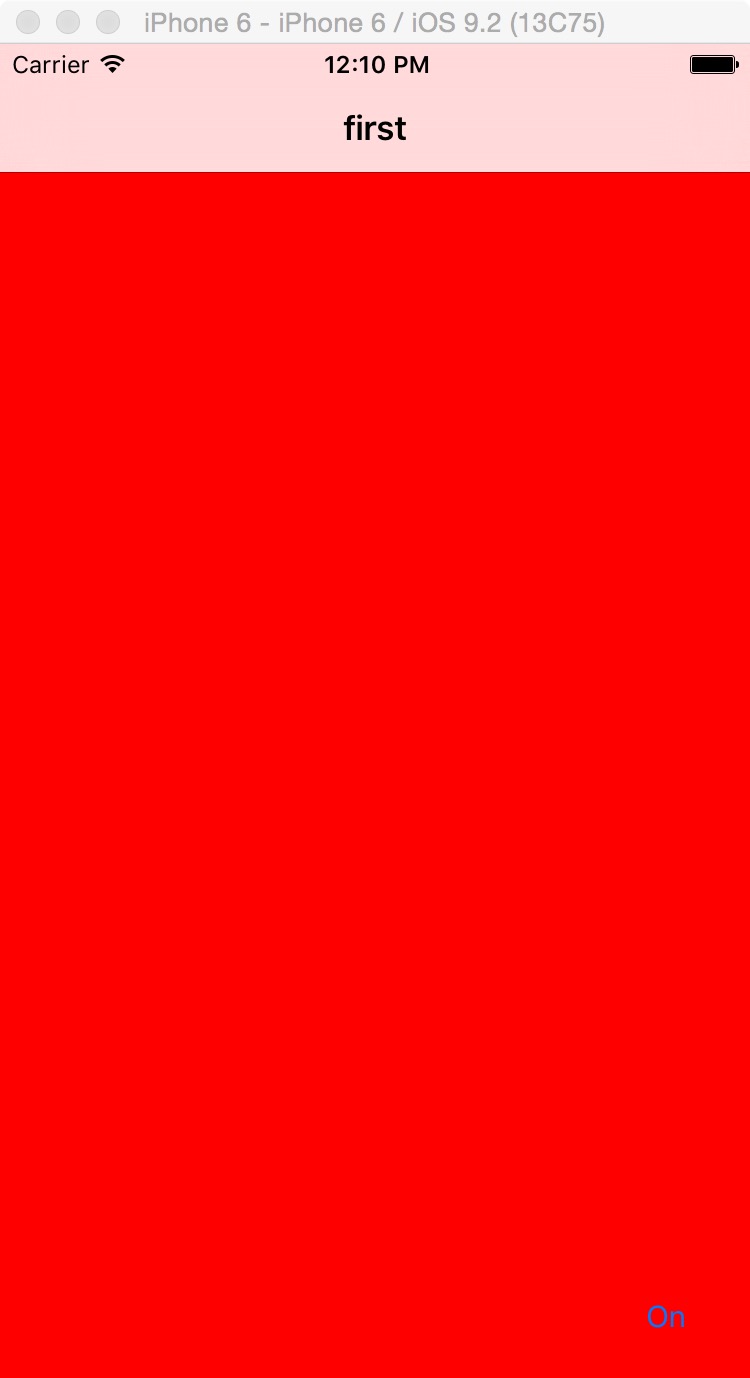
十九,如圖,運行。我們可以在iphone5,iphone6的模擬機上運行,發現button總是顯示是右上角。
參考資料:《Xcode實戰開發》


