1.安裝Java環境 安裝了Java環境直接下一步,沒有安裝的話:http://www.cnblogs.com/i-tao/p/8587279.html 2.安裝Eclipse開發工具 安裝了Eclipse直接下一步,沒有安裝直接去官網下載Eclipse:https://www.eclipse.or ...
1.安裝Java環境
安裝了Java環境直接下一步,沒有安裝的話:http://www.cnblogs.com/i-tao/p/8587279.html
2.安裝Eclipse開發工具
安裝了Eclipse直接下一步,沒有安裝直接去官網下載Eclipse:https://www.eclipse.org/downloads/eclipse-packages/
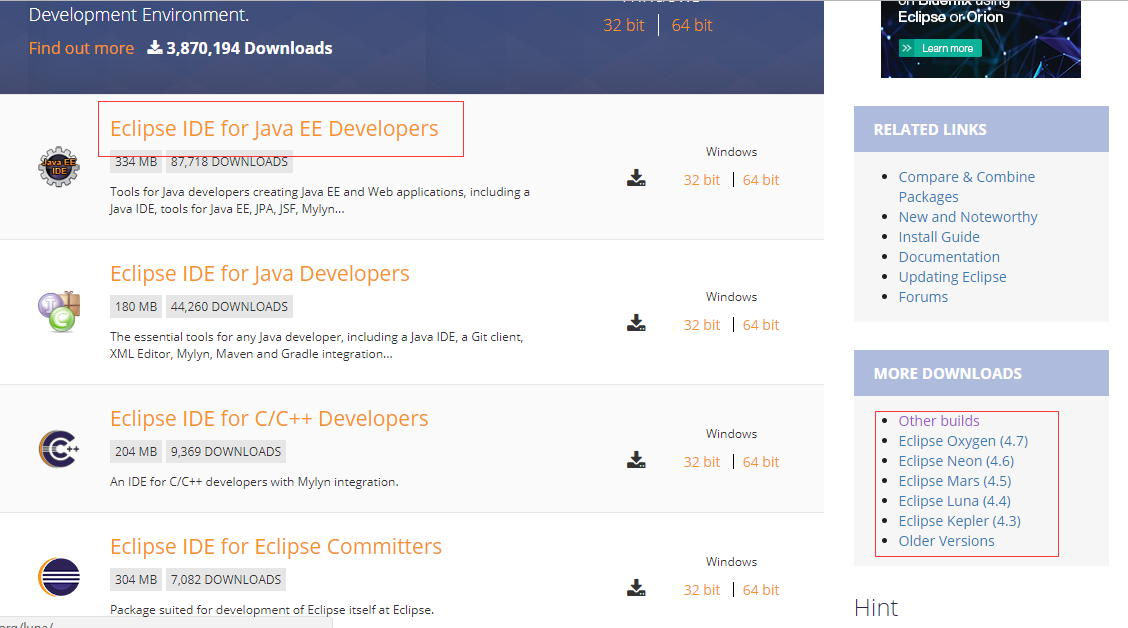
下載完成直接打開運行
3.Maven創建SpringBoot項目
3.1、創建Maven項目:

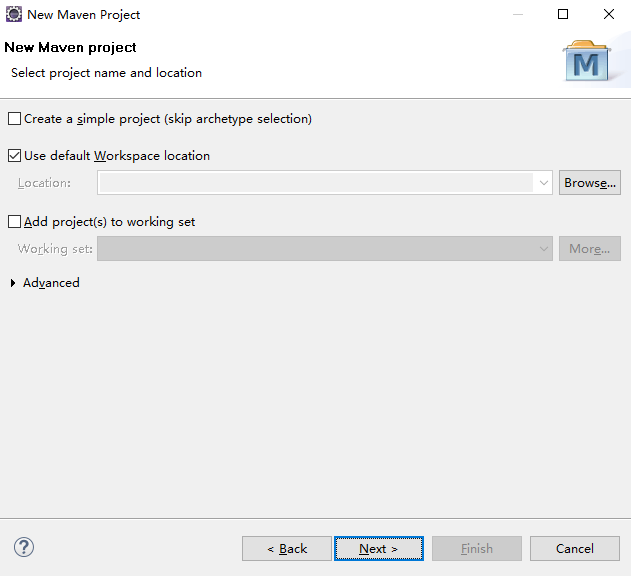

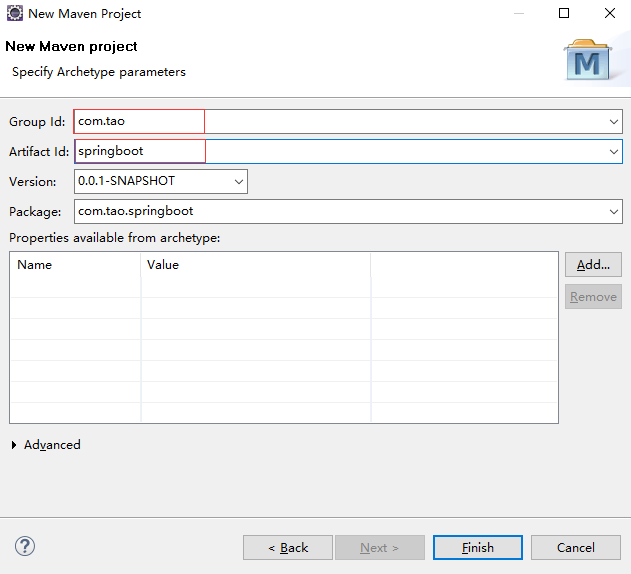
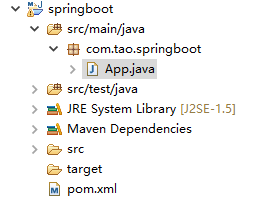
打開App.java
package com.tao.springboot;

/**
 * Hello world!
 *
 */
public class App
{
    public static void main( String[] args )
    {
        System.out.println( "Hello World!" );
    }
}
3.2、打開pom.xml
<project xmlns="http://maven.apache.org/POM/4.0.0" xmlns:xsi="http://www.w3.org/2001/XMLSchema-instance"
  xsi:schemaLocation="http://maven.apache.org/POM/4.0.0 http://maven.apache.org/xsd/maven-4.0.0.xsd">
  <modelVersion>4.0.0</modelVersion>

  <groupId>com.tao</groupId>
  <artifactId>springboot</artifactId>
  <version>0.0.1-SNAPSHOT</version>
  <packaging>jar</packaging>

  <name>springboot</name>
  <url>http://maven.apache.org</url>

  <properties>
    <project.build.sourceEncoding>UTF-8</project.build.sourceEncoding>
  </properties>

  <dependencies>
    <dependency>
      <groupId>junit</groupId>
      <artifactId>junit</artifactId>
      <version>3.8.1</version>
      <scope>test</scope>
    </dependency>
  </dependencies>
</project>
添加依賴之後的pom.xml
<project xmlns="http://maven.apache.org/POM/4.0.0" xmlns:xsi="http://www.w3.org/2001/XMLSchema-instance"
	xsi:schemaLocation="http://maven.apache.org/POM/4.0.0 http://maven.apache.org/xsd/maven-4.0.0.xsd">
	<modelVersion>4.0.0</modelVersion>

	<groupId>com.tao</groupId>
	<artifactId>springboot</artifactId>
	<version>0.0.1-SNAPSHOT</version>
	<packaging>jar</packaging>

	<name>springboot</name>
	<url>http://maven.apache.org</url>

	<properties>
		<project.build.sourceEncoding>UTF-8</project.build.sourceEncoding>
	</properties>
	<parent>
		<groupId>org.springframework.boot</groupId>
		<artifactId>spring-boot-starter-parent</artifactId>
		<version>1.5.12.RELEASE</version>
	</parent>

	<dependencies>
		<dependency>
			<groupId>org.springframework.boot</groupId>
			<artifactId>spring-boot-starter-web</artifactId>
		</dependency>
		<dependency>
			<groupId>junit</groupId>
			<artifactId>junit</artifactId>
			<version>3.8.1</version>
			<scope>test</scope>
		</dependency>
	</dependencies>
</project>
依賴環境可以參考springboot官網http://projects.spring.io/spring-boot/
<parent>
    <groupId>org.springframework.boot</groupId>
    <artifactId>spring-boot-starter-parent</artifactId>
    <version>1.5.12.RELEASE</version>
</parent>
<dependencies>
    <dependency>
        <groupId>org.springframework.boot</groupId>
        <artifactId>spring-boot-starter-web</artifactId>
    </dependency>
</dependencies>
3.3、修改App作為springboot程式入口,並添加@SpringBootApplication
package com.tao.springboot;

import org.springframework.boot.SpringApplication;
import org.springframework.boot.SpringBootConfiguration;
import org.springframework.boot.autoconfigure.EnableAutoConfiguration;

/**
 * Hello world!
 *
 */
@SpringBootApplication
public class App
{
    public static void main( String[] args )
    {
        SpringApplication.run(App.class, args);
    }
}
3.4、在下一級添加action包,我這裡上級目錄是com.tao.springboot,新建一個com.tao.springboot.action
創建一個sayHello.java
package com.tao.springboot.action;

import org.springframework.web.bind.annotation.RequestMapping;
import org.springframework.web.bind.annotation.RestController;

@RestController
@EnableAutoConfiguration
@RequestMapping(value = "/sayHello")
public class sayHello {
	@RequestMapping(value = "/Hello")
	public String Hello(){
		return "Hello World !";
	}
}
3.5、運行App.java的main方法

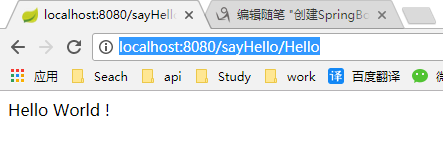
瀏覽器訪問:http://localhost:8080/sayHello/Hello
