1.創建活動 首先用AS創建一個add no activity項目名使用ActivityTest,包名為預設的com.example.activitytest 2.右擊app.java.com.example.activitytest包,new-->Activity-->Empty Activity ...
1.創建活動
首先用AS創建一個add no activity項目名使用ActivityTest,包名為預設的com.example.activitytest
2.右擊app.java.com.example.activitytest包,new-->Activity-->Empty Activity,將活動命名為FirstActivity,不勾選Generate(生成) Layout和Launcher Activity選項。
其中Layout是佈局用的,而Launcher Activity是用於將當前活動設置為Main活動。
3.打開剛纔創建的FirstActivity.java,可以看到AS已經自動重寫了onCreate()方法。
public class FirstActivity extends AppCompatActivity {

    @Override
    protected void onCreate(Bundle savedInstanceState) {
        super.onCreate(savedInstanceState);
   }
}
需註意的是項目中的任何活動都應該重寫該方法。從super可以看出這裡的onCreate()是直接調用的父類的方法。
4.創建佈局
在res目錄右擊,new-->Directory(目錄),創建layout目錄。右擊layout-->Layout resource file,創建佈局文件first_layout.xml,根元素預設為LinearLayout下麵為代碼。
<?xml version="1.0" encoding="utf-8"?>
<LinearLayout xmlns:android="http://schemas.android.com/apk/res/android"
    android:orientation="vertical" android:layout_width="match_parent"
    android:layout_height="match_parent">
  <Button
         android:id="@+id/button_1"
         android:layout_width="match_parent"
         android:layout_height="wrap_content"
         android:text="Button 1"
      />
</LinearLayout>
其中自己添加的代碼是<Button />標簽部分,
android:id="@+id/button_1"是用來給當前元素定義一個唯一的標識符。(在Xml代碼中@id/id_name表示引用一個id,而@+id/id_name表示創建一個id)。
後面的width,height當然就是用來設定當前元素的寬高的,match_parent(匹配_父元素),wrap_content(包_內容)。
android:text="Button 1"是用來顯示按鈕的內容的。
5.載入佈局
要將佈局載入到活動中才能顯示,所以需在活動的onCreate()方法中寫入如下代碼。
setContentView(R.layout.first_layout);
setContentView(設置內容外觀),任何資源文件都會在R文件中生成一個相應的id,而這裡直接傳入之前所創建的佈局文件id(在java代碼中引用id的格式為R.路徑名.文件名)
6.註冊活動
項目中所有活動都需要在AndroidMainfest.xml中註冊。
<?xml version="1.0" encoding="utf-8"?>
<manifest xmlns:android="http://schemas.android.com/apk/res/android"
    package="com.example.l.activitytest">

    <application
        android:allowBackup="true"
        android:icon="@mipmap/ic_launcher"
        android:label="@string/app_name"
        android:roundIcon="@mipmap/ic_launcher_round"
        android:supportsRtl="true"
        android:theme="@style/AppTheme">
        <activity android:name=".FirstActivity" android:label="this is first activity">
            <intent-filter>
                <action android:name="android.intent.action.MAIN"/>
                <category android:name="android.intent.category.LAUNCHER"/>
            </intent-filter>
        </activity>
    </application>

</manifest>
註冊是在<activity>標簽中進行的,
android:name是用來指定註冊哪一個活動的,而這裡的“.FirstActivity”使用的是相對路徑(因為mainfest中的package中已經聲明瞭活動所在的包名)。
android:label中寫的是活動標題欄中的內容。
<intent-filter>(目的-過濾)中需添加以下兩句
 <action android:name="android.intent.action.MAIN"/>
 <category android:name="android.intent.category.LAUNCHER"/>
第一句表示將此活動設置為主方法,第二句表示應用啟動時就執行該活動。category(種類)。
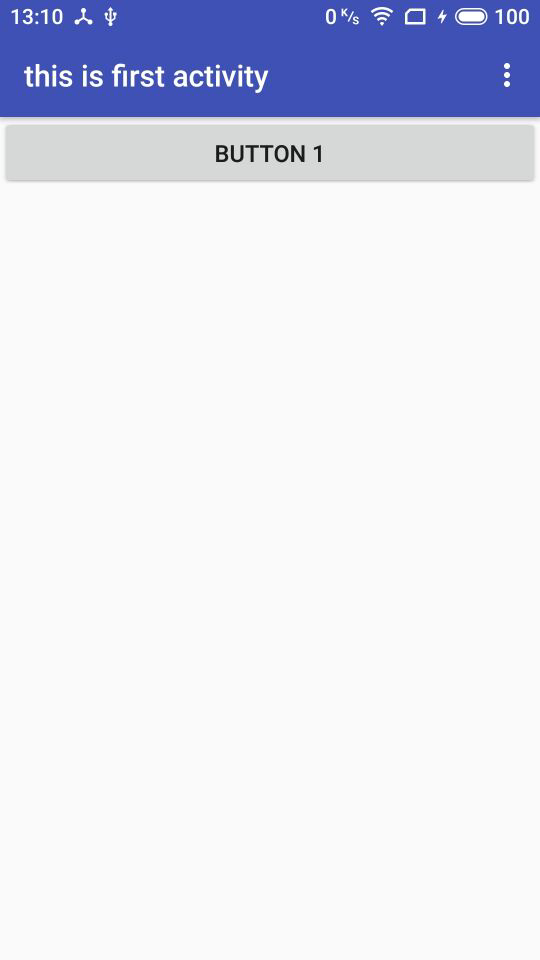
6.運行
運行結果如下