Linux虛擬機的安裝(圖文詳解) 下篇會接續Hadoop集群安裝(以此為基礎) 一、安裝準備 VMWorkstation、linux系統鏡像(以下以CentOS6.5為例) 二、安裝過程詳解 關閉防火牆: service iptables stop chkconfig iptables off 添 ...
Linux虛擬機的安裝(圖文詳解)
下篇會接續Hadoop集群安裝(以此為基礎)
一、安裝準備
VMWorkstation、linux系統鏡像(以下以CentOS6.5為例)
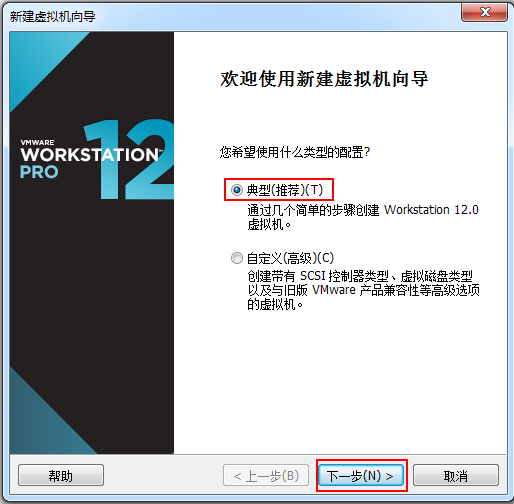
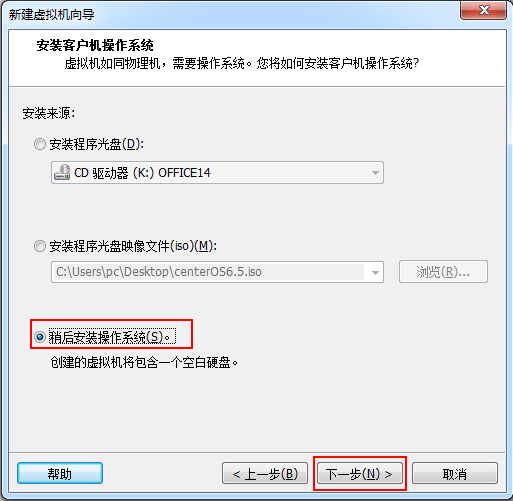
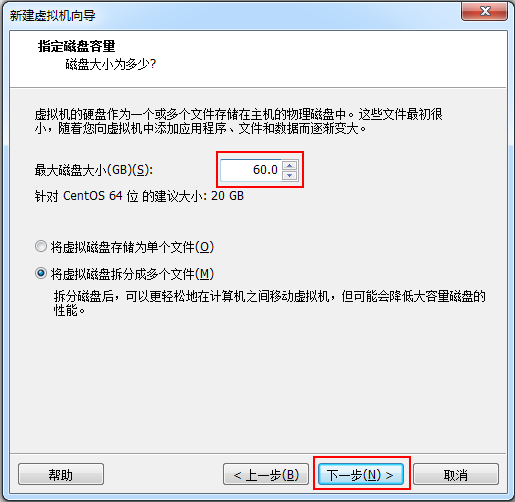
二、安裝過程詳解


關閉防火牆:
service iptables stop
chkconfig iptables off
添加固定ip:

vi /etc/sysconfig/network-scripts/ifcfg-eth0
在其中修改添加:
HWADDR=00:0C:29:60:77:3D(本機相對應的HWaddr)
ONBOOT=yes
BOOTPROTO=none
IPADDR=192.168.83.133(本機IP)
(可使用ifconfig進行查看)
GATEWAY=192.168.83.2
DNS1=8.8.4.4
DNS2=222.85.85.85
保存之後重啟network
service network restart
註意:(安裝過後如何同步系統時間)
時間的同步對以後hadoop集群和MapReduce使用等等也許會有一定的影響
安裝後,如果發現系統時間不對,可以使用如下命令同步系統時間
ntpdate cn.pool.ntp.org
出現the NTP socket is in use, exiting解決方案:
cd /etc/rc.d/init.d
./ntpd stop
本機ssh配置
進入到.ssh目錄/root/.ssh
刪除原有的文件
rm -f *
ssh-keygen -t rsa
回車到執行結束
cat id_rsa.pub >>authorized_keys


