在開發過程中,如果需要在本地調用openAI介面進行開發調試,一般主要是通過以下兩種方式:直連和代理轉發。歡迎私信交流。 1. 直連 1.簡單粗暴,懂的都懂 2. 代理轉發 代理轉發又有兩種類型,使用第三方代理和自建代理兩種,下麵將分別舉例說明 2.1. 第三方AI網關 1.註冊Cloudflare ...
在開發過程中,如果需要在本地調用openAI介面進行開發調試,一般主要是通過以下兩種方式:直連和代理轉發。歡迎私信交流。
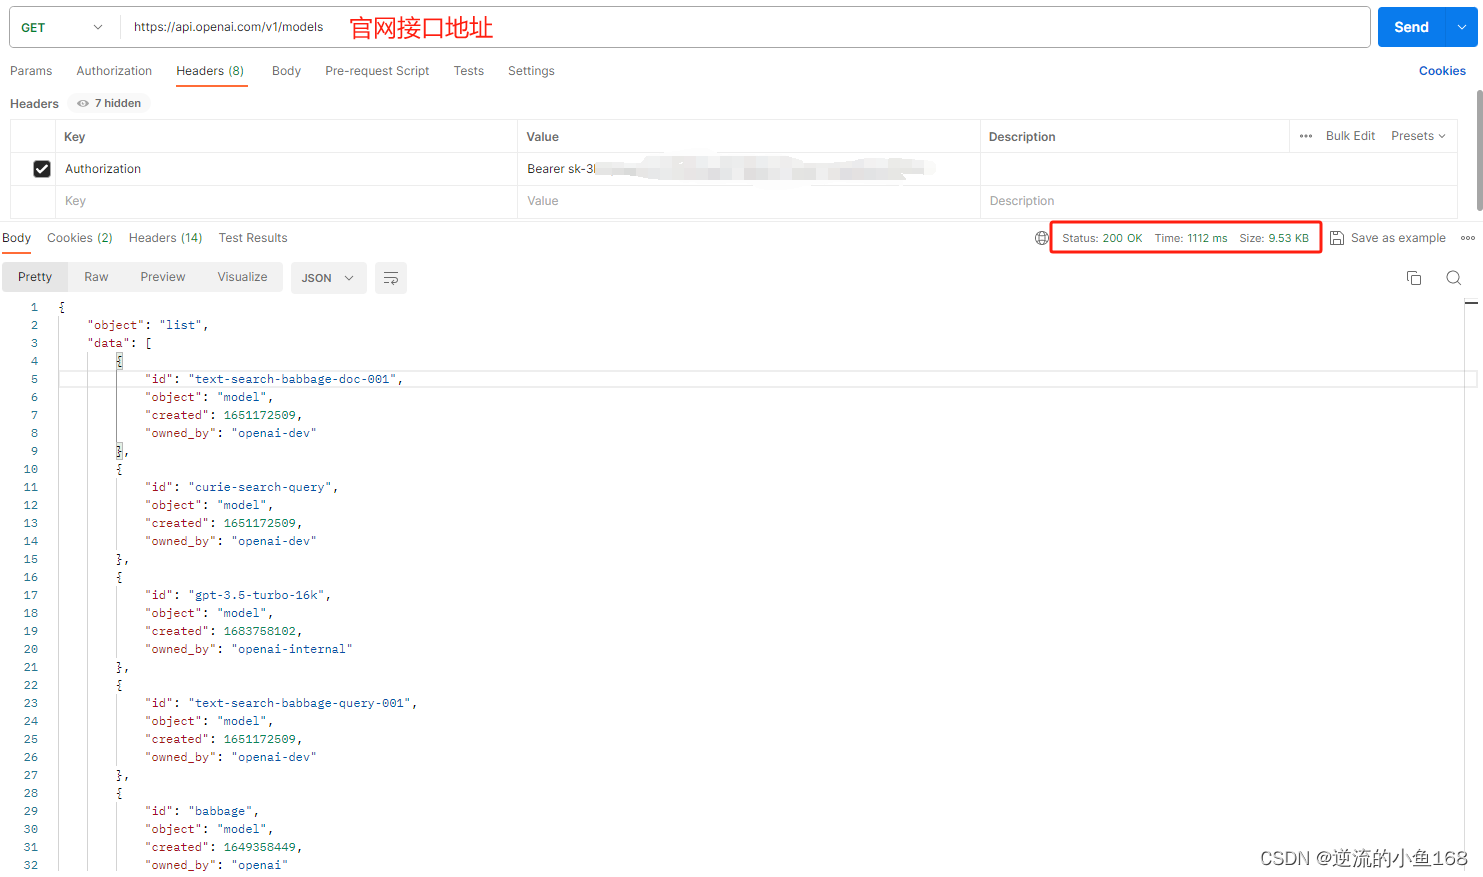
1. 直連
- 1.簡單粗暴,懂的都懂

2. 代理轉發
代理轉發又有兩種類型,使用第三方代理和自建代理兩種,下麵將分別舉例說明
2.1. 第三方AI網關
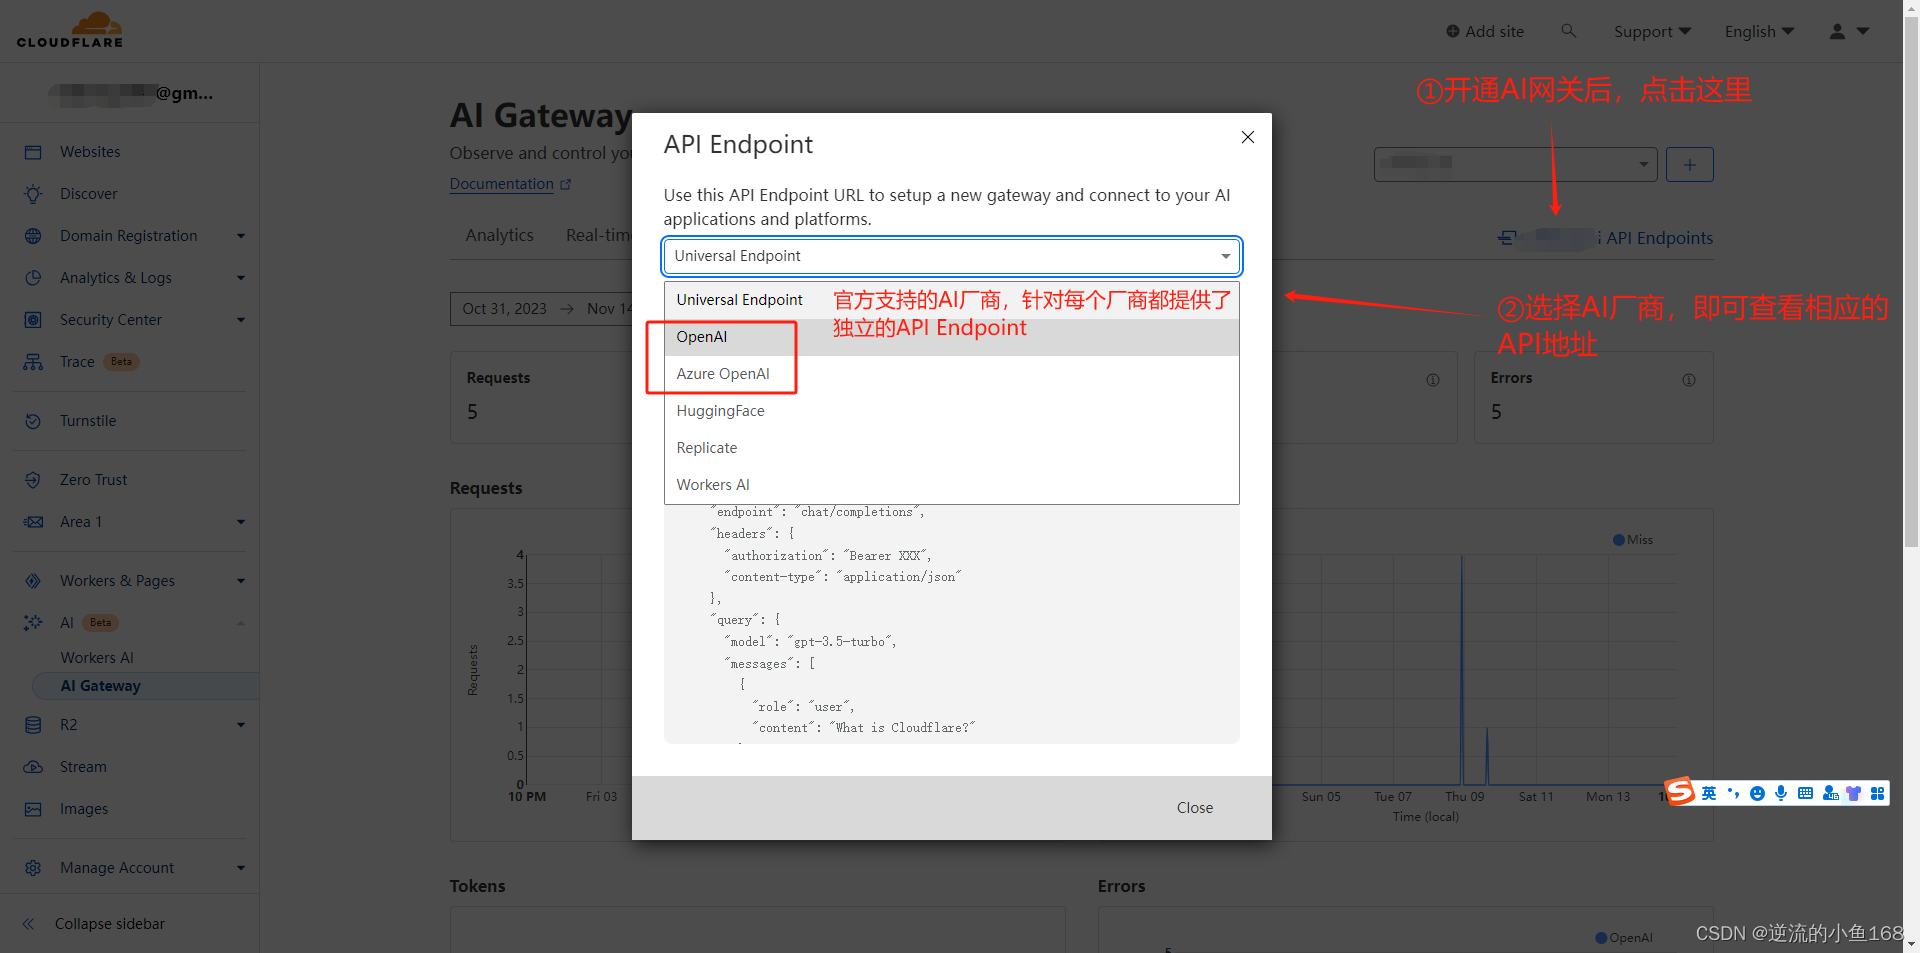
- 1.註冊Cloudflare,開通AI網關功能(Beta功能,目前免費)

- 2.使用AI網關地址替換官方介面地址,即可本地調用
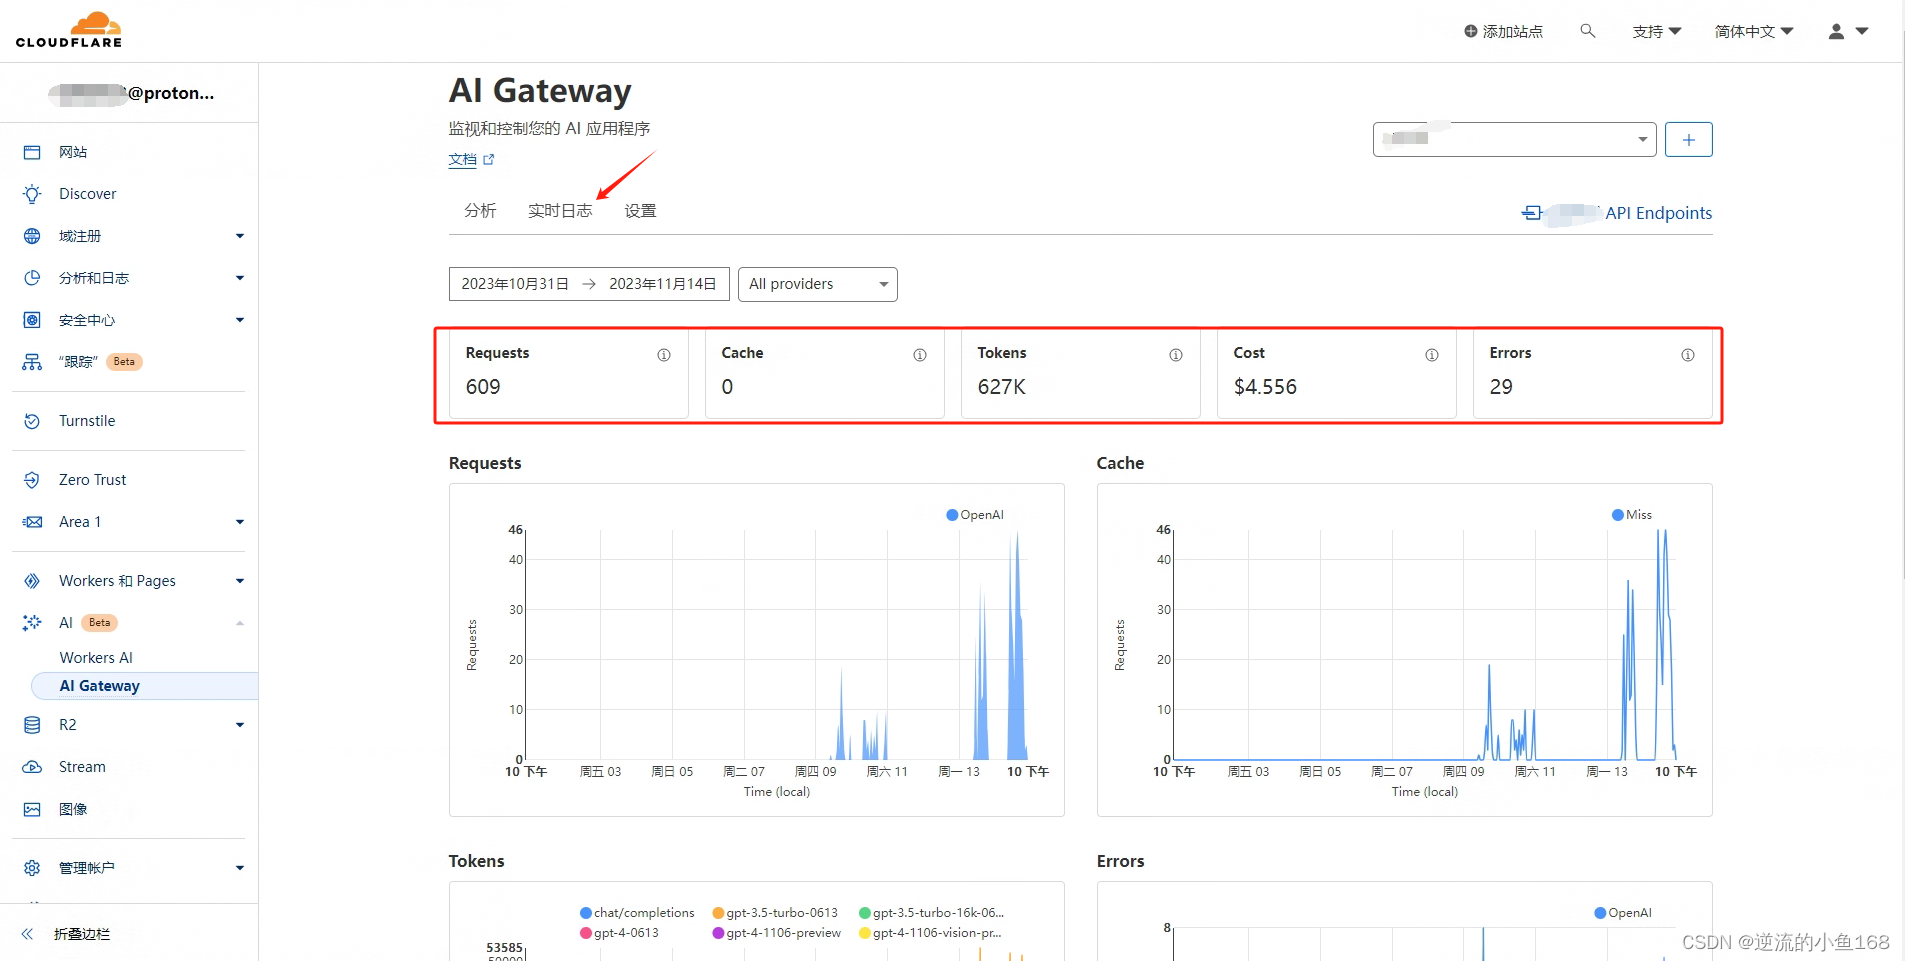
- 3.在AI網關管理界面,還可以看到介面調用、tokens消耗、以及日誌等情況,非常好用

2.2. 自建Nginx
- 1.查看Nginx版本和是否已配置stream模塊(Nginx版本需要在1.9.0以上,如果已安裝stream模塊,直接跳到步驟7):
/usr/sbin/nginx -V | grep with-stream
- 2.重新下載已安裝版本的Nginx源碼包(上一步我查到已安裝的是版本號1.18.0):
wget https://nginx.org/download/nginx-1.18.0.tar.gz - 3.在原有配置基礎上增加配置stream模塊
# 在原有配置基礎上,追加--with-stream --with-stream_realip_module,切記不要漏掉原有配置
./configure --with-cc-opt='-g -O2 -ffile-prefix-map=/build/nginx-d8gVax/nginx-1.18.0=. -flto=auto -ffat-lto-objects -flto=auto -ffat-lto-objects -fstack-protector-strong -Wformat -Werror=format-security -fPIC -Wdate-time -D_FORTIFY_SOURCE=2' --with-ld-opt='-Wl,-Bsymbolic-functions -flto=auto -ffat-lto-objects -flto=auto -Wl,-z,relro -Wl,-z,now -fPIC' --prefix=/usr/share/nginx --conf-path=/etc/nginx/nginx.conf --http-log-path=/var/log/nginx/access.log --error-log-path=/var/log/nginx/error.log --lock-path=/var/lock/nginx.lock --pid-path=/run/nginx.pid --modules-path=/usr/lib/nginx/modules --http-client-body-temp-path=/var/lib/nginx/body --http-fastcgi-temp-path=/var/lib/nginx/fastcgi --http-proxy-temp-path=/var/lib/nginx/proxy --http-scgi-temp-path=/var/lib/nginx/scgi --http-uwsgi-temp-path=/var/lib/nginx/uwsgi --with-compat --with-debug --with-pcre-jit --with-http_ssl_module --with-http_stub_status_module --with-http_realip_module --with-http_auth_request_module --with-http_v2_module --with-http_dav_module --with-http_slice_module --with-threads --add-dynamic-module=/build/nginx-d8gVax/nginx-1.18.0/debian/modules/http-geoip2 --with-http_addition_module --with-http_gunzip_module --with-http_gzip_static_module --with-http_sub_module --with-http_ssl_module --with-stream --with-stream_realip_module
- 4.編譯,千萬不要安裝
# 千萬不要執行make install
make
- 5.備份sbin目錄下原來的nginx文件:
mv nginx nginx.bak - 6.將新編譯的nginx文件拷貝到Nginx的sbin目錄下
- 7.配置OpenAI介面location(功能變數名稱和ssl配置請自行設置好)
location /gpt {
	proxy_pass  https://api.openai.com/v1/;
	proxy_ssl_server_name on;
	proxy_set_header Host api.openai.com;
	proxy_set_header Connection '';
	proxy_http_version 1.1;
	# 不緩存,支持流式輸出,打字機效果
	proxy_cache off;  # 關閉緩存
	proxy_buffering off;  # 關閉代理緩衝
	chunked_transfer_encoding on;  # 開啟分塊傳輸編碼
	tcp_nopush on;  # 開啟TCP NOPUSH選項,禁止Nagle演算法
	tcp_nodelay on;  # 開啟TCP NODELAY選項,禁止延遲ACK演算法
	keepalive_timeout 120s;  # 設定keep-alive超時時間
	proxy_set_header X-Forwarded-For $remote_addr;
	proxy_set_header X-Forwarded-Proto $scheme;
}
- 8.重新載入Nginx配置:
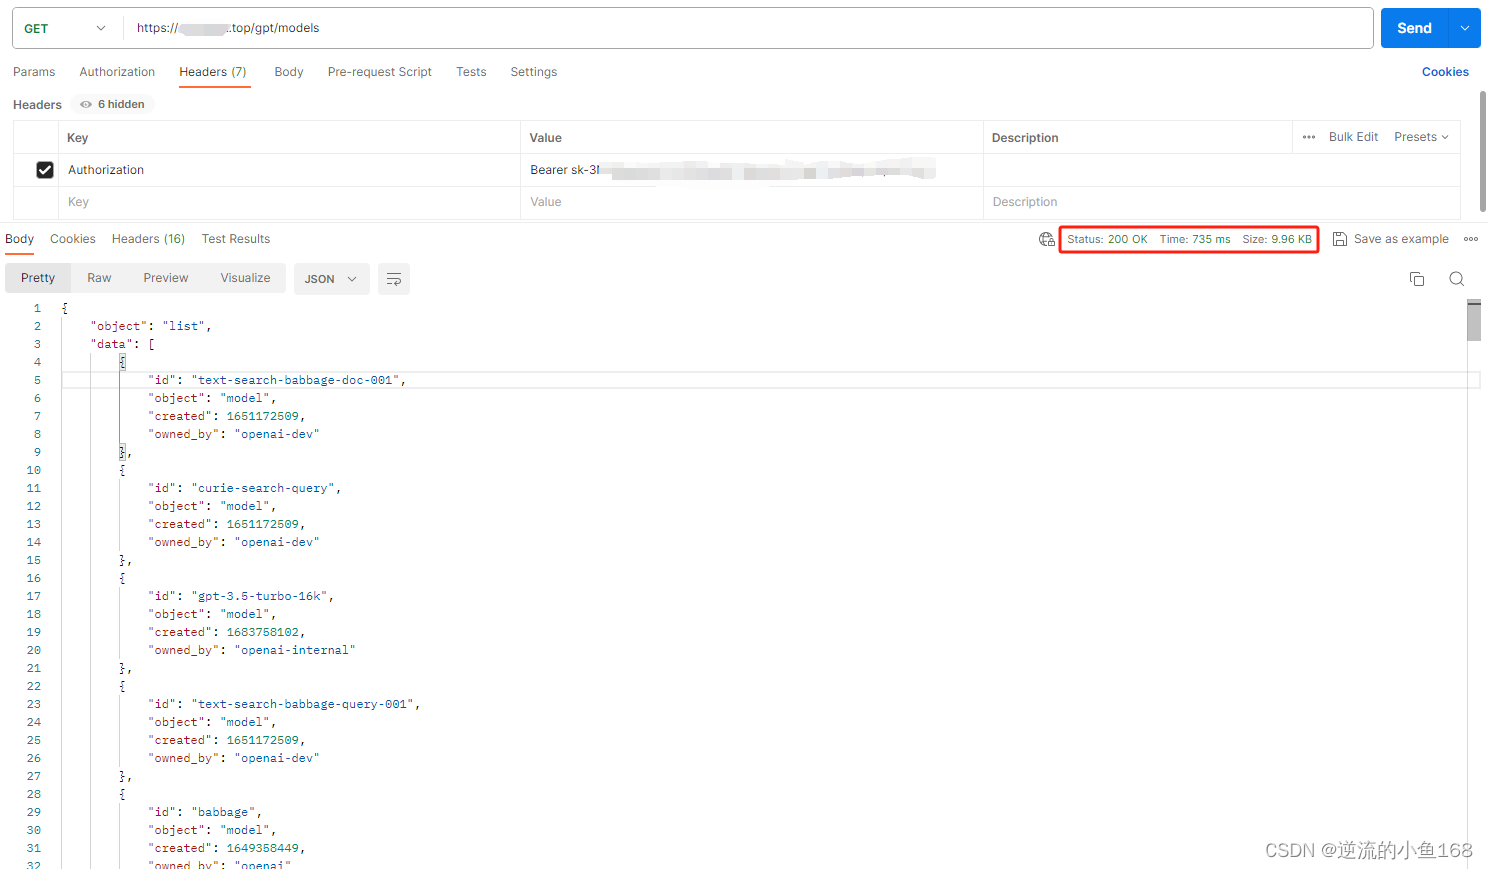
/usr/sbin/nginx -s reload - 9.本地訪問,驗證介面調用成功


